NAMOR
Stylish Dinosaur
- Joined
- Sep 3, 2010
- Messages
- 20,430
- Reaction score
- 3,488
Since mymil did such a good job on his post about the care of his cordovan shell boots, and because some members have asked me to post my shoe care process, I decided to take a few pictures and post my process.
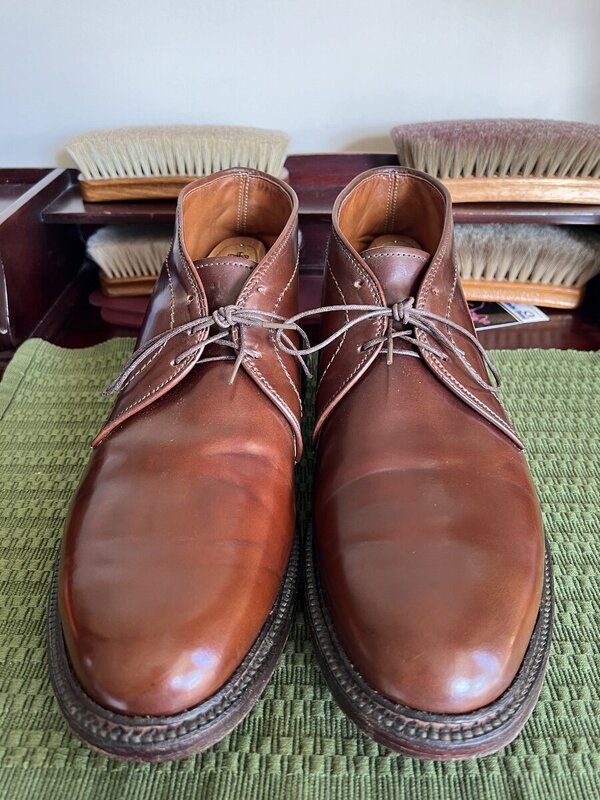
First let me state that I have over 60 pair of dress shoes (lace-up and loafers) in my collection, so I don’t wear the same pair of shoes very frequently (although some shoes more than others). Here is an example of some of the shoes I have worn recently (for examples of polishing results):


Because of the number of shoes I have I try to have a consistent process I can rely on to keep them in good shape. This system is basically cleaning, conditioning and polishing a different pair of shoes on average about once a week. Of course there are times where a month goes by without my doing this, and there are weeks where I might do the process to half a dozen pair that week.
Each day before I put on a pair of dress shoes I inspect the shoe for any scuffs, and the do a quick brush of the shoes before I put them on. If the toe cap or heel counter have a spit shine I might run a moist folded cotton round across the surface gently to remove any dust. I typically do not put shoes with obvious scuffs back into rotation until they have gone through the cleaning, conditioning, polishing process.
Now to the process:
First of all I try to have all of the tools and polishes I need to do the job before I start:

I store all of my polishes in boxes. I use a shoe care box (with the shoe rest mounted on top) for my paste polishes, and I use an old humidifier for my cream polishes.


I use a cotton round, folded in quarters, to apply polish (both cream and paste):

I use a spray bottle with a fine mist for getting the folded cotton round moist, rather than dipping it in water.

I use a soft cotton cloth to apply the leather cleaner, and a separate cotton cloth to apply the leather conditioner.

I use a standard size horse hair brush for brushing the shoe. And, even though I have horse hair daubers I rarely use them for applying polish.

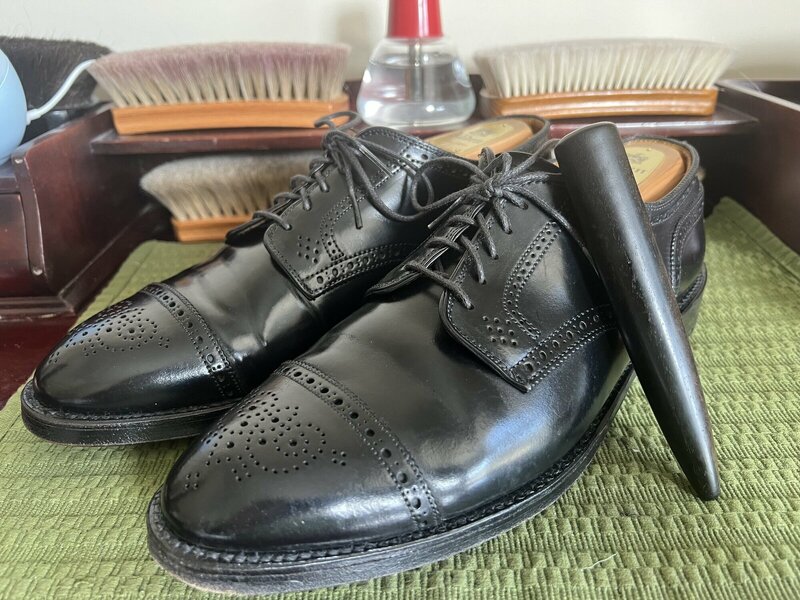
I start the process by selecting a pair of shoes that have not been cleaned, conditioned and polished for a while. For this post I decided to select an older pair of Johnston and Murphy ankle boots, mostly to show that you don’t have to have an expensive pair of shoes to get a good spit shine.
The first step is to clean the shoes. I use Lexol leather cleaner and a soft cotton cloth to do this. If I feel there is too much of a wax build up I might start with a linen cloth because of its courser texture (you can damage the leather surface if you are too aggressive/hard with this process). The cloth should be damp and raise just a slight foam when scrubbing the shoe. Go over the shoe once more with a moist cloth when you are done to remove any residual cleaner or foam.
For the sake of this process I define “damp” as the cloth being wet through the fabric, but not so much that you could wring out any water. I define “moist” as just the surface of the cloth having a slight amount of water on it.
Cleaning each shoe takes about 2 to 4 minutes, depending on the amount of dirt and/or wax build up. Once I have cleaned the shoes I let them sit for about an hour to dry.
After the hour of waiting for the shoes to dry I then move on to the next step which is conditioning the shoes. Some people may want to wait longer for the shoes to dry (like overnight) which is fine, but I usually don’t get the shoes that wet, and I don’t mind starting the conditioning process while the shoes are still slightly moist.
To apply the leather conditioner I use a soft cotton cloth and apply slightly less than a half teaspoon (about 2mL) to the upper of each shoe (including the tongue). I do this by putting a little conditioner on the cloth and rubbing it into an area of the shoe gently until it is mostly gone and then adding some more to the cloth and doing another area of the shoe, until the shoe is fully covered, and then I do the other shoe. Conditioning each shoe takes about 4 minutes. I usually do this in the evening while watching something on TV and an apron in my lap.
Once this is done I let the shoes sit overnight:

The next evening I start the polishing process. I take a folded cotton round and spray it to get it moist. I then dab the folded cotton round into the cream polish color of choice gently (I chose Mahogany to add a little red tint to the color). When I load the folded cotton round “applicator” I am carful to dap it in the cream just enough to cover the front of the applicator. This is where most beginners get it wrong, by adding too much polish to their applicator to begin with.
You want to put a thin coat of cream polish on the shoe to begin with. I usually moisten the applicator and dab it about 4 times per shoe (heel and inside quarter, heel and outside quarter, vamp/tongue, and toe).
Once I have the cream polish applied to both shoes I go back to the first shoe and begin to brush shine the shoe. Start with slow long strokes to draw the wax in the polish across the shoe, using diagonal, horizontal, vertical strokes. You should be pushing through the stroke with only about 50% of the pressure going down toward the shoe and the other 50% in the brushing direction. You don’t need to push too hard down on the shoe.
Once the brush strokes seem to have less drag (from the wax) begin using shorter and faster strokes to allow the bristle friction to warm up the wax. Use about 40% down pressure and 60% through pressure. Keep doing this around the shoe, then change the ratio to 30% down and 70% through. This brushing process should take no less than 4 minutes per shoe (more time is better).
This may seem pretty specific, but most people that have been shining their shoes for some time just do this by instinct, and don’t realize that it is not always obvious to the inexperienced.
I would have to say that after too much polish and too much water that not enough brushing is third mistake made by the inexperienced.
After the first coat of cream has been applied and brushed, repeat the process a second time:
First cream coat brushed:

Second cream coat brushed:

If all you need is a good brushed polish glow then you are done. I will usually also add a coat of paste polish over the entire upper and give it a good brush shine as well (just because of the higher wax content in the paste):
2 coats of cream, 1 coat of paste, brushed to a glow:

If I am going to add a spit shine (bulling / mirror shine), I then add a second coat of paste polish of a chosen color (I used Brown in this case, for a slight distinction from the vamp).
Because there is more wax in paste than there is in cream you have to use even less paste than cream. For the initial layer where I cover the entire shoe I run the moistened, folded, cotton round “applicator” around the inside perimeter of the paste tin once lightly for enough paste to cover half a shoe, then again for the other half.
To spit shine the toe I take a clean moistened, folded, cotton round and just brush it lightly across just the center of the paste in the tin. You want very little polish at the point, and will almost always get too much until you have a fair amount of practice.
This paste should be applied to the toe of the shoe in large circles at first to cover the entire toe, then make smaller and smaller circles until you begin to see a mirror finish appear. As you are doing this apply less and less pressure to the shoe to the point that you are just gliding to applicator over the surface.
To get a real mirror shine repeat this process with neutral paste twice.
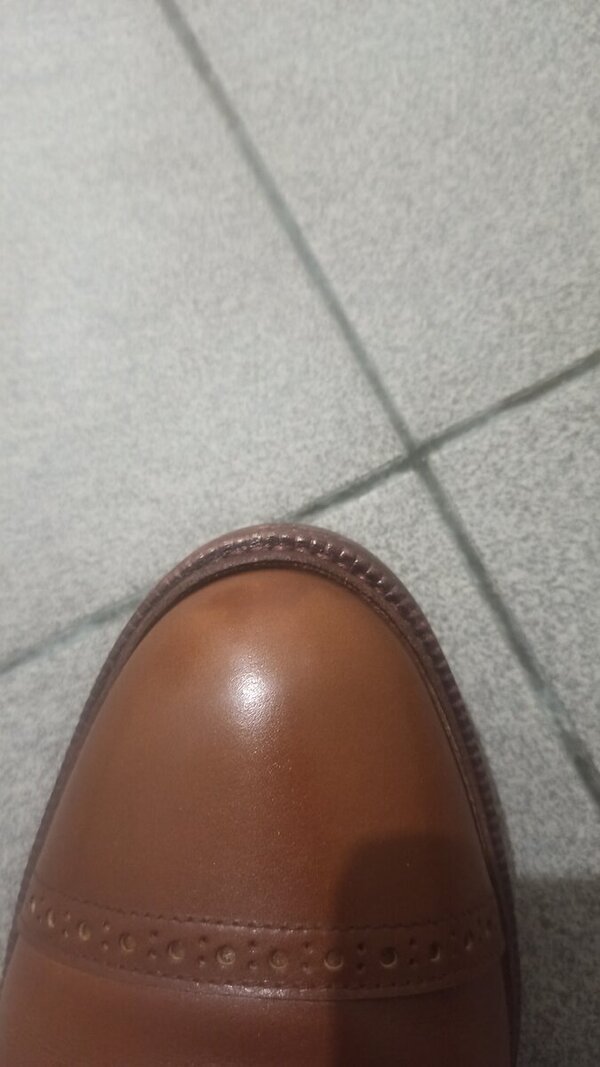
The result:

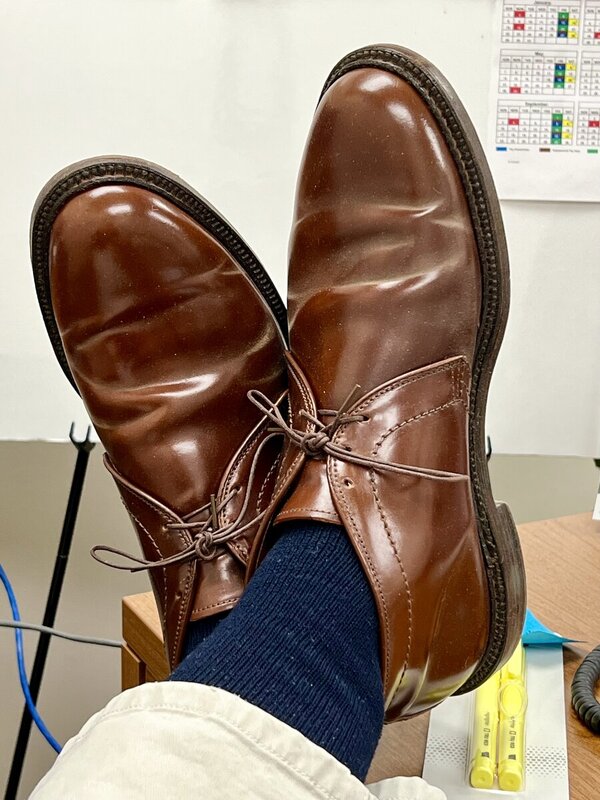
What I’m wearing today:

I hope this was helpful.
I look forward to trying some of the products Kirby is going to carry.
what a great post, thanks Glenjay!