suedefetish
Senior Member
- Joined
- Mar 19, 2016
- Messages
- 125
- Reaction score
- 241
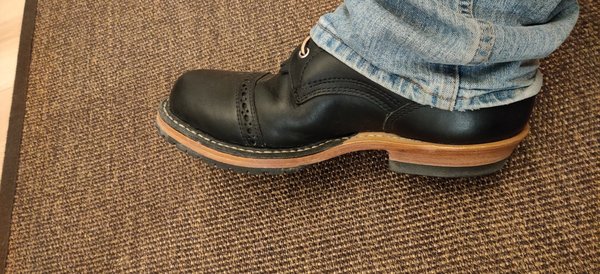
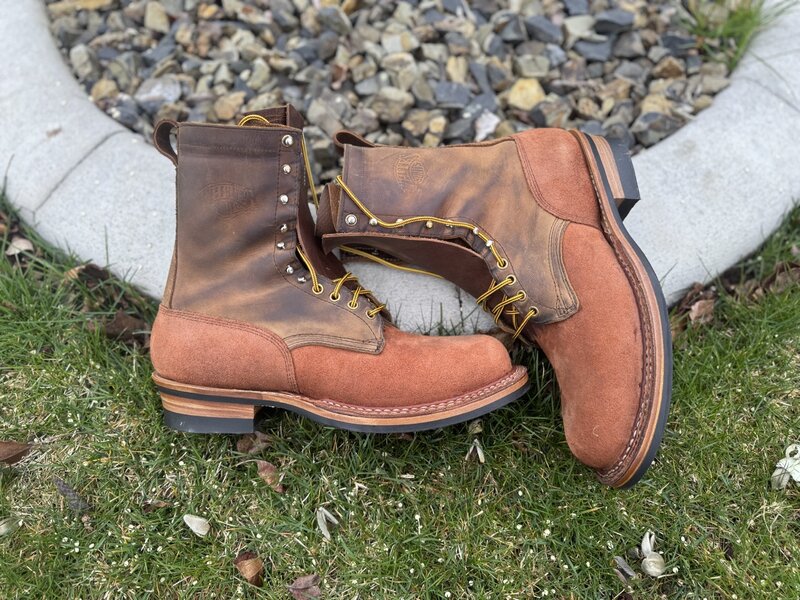
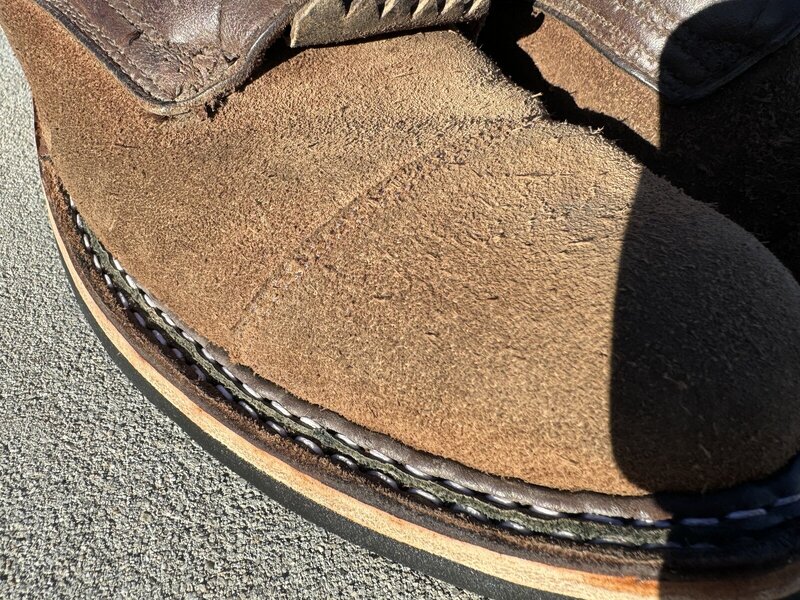
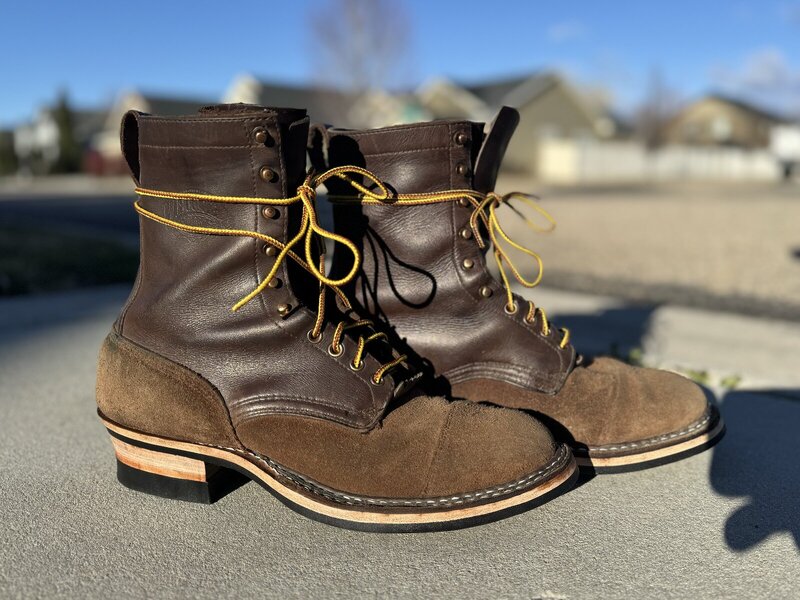
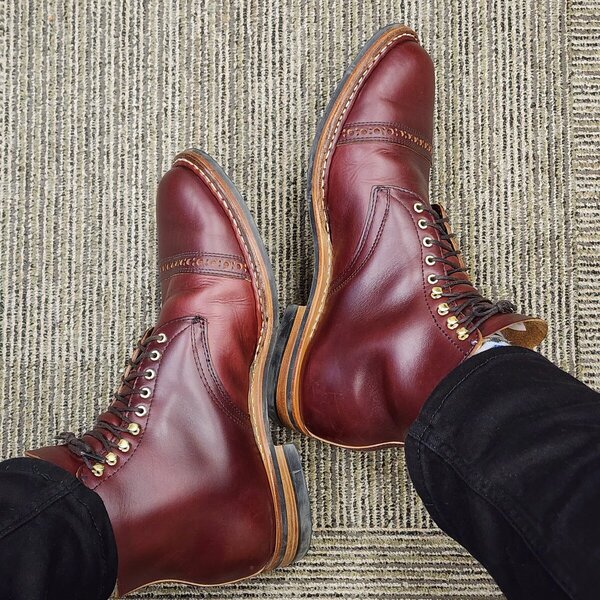
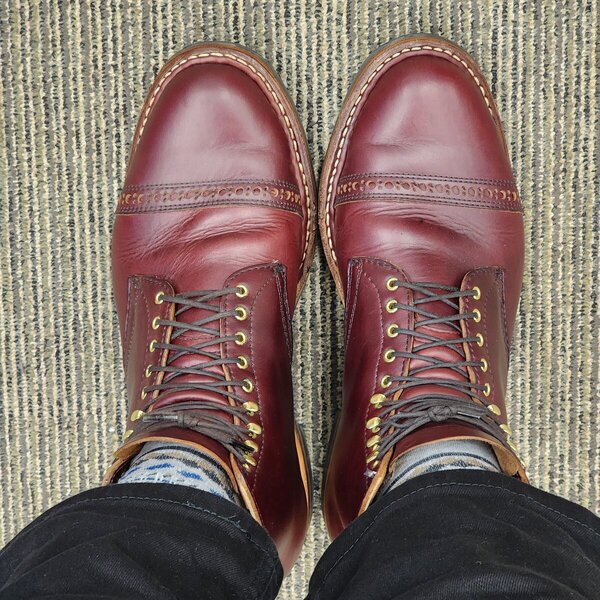
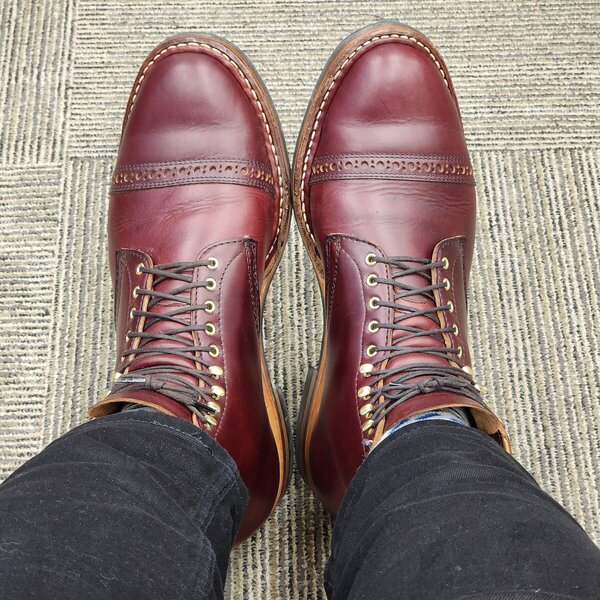
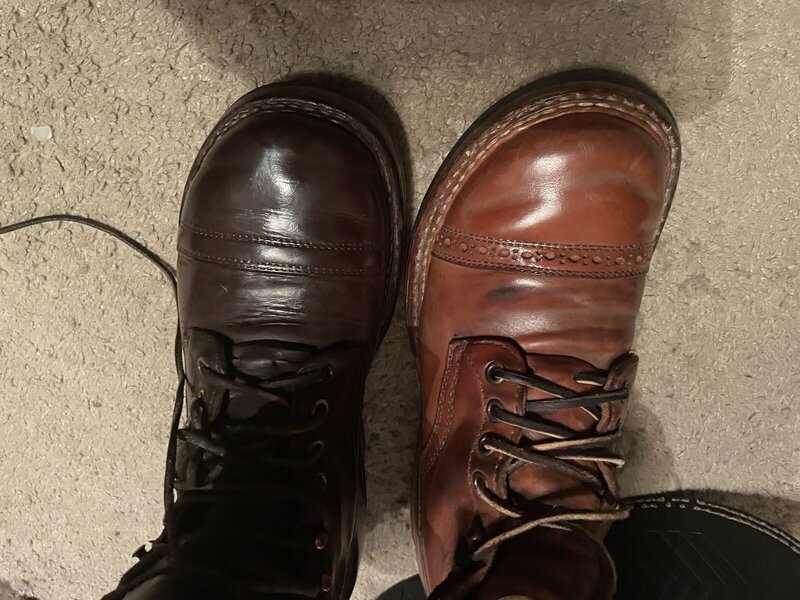
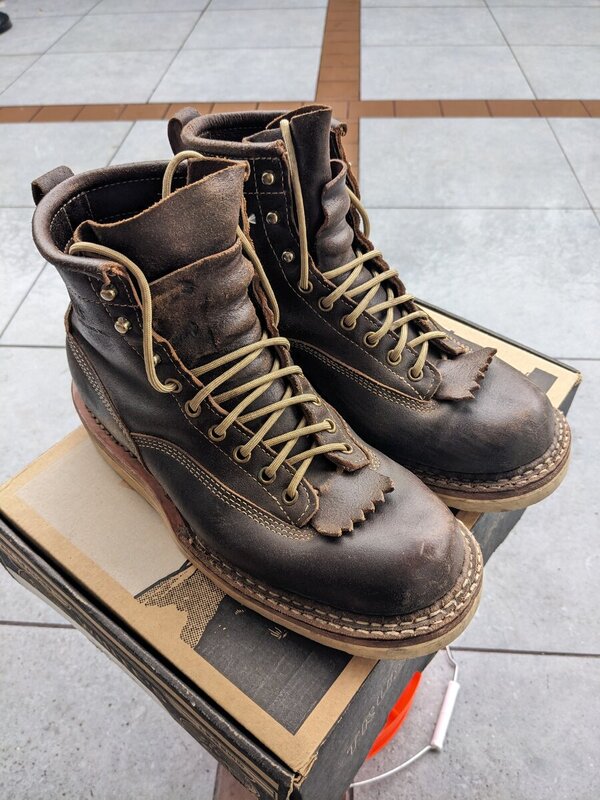
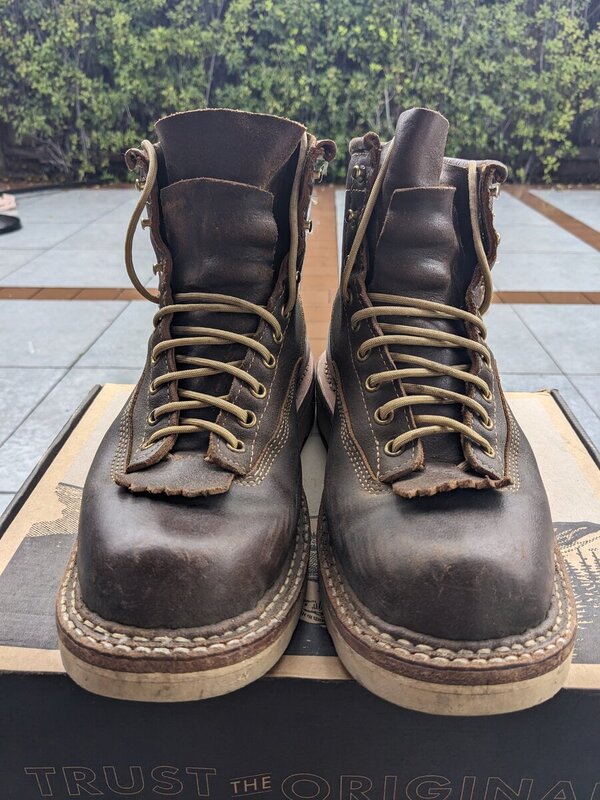
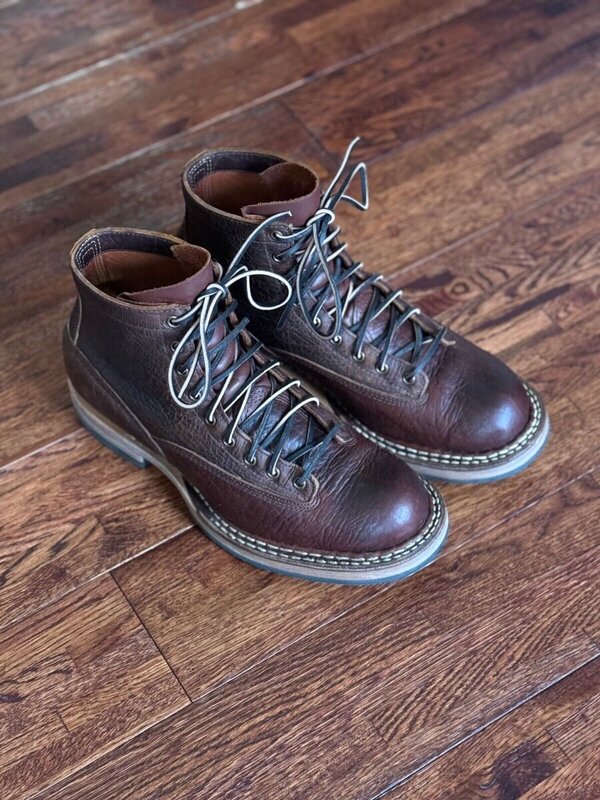
Yeah, the pull loops don't really bug me. The sole is confusing to me.
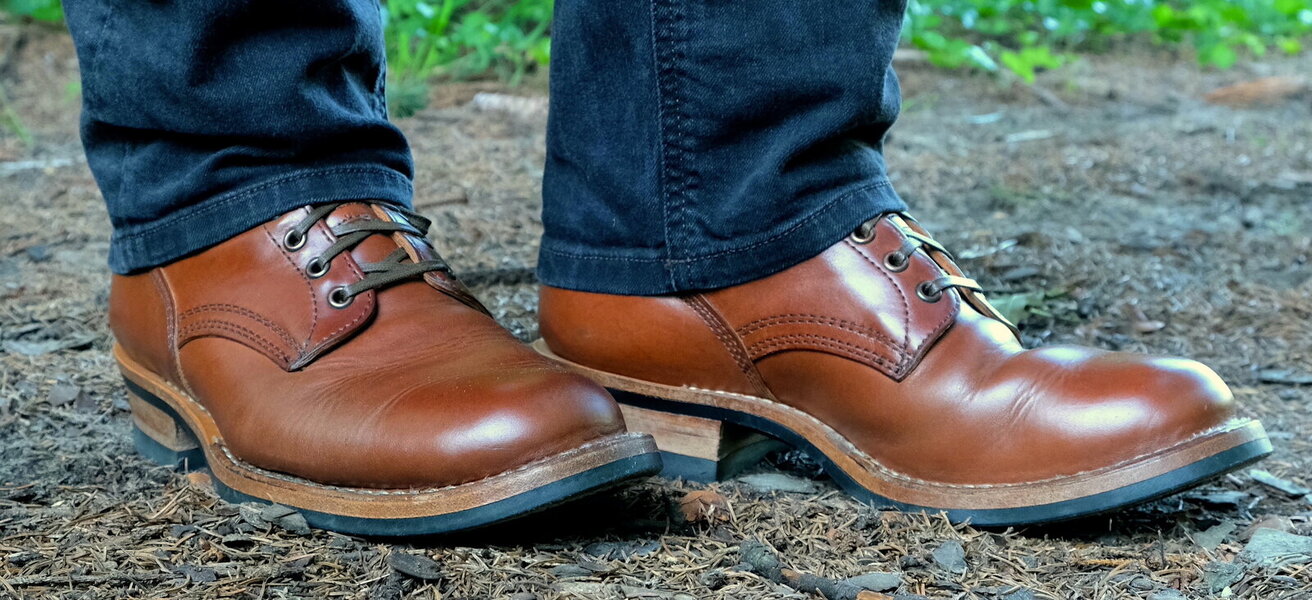
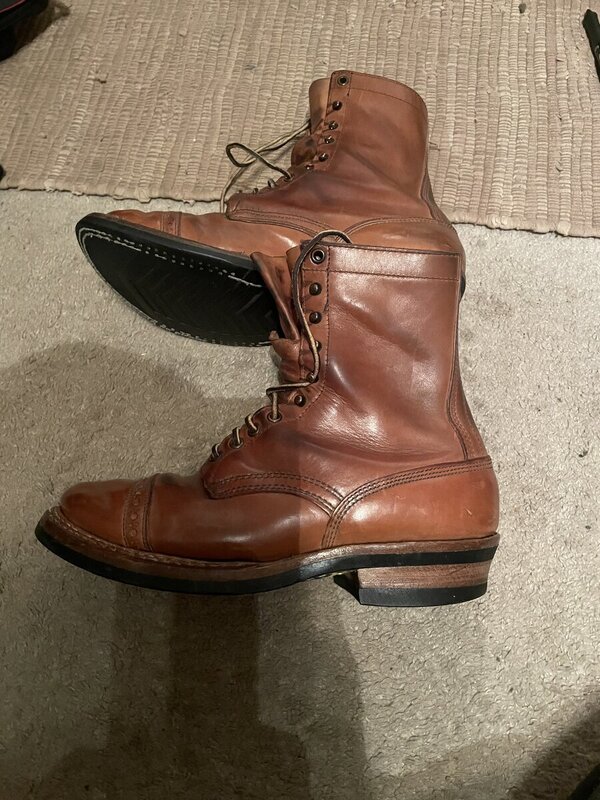
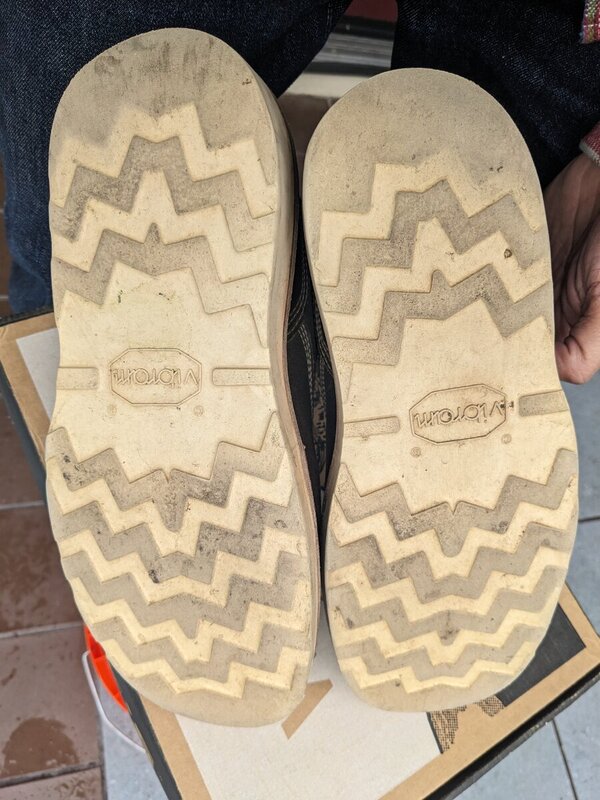
Sole: Vibram Composition Half Sole - Only available with single midsole
construction wise I don't see any reason not to just have the typical thick midsole with the inch or so exposed on the sole 🤷♂️
The pair in the stitchdown bounty hunter review is done that way.


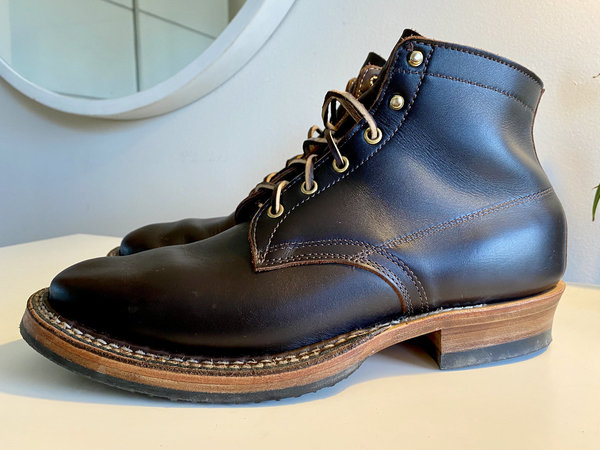
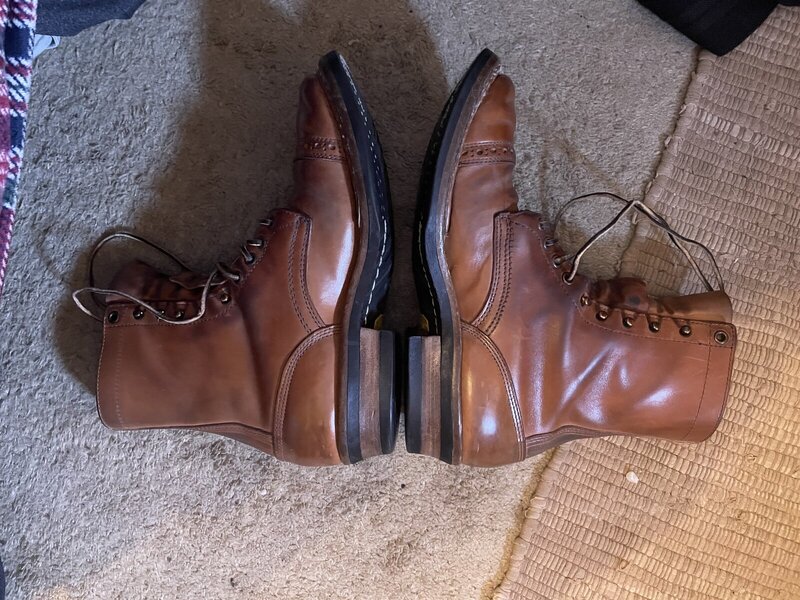
Sole: Vibram Composition Half Sole - Only available with single midsole
construction wise I don't see any reason not to just have the typical thick midsole with the inch or so exposed on the sole 🤷♂️
The pair in the stitchdown bounty hunter review is done that way.