BostonHedonist
Distinguished Member
- Joined
- Sep 1, 2011
- Messages
- 1,712
- Reaction score
- 740
First, a shout-out to what I refer to as "Crane's Method" for life-proofing Wolverine 1,000 Mile Boots. That post changed the way I care for boots. But user @Crane's is more country and I am more city. So I would like to present his method adapted for urban dwellers looking to keep their boots strong and waterproofed while developing an well-worn patina -- and without having to spend all night at it.
But it is still time consuming. I like to do this full process once or twice a year with smaller cleanings and buffing sessions in between.
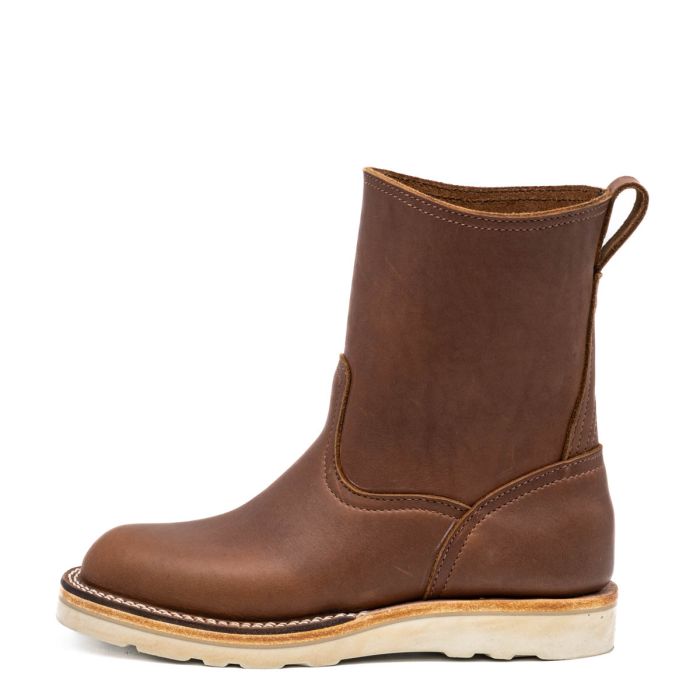
Here were my Rust 1Ks on unboxing day:

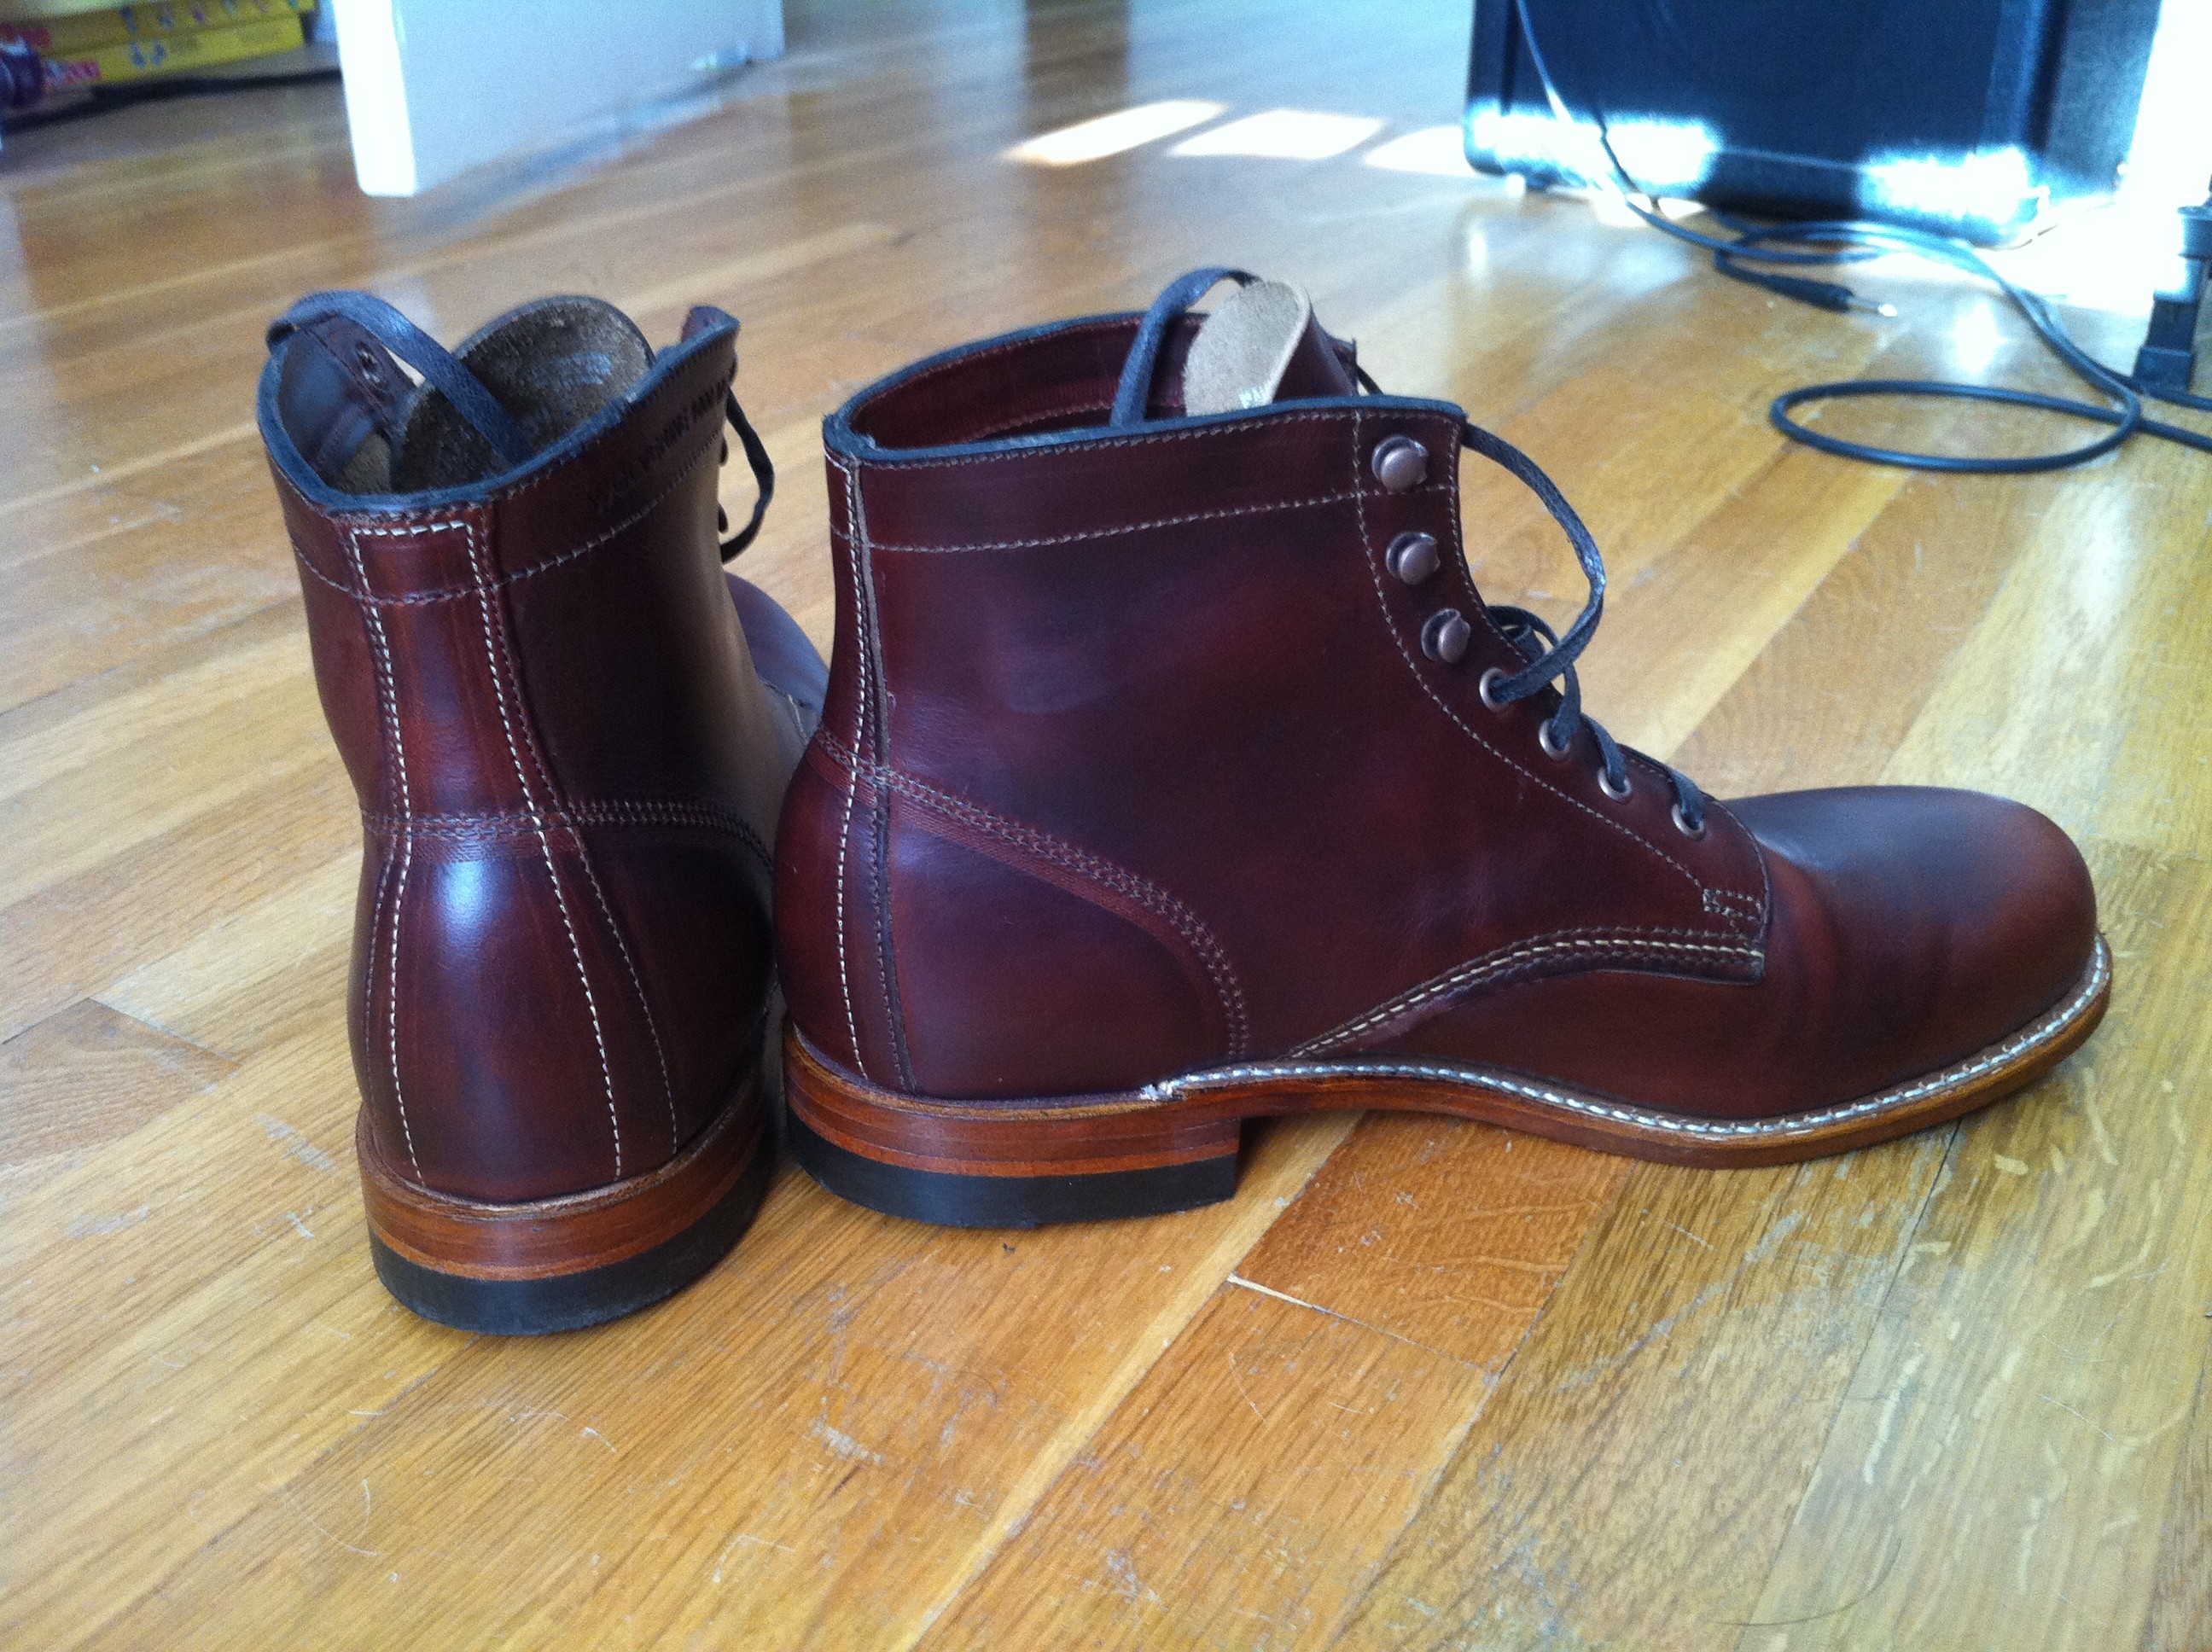
Ah that new boot color. But it never lasts. Here were my boots yesterday, two years later. Nicely worn in and in need of some love.

1) Prep - Start off by unlacing your boots and prepping the table. At minimum you will need:

2) Cleaning - Wipe shoes with a damp rag then go over it with Lexol. If it's been a while, use a good amount. Really scrub at any dark crud spots. But I don't ever like to clean my casual boots off 100%. A little imperfection is good for the patina
They like it when you scrub them behind the eyelets.

Use the ridged end of an edger to get in around the welt.

Then give your boots a brushing for good measure. Smooth out any scuffs in the uppers and pour a drink before proceeding.
3) Heat your LP - Microwave 15 seconds to start then heat to a paste with hair dryer.

4) Cover the uppers and sole edges with a thin but substantial layer of LP. Use the flat edge of the shoe edger to scoop up some LP and work it into the welts.


5) Heating & Saturation (approx. 12 minutes per boot) - fire up your hair dryer and melt the LP into your boot's pores and seams from the top down. The LP will tend to run into the places it's needed most and most of the excess will melt its way into the welt, the most critical point for waterproofing. When most of the work is done, get in close and circle the dryer around any wet spots.


On the sides, I like to angle the dryer diagonally down from the back. You'll have to hold the dryer in each position for a while moving it slightly up and down.

Make sure to spend a little time heating the LP around the welt. It likes to hide in there in little white deposits.

6) Wipe each boot down with a rag while still warm from the dryer to remove excess LP. If you let it cool too much it gets much more difficult to wipe off.


6) Brush like hell - preferably with a larger brush than shown here. I spend about 2-3 minutes on each side.

Finished boots, in not-so-great lighting. Go ahead and touch up the edges with some edge dressing if needed. I use Allen Edmonds in Chili.

Bonus step - it may be redundant at this point. But leather footwear never feels fully conditioned without that Saphir smell.


My bots this morning. Yeah, I could have spent more time brushing and they'd shine more. But I like my 1Ks more matte.

But it is still time consuming. I like to do this full process once or twice a year with smaller cleanings and buffing sessions in between.
Here were my Rust 1Ks on unboxing day:
Ah that new boot color. But it never lasts. Here were my boots yesterday, two years later. Nicely worn in and in need of some love.
1) Prep - Start off by unlacing your boots and prepping the table. At minimum you will need:
- Obenauf's Heavy Duty Leather Preserve (LP). Used by firefighters, it contains leather care oils suspended in beeswax and propolis. I don't touch silicone leather care products except for gloved-tanned leather, where it just feels right.
- Shoe brush specifically for use on your LP-saturated footwear
- Hair dryer
- A PH Balanced leather cleaner/conditioner, I use Lexol
- Rags
- Silicone shoe edger
- Saphir Renovateur
- Edge dressing
2) Cleaning - Wipe shoes with a damp rag then go over it with Lexol. If it's been a while, use a good amount. Really scrub at any dark crud spots. But I don't ever like to clean my casual boots off 100%. A little imperfection is good for the patina
They like it when you scrub them behind the eyelets.
Use the ridged end of an edger to get in around the welt.
Then give your boots a brushing for good measure. Smooth out any scuffs in the uppers and pour a drink before proceeding.
3) Heat your LP - Microwave 15 seconds to start then heat to a paste with hair dryer.
4) Cover the uppers and sole edges with a thin but substantial layer of LP. Use the flat edge of the shoe edger to scoop up some LP and work it into the welts.
5) Heating & Saturation (approx. 12 minutes per boot) - fire up your hair dryer and melt the LP into your boot's pores and seams from the top down. The LP will tend to run into the places it's needed most and most of the excess will melt its way into the welt, the most critical point for waterproofing. When most of the work is done, get in close and circle the dryer around any wet spots.
On the sides, I like to angle the dryer diagonally down from the back. You'll have to hold the dryer in each position for a while moving it slightly up and down.
Make sure to spend a little time heating the LP around the welt. It likes to hide in there in little white deposits.
6) Wipe each boot down with a rag while still warm from the dryer to remove excess LP. If you let it cool too much it gets much more difficult to wipe off.
6) Brush like hell - preferably with a larger brush than shown here. I spend about 2-3 minutes on each side.
Finished boots, in not-so-great lighting. Go ahead and touch up the edges with some edge dressing if needed. I use Allen Edmonds in Chili.
Bonus step - it may be redundant at this point. But leather footwear never feels fully conditioned without that Saphir smell.
My bots this morning. Yeah, I could have spent more time brushing and they'd shine more. But I like my 1Ks more matte.
Last edited: