-
Hi, I am the owner and main administrator of Styleforum. If you find the forum useful and fun, please help support it by buying through the posted links on the forum. Our main, very popular sales thread, where the latest and best sales are listed, are posted HERE
Purchases made through some of our links earns a commission for the forum and allows us to do the work of maintaining and improving it. Finally, thanks for being a part of this community. We realize that there are many choices today on the internet, and we have all of you to thank for making Styleforum the foremost destination for discussions of menswear. -
This site contains affiliate links for which Styleforum may be compensated.
-
STYLE. COMMUNITY. GREAT CLOTHING.
Bored of counting likes on social networks? At Styleforum, you’ll find rousing discussions that go beyond strings of emojis.
Click Here to join Styleforum's thousands of style enthusiasts today!
Styleforum is supported in part by commission earning affiliate links sitewide. Please support us by using them. You may learn more here.
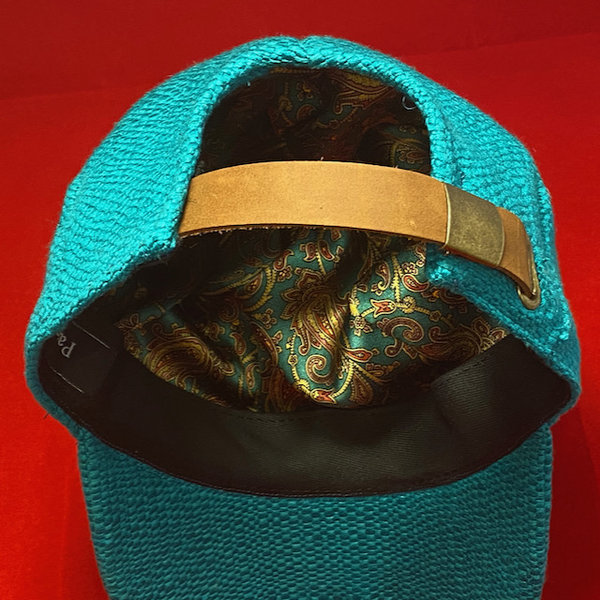
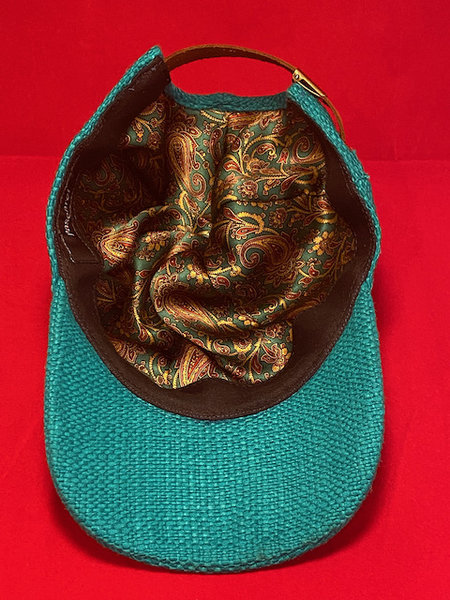
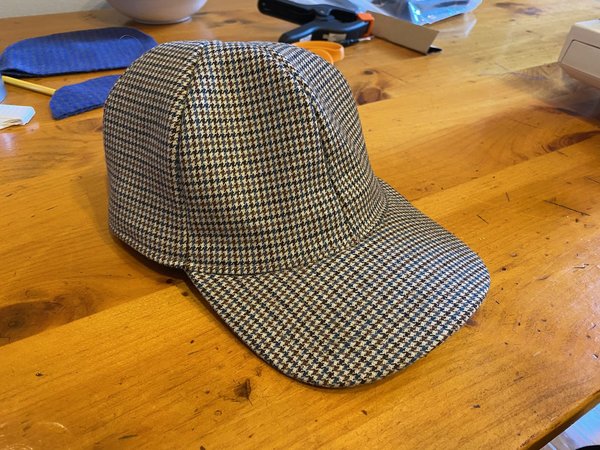
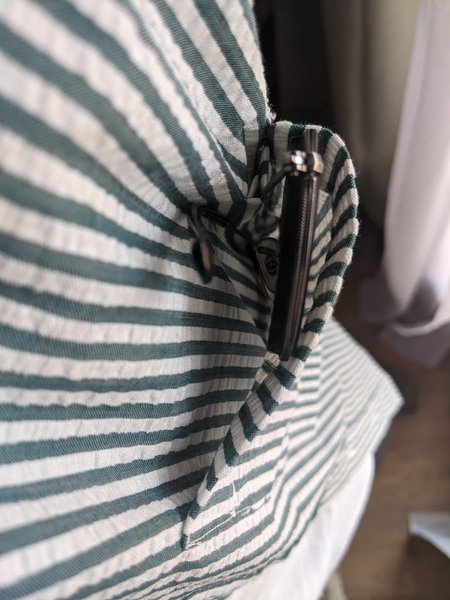
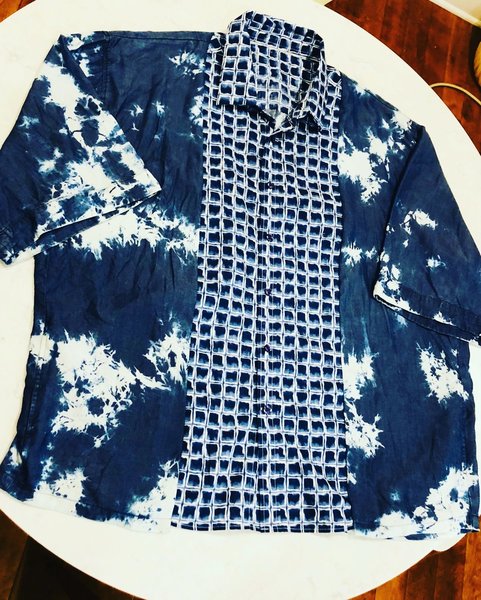
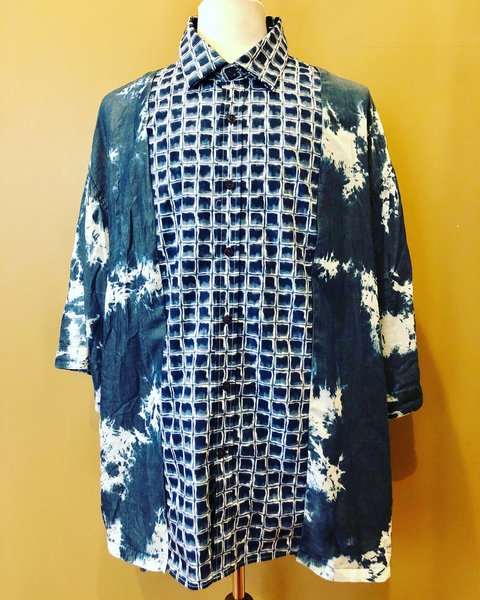
*** The official and awesome DIY thread ***


FEATURED PRODUCTS
-
 LuxeSwap Auction - Vintage Antique United States Naval Navy Denim Deck Jacket
A piece for denim heads, vintage collectors, streetwear enthusiasts and menswear enthusiasts alike, this extremely rare early US Naval issued deck jacket in raw denim is not likely to ever show up at auction again anytime soon. A Haleys Comet of menswear items, offered at auction at a $9.99 starting bid with no reserve.
LuxeSwap Auction - Vintage Antique United States Naval Navy Denim Deck Jacket
A piece for denim heads, vintage collectors, streetwear enthusiasts and menswear enthusiasts alike, this extremely rare early US Naval issued deck jacket in raw denim is not likely to ever show up at auction again anytime soon. A Haleys Comet of menswear items, offered at auction at a $9.99 starting bid with no reserve.
-
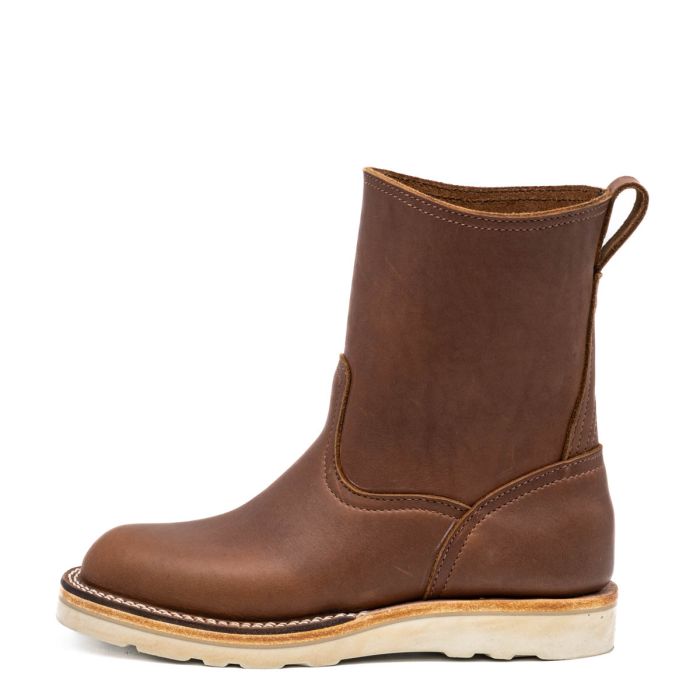 Wellington Chore Boot - Special Introductory Price! $495
Introducing the latest addition to Nicks Handmade Boots collection: The Wellington Chore Boot. Engineered for the rigors of daily tasks, this boot is more than just footwear; it's a reliable companion for your everyday adventures. Crafted with convenience in mind, its effortless pull-on design ensures you're always ready to tackle whatever the day throws your way.
Wellington Chore Boot - Special Introductory Price! $495
Introducing the latest addition to Nicks Handmade Boots collection: The Wellington Chore Boot. Engineered for the rigors of daily tasks, this boot is more than just footwear; it's a reliable companion for your everyday adventures. Crafted with convenience in mind, its effortless pull-on design ensures you're always ready to tackle whatever the day throws your way.
-
Besnard - Made to Order Trousers - $351 Design your ideal pair of trousers by selecting a fabric, deciding between single or double pleats, choosing a zip or button fly, and opting for side adjusters or belt loops.
Featured Sponsor


Forum Sponsors
- American Trench
- AMIDÉ HADELIN
- Archibald London
- The Armoury
- Arterton
- Besnard
- Canoe Club
- Capra Leather
- Carmina
- Cavour
- Crush Store
- De Bonne Facture
- Drinkwater's Cambridge
- Drop93
- eHABERDASHER
- Enzo Custom
- Epaulet
- Exquisite Trimmings
- Fils Unique
- Gentlemen's Footwear
- Giin
- Grant Stone
- House of Huntington
- IsuiT
- John Elliott
- Jonathan Abel
- Kent Wang
- Kirby Allison
- Larimars Clothing
- Lazy Sun
- LuxeSwap
- Luxire Custom Clothing
- Nicks Boots
- No Man Walks Alone
- Once a Day
- Passus shoes
- Proper Cloth
- SARTORIALE
- SEH Kelly
- Self Edge
- Shop the Finest
- Skoaktiebolaget
- Spier and MacKay
- Standard and Strange
- Bespoke Shoemaker Szuba
- Taylor Stitch
- TLB Mallorca
- UNI/FORM LA
- Vanda Fine Clothing
- Von Amper
- Wrong Weather
- Yeossal
- Zam Barrett
Members online
- wonderwall
- SonnyTheElder
- BerryWall
- Lucky Strike
- rainmaker
- elbowtron
- carlos20co
- elfreeman
- muchisgiven
- pandaeatbamboo
- ValidusLA
- echeng132
- fashionbox
- zmars
- hpreston
- woO
- ZaneLim
- YseanY
- mormonopoly
- Webbo
- bgsmith
- hendrix
- Mavidpark
- tomsocal
- nauful
- zippyh
- JayDotz
- Stone
- wilcthree
- garigo
- cedarlake23
- javyn
- ihrm4
- Chunsak
- knightdrape
- Vinnievh92
- Johan
- brokencycle
- ModWar
- stubbsj20
- Rob_Roy
- justinkapur
- Northants bloke
- 671allstar
- TomOwen
- kashmir
- Igneous
- dresden
- yanagi
- jazerad