sq4you
Mid-level baller
- Joined
- Nov 26, 2008
- Messages
- 2,429
- Reaction score
- 281
I decided to hem my Dior's a bit so that the stacking wouldn't be so outta control.
The following are pictures following my process. It was my first time hemming pants. Posting this simply for record keeping and in case anyone else wants a step-by-step guide.
Here is how they looked beforehand. While they may look cool, the megastacks are not conservative enough for Washington DC and bridge parties with Shoreman1782 and his wife.
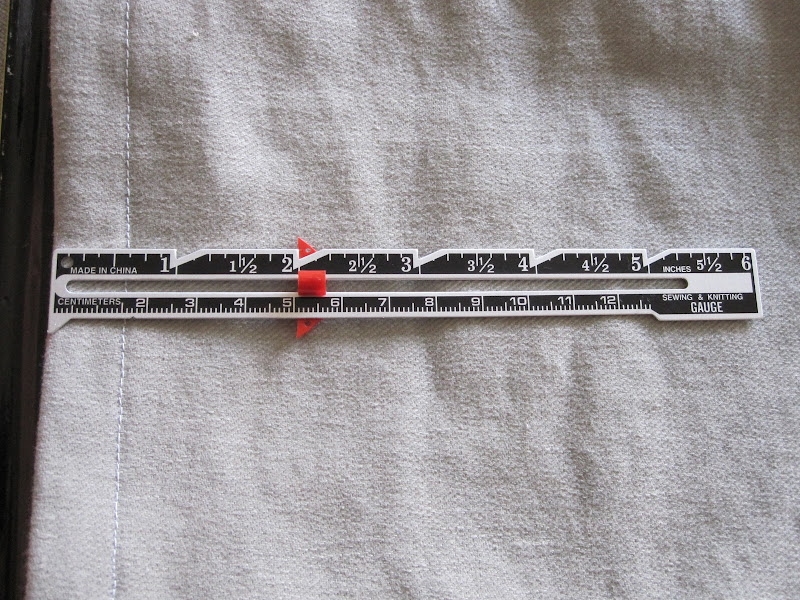
First you must put the pants on and determine how much you want to hem. Roll the pants up inside them selves and pin them in place. Once you are happy with the length, take them off and measure how much shorter you want them. In my case, I wanted to shorten mine 2 inches (as shown in pic below).
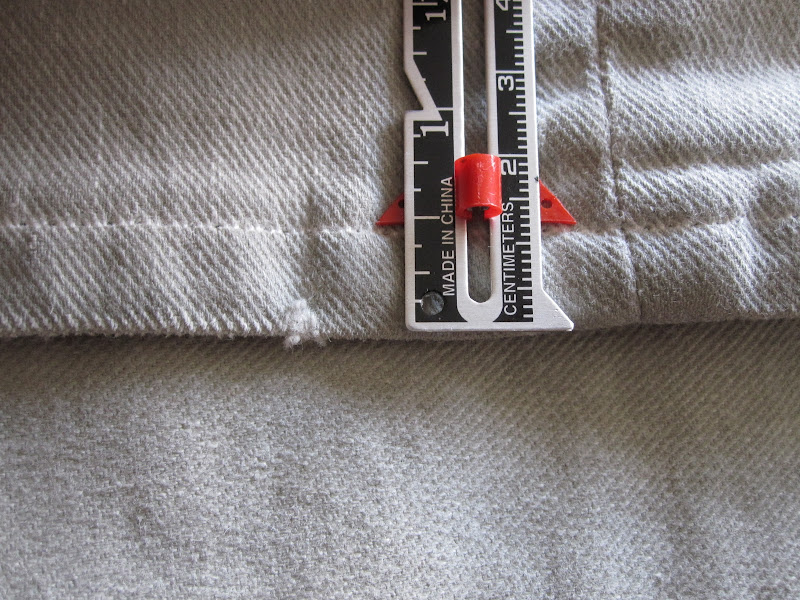
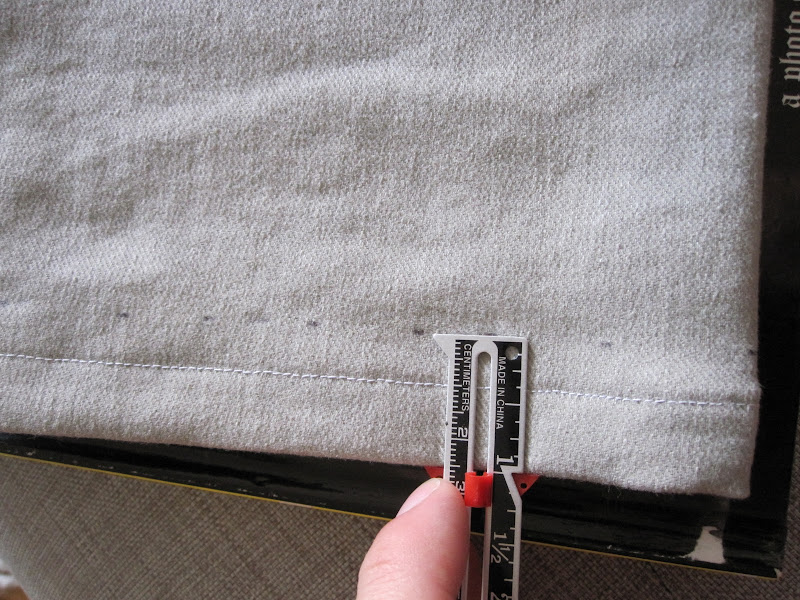
Once you determine this number you will need to determine how much extra material you need to actually make the hem (the distance from the bottom of the pants to the stitching). In my case, the original Dior hems were 0.5 inches. See below. It may actually be easier to measure stuff using the metric scale since they are Italian jeans but I'll stick with inches for all you Americana workwear fans.
Since the jeans have a hem that is 0.5 inches, and they are folded over once, the total material needed to make the hem is 0.5 inches * 2 = 1 inch. I used the following formula to determine how much to cut.
length_to_cut = total_length_to_shorten - length_of_material_for_hem
Therefore, I will want to cut 2 inches - 1 inch = 1 inch. Once the leftover material is folded and stitched up, the overall length of the shortening will have been 2 inches. Mark a line on the jeans indicating where to cut.
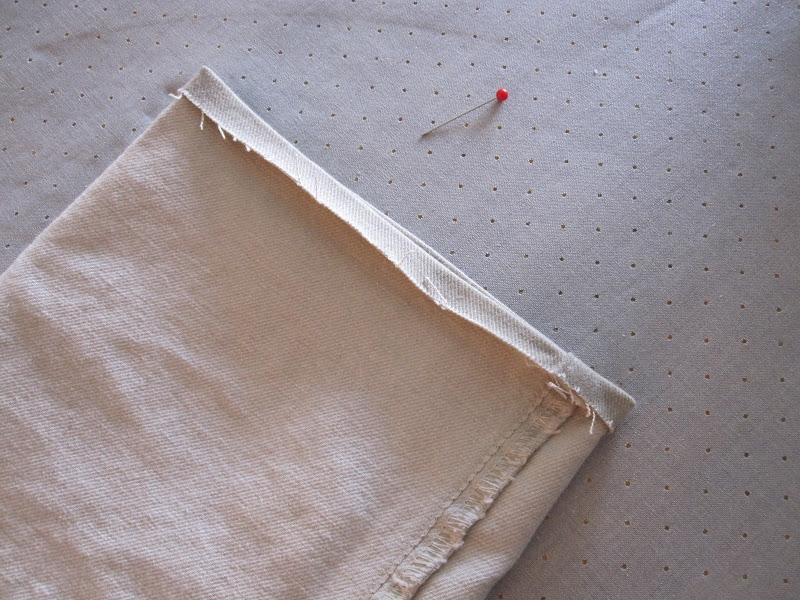
Cut the jeans using a pair of good, long scissors (since all fabric stores that sell such scissors are closed on this fabulous holiday, I used my Swiss Army Knife which isn't recommended).
Turn the jeans inside out.
Fold the material an amount equal to the size of the hem that you are trying to create. In my case, I fold it 0.5 inches. Use pins to hold it in place.
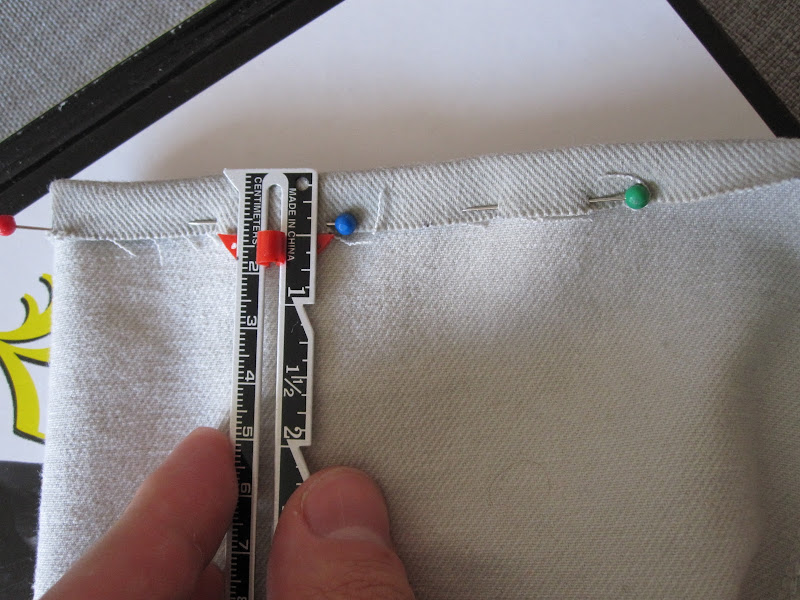
Use an iron to press the folded fabric. It's better if you don't use pins with plastic heads so you don't accidentally melt them. Again, I didn't have other pins thanks to the holiday.
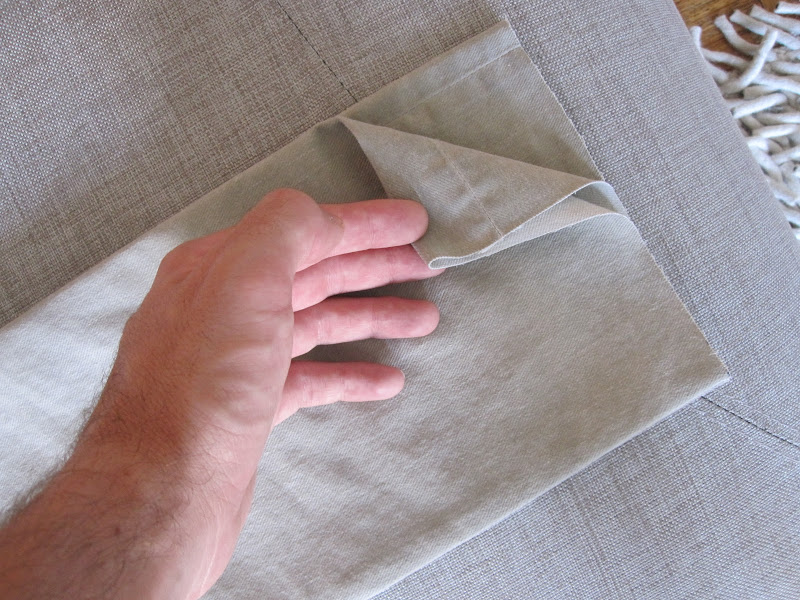
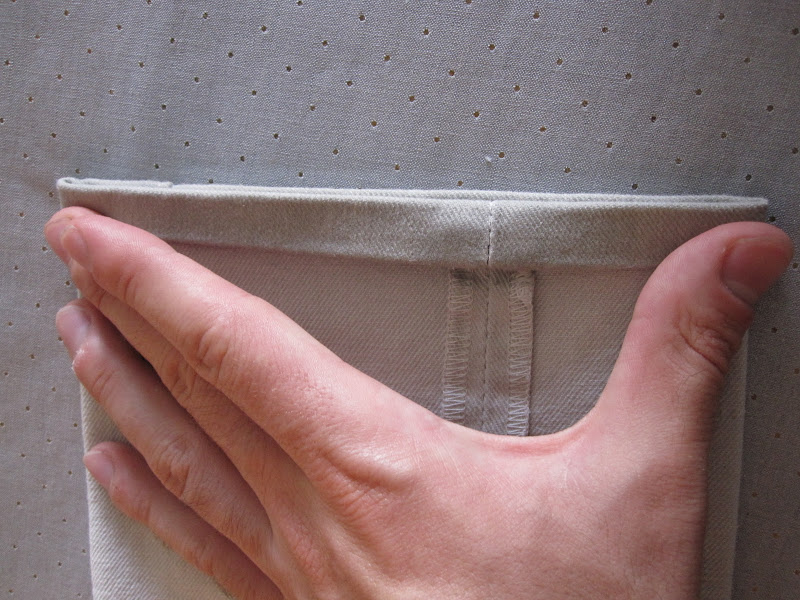
Fold the hem once again, hold in place with pins and iron again just like before. The result should look like the picture below.
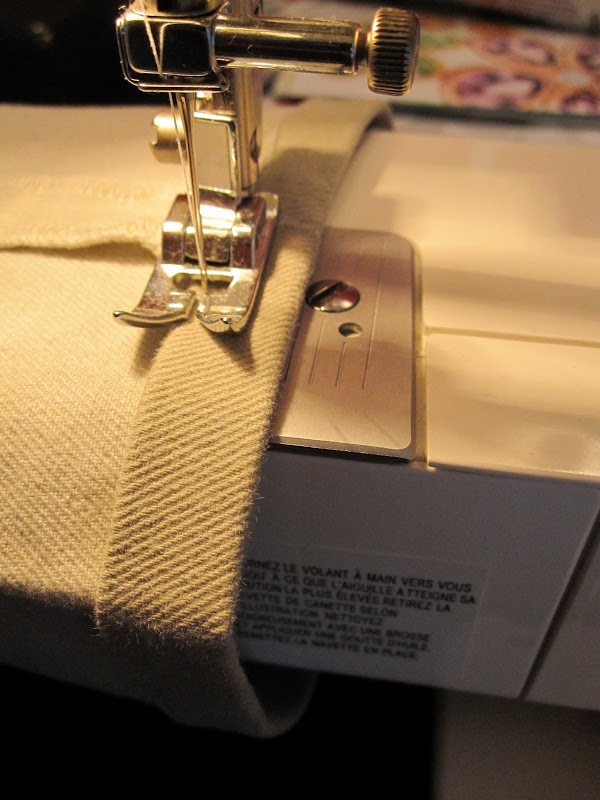
Next, prep up your sewing machine. If you are a baller you will use your personal chain stitching loom. If you are only a mid-level baller like me, you use your Brother. Take off the base attachment so you can stitch wrap the pant leg around the base. Line up the end of the hem with one of the lines on the guide plate. Your stitching should be as close to the upper edge of the folded up fabric as possible. Lower presser foot, needle and have at it.
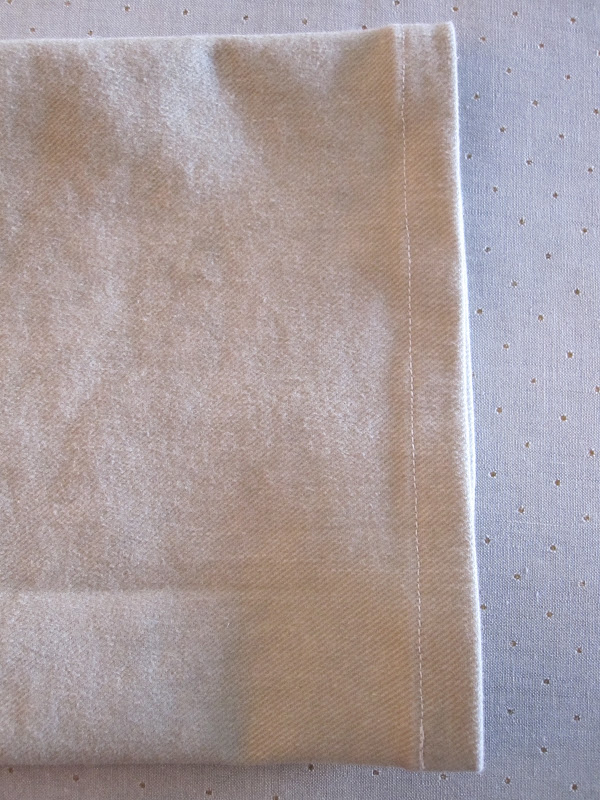
Your finished product should look as follows.
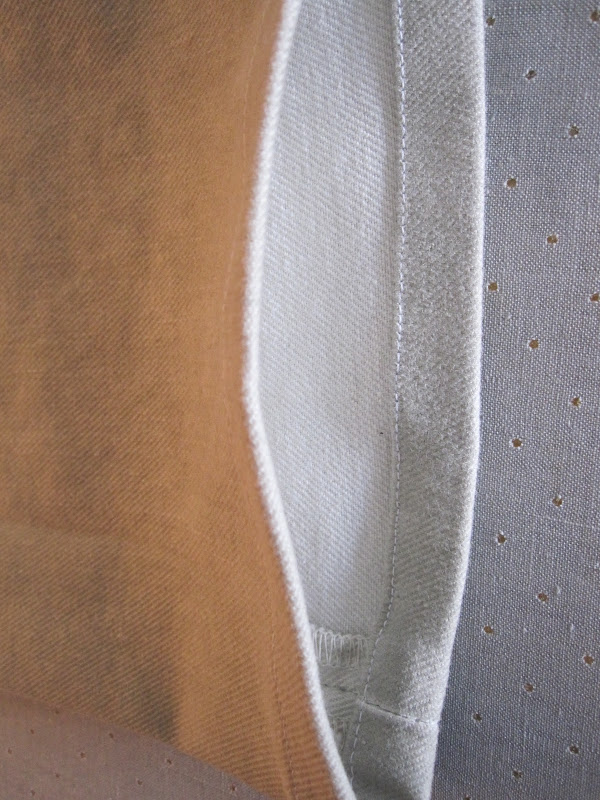
If you want extra strength, add some vertical stitching (less than 0.5 inches) along inseam.
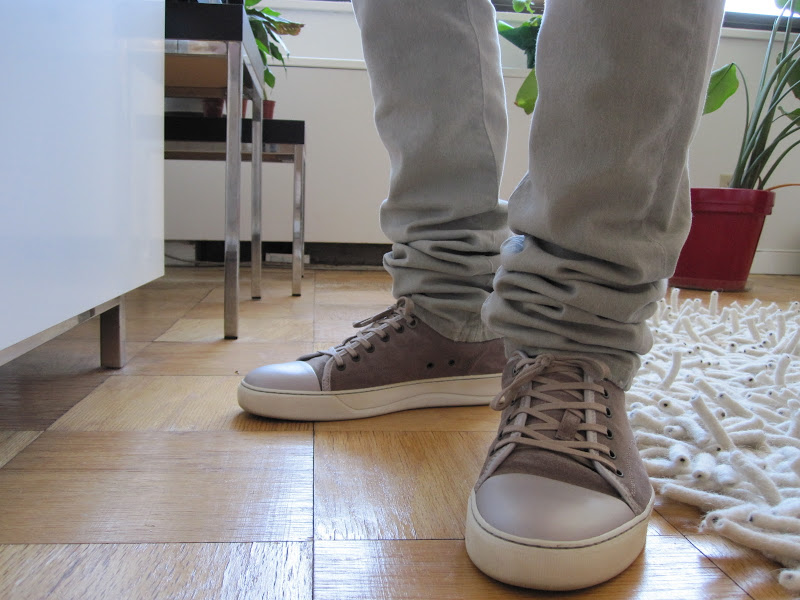
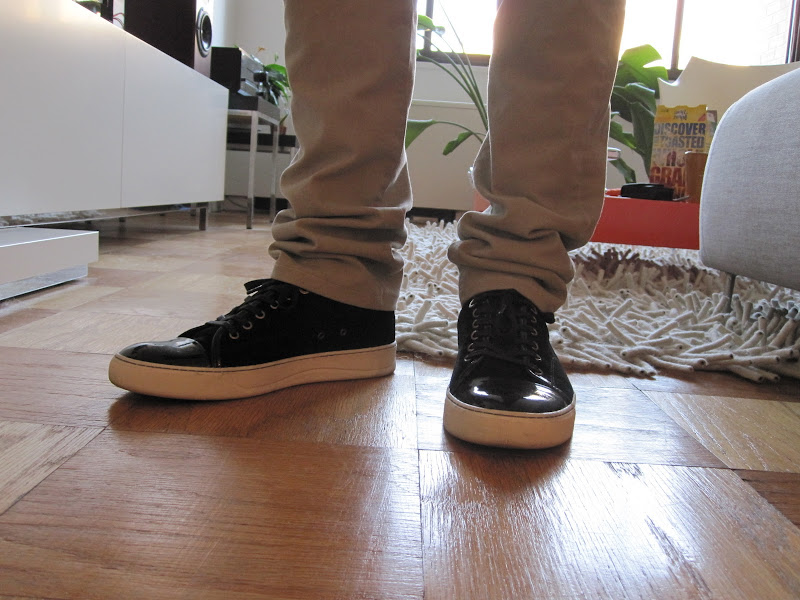
And finally, when dressed again (yes, Xenox....I know the shoes don't go with the pants):
The following are pictures following my process. It was my first time hemming pants. Posting this simply for record keeping and in case anyone else wants a step-by-step guide.
Here is how they looked beforehand. While they may look cool, the megastacks are not conservative enough for Washington DC and bridge parties with Shoreman1782 and his wife.
First you must put the pants on and determine how much you want to hem. Roll the pants up inside them selves and pin them in place. Once you are happy with the length, take them off and measure how much shorter you want them. In my case, I wanted to shorten mine 2 inches (as shown in pic below).
Once you determine this number you will need to determine how much extra material you need to actually make the hem (the distance from the bottom of the pants to the stitching). In my case, the original Dior hems were 0.5 inches. See below. It may actually be easier to measure stuff using the metric scale since they are Italian jeans but I'll stick with inches for all you Americana workwear fans.
Since the jeans have a hem that is 0.5 inches, and they are folded over once, the total material needed to make the hem is 0.5 inches * 2 = 1 inch. I used the following formula to determine how much to cut.
length_to_cut = total_length_to_shorten - length_of_material_for_hem
Therefore, I will want to cut 2 inches - 1 inch = 1 inch. Once the leftover material is folded and stitched up, the overall length of the shortening will have been 2 inches. Mark a line on the jeans indicating where to cut.
Cut the jeans using a pair of good, long scissors (since all fabric stores that sell such scissors are closed on this fabulous holiday, I used my Swiss Army Knife which isn't recommended).
Turn the jeans inside out.
Fold the material an amount equal to the size of the hem that you are trying to create. In my case, I fold it 0.5 inches. Use pins to hold it in place.
Use an iron to press the folded fabric. It's better if you don't use pins with plastic heads so you don't accidentally melt them. Again, I didn't have other pins thanks to the holiday.
Fold the hem once again, hold in place with pins and iron again just like before. The result should look like the picture below.
Next, prep up your sewing machine. If you are a baller you will use your personal chain stitching loom. If you are only a mid-level baller like me, you use your Brother. Take off the base attachment so you can stitch wrap the pant leg around the base. Line up the end of the hem with one of the lines on the guide plate. Your stitching should be as close to the upper edge of the folded up fabric as possible. Lower presser foot, needle and have at it.
Your finished product should look as follows.
If you want extra strength, add some vertical stitching (less than 0.5 inches) along inseam.
And finally, when dressed again (yes, Xenox....I know the shoes don't go with the pants):
![lol8[1].gif](https://www.styleforum.net/images/smilies/lol8[1].gif)