007Bond
Distinguished Member
- Joined
- Sep 20, 2016
- Messages
- 1,271
- Reaction score
- 1,622
OK so UPS got here at 3 and today is 53 deg out so I really wanted to do this smelly job outside. I had about 2 hours of daylight left and same for reasonable temps.
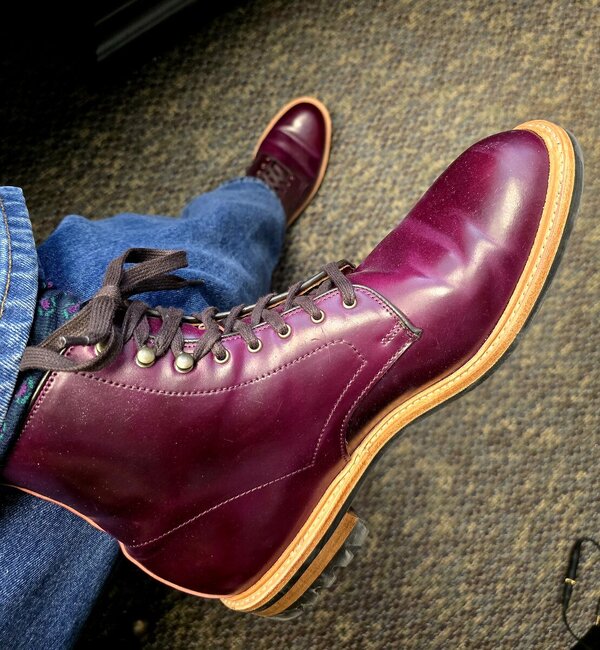
Jumping right on the project I had ordered British Tan and Burgundy. I decided to try the British Tan first as it was close to original. Out of the gate I thought it would be to light but with the orange interior this was the darkest tan I was willing to go as I did not want anything close to brown. When it first goes on it’s quite dark, but it quickly dries, and I was left at about the color they were when new. The color was even, and it evened out the whole shoe, unfortunately it was very clear that it was not going to cover or hide those black spots.
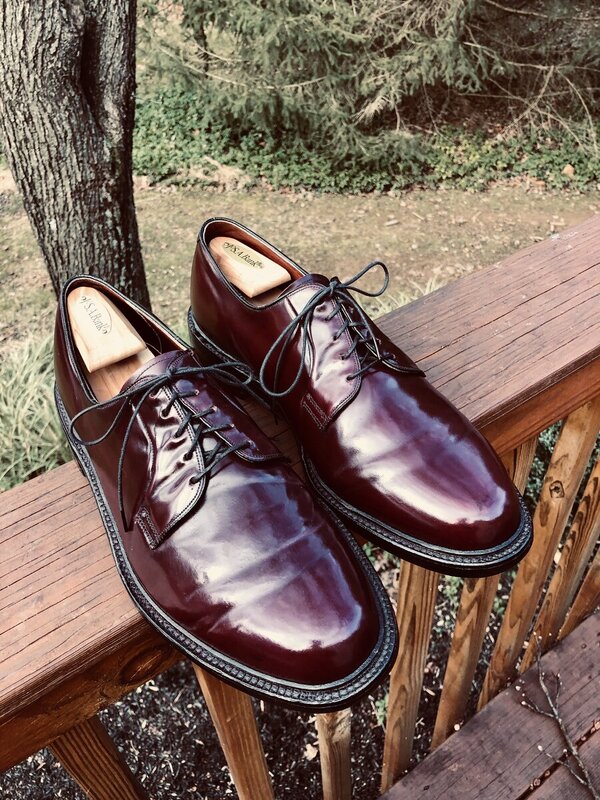
Having less than an hour of daylight left and it’s getting colder I decided what I had was a good even light base. I pulled out the Burgundy and throw the dice off I went dyeing away. This was going on very dark and as it was drying, I was not seeing the black spots. I waited 15 min and put on another application and things were looking good. I let it dry 2 hours then conditioned the shell, applied cordovan cream, and brushed.
Overall, I am very happy with my results.
Tips this dye is crazy liquid like so much more than water. Goes everywhere you let it go and even where you don’t want it to go. Even though I did a super tape job it was not good enough some dye made it to the welt. This was my first attempt, so I am learning, and I made a few mistakes. Next time I would put a layer of tape over the first layer making sure not to have any seams near other seams. I did some doctoring up if you look closely you can see it but from 1 foot it’s hard to notice and at 5 feet up no one is going to notice.
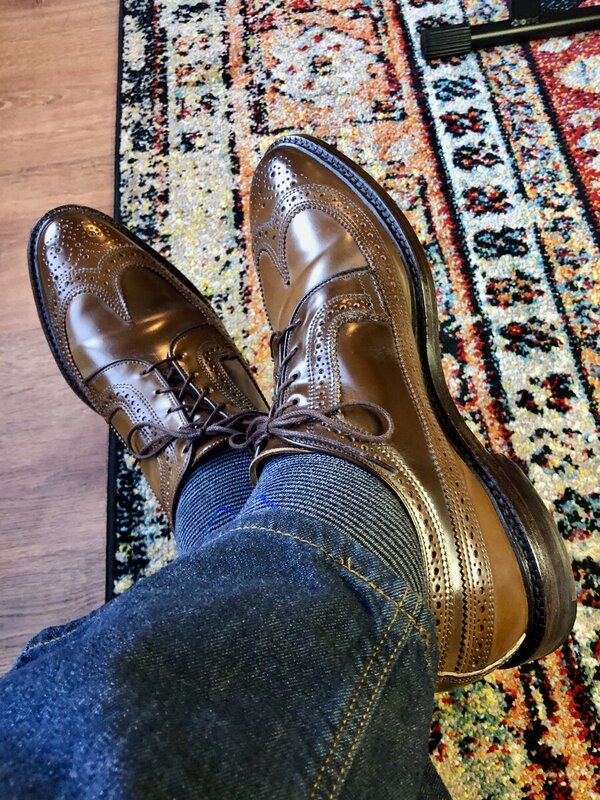
My original intention was to go closer to the original color but that was not covering the spots, so I think this is a happy compromise. Maybe a little odd with the red Dainite soles but they have dulled down since new. One note on anyone considering orange or light interiors as you can see my black socks stain the orange.
Remember the original pics these shoes were looking so bad they could only be worn for Junkers.
Anyway, what do you guys think?
Some pics from the day they were new, them tired and old, in repair, dyed, done.
New

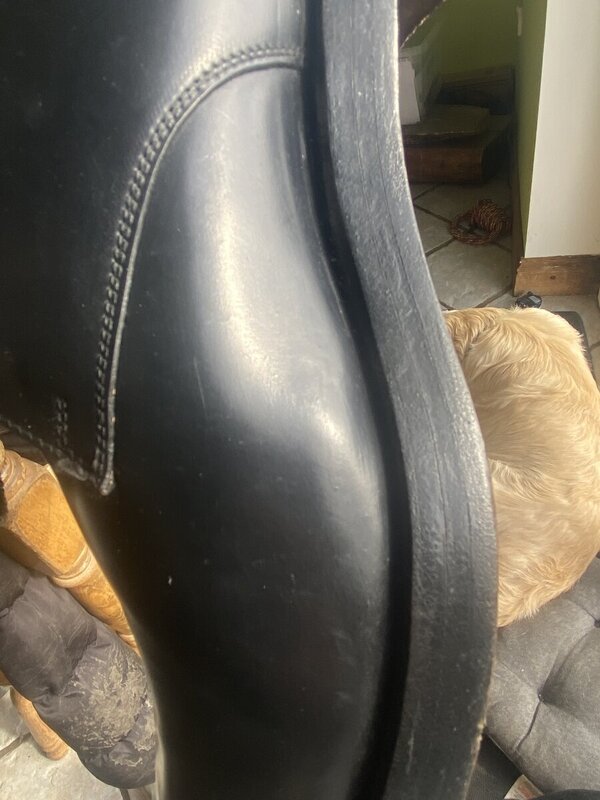
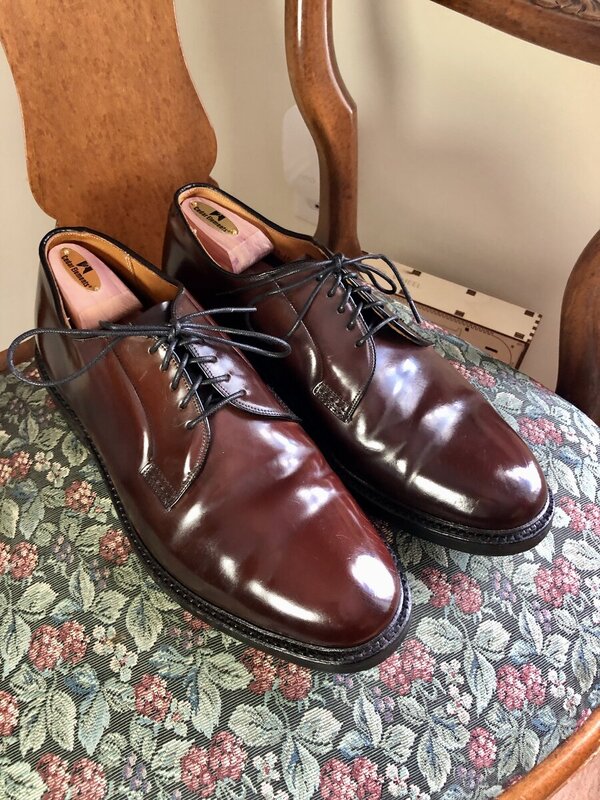
Getting old and something got spilled on them causing black spots tried everything to clean no luck.


Cleaned with acetone and ready.

After the Burgundy dye was applied in garage.


2 hours later in basement.

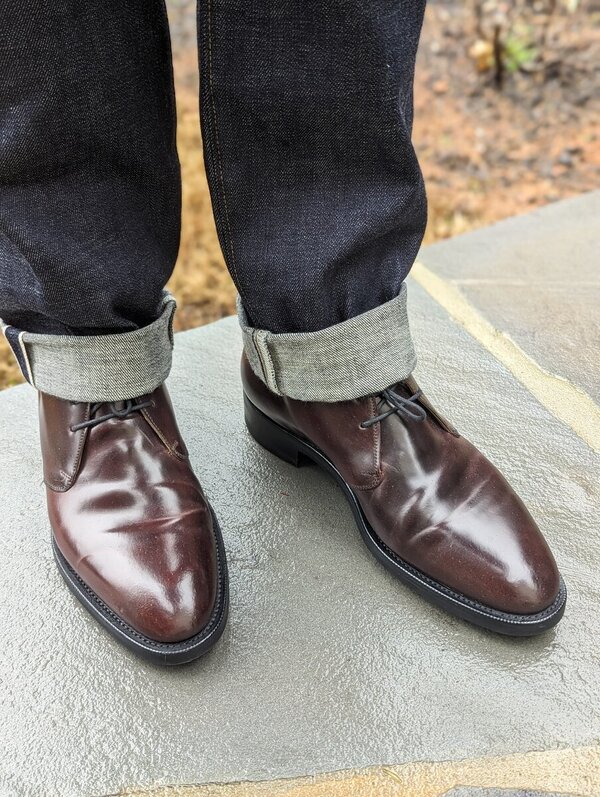
After conditioning with cream, then cordovan cream, and brushing.

No spots.

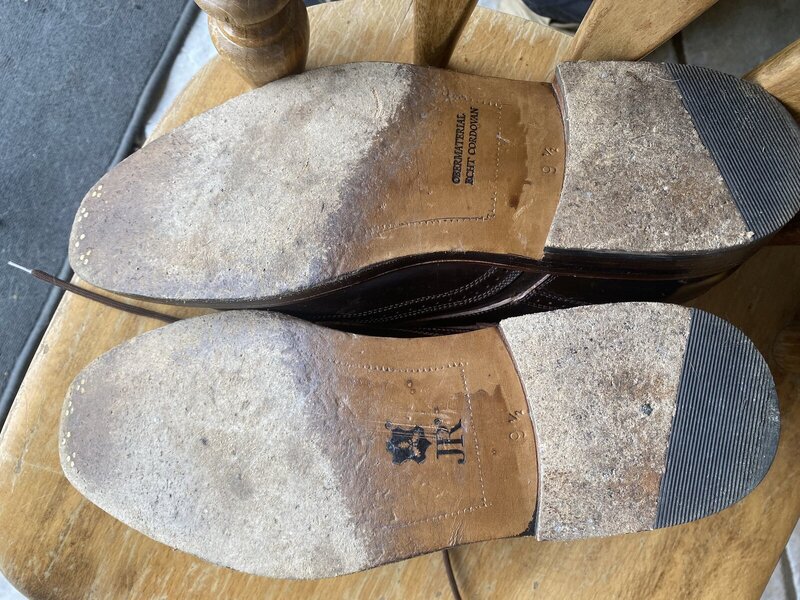
This area was the worst and it now looks great.

Also now both toe areas look the same color.

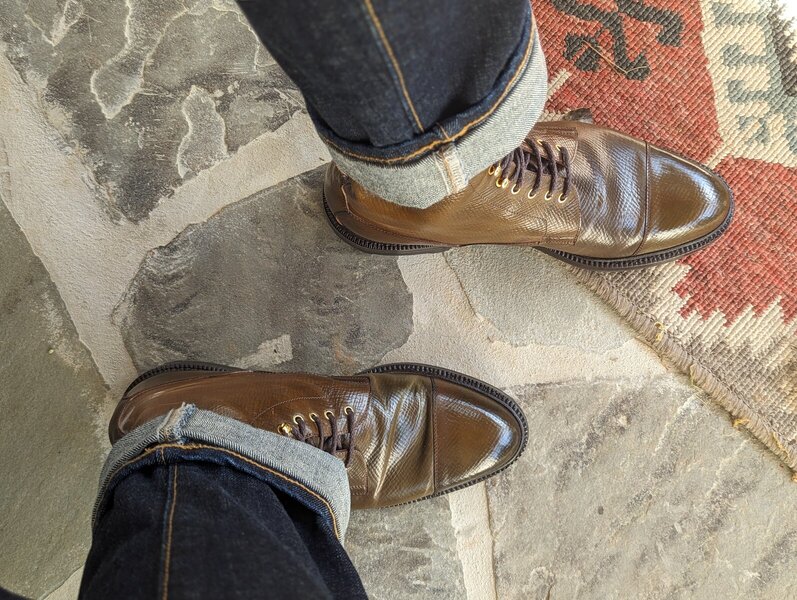
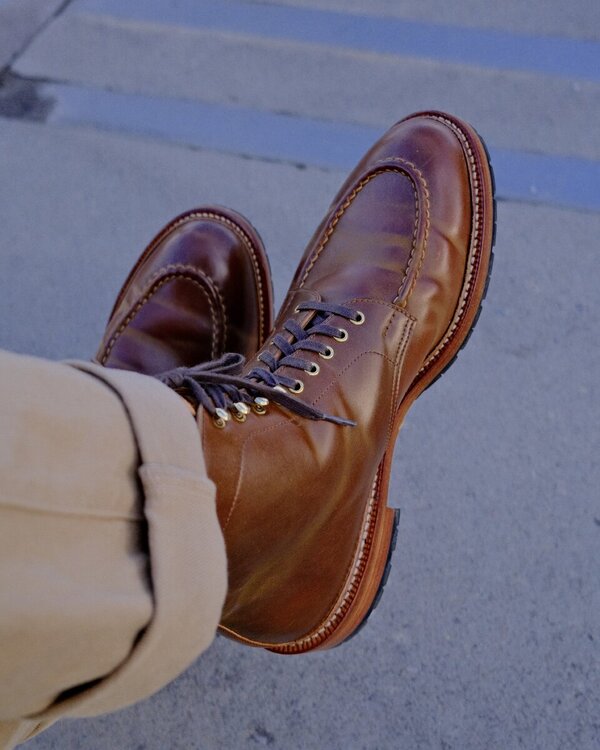
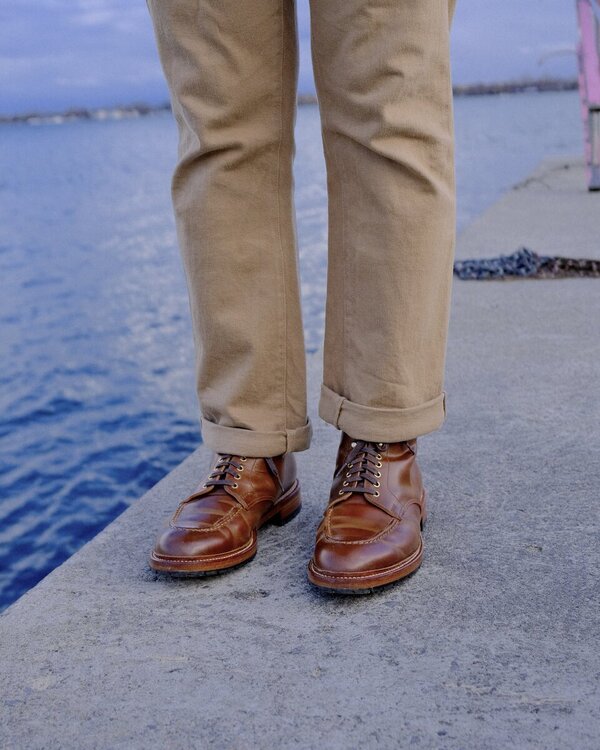
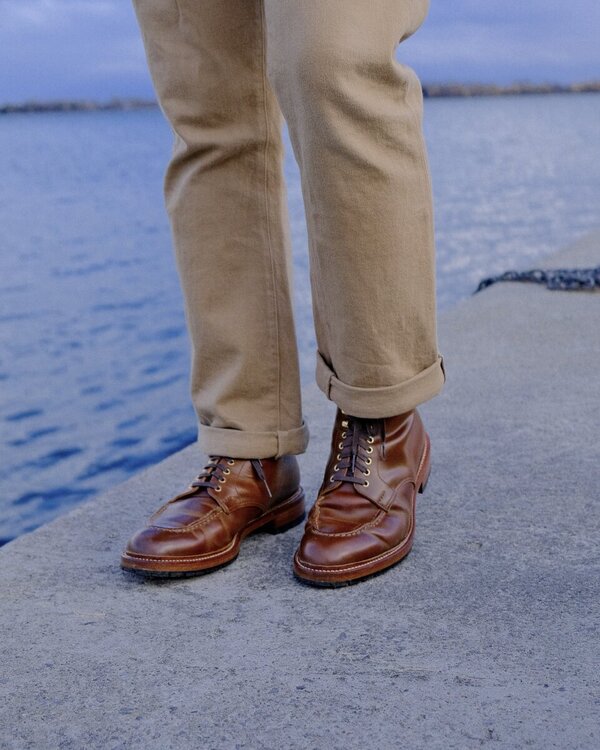
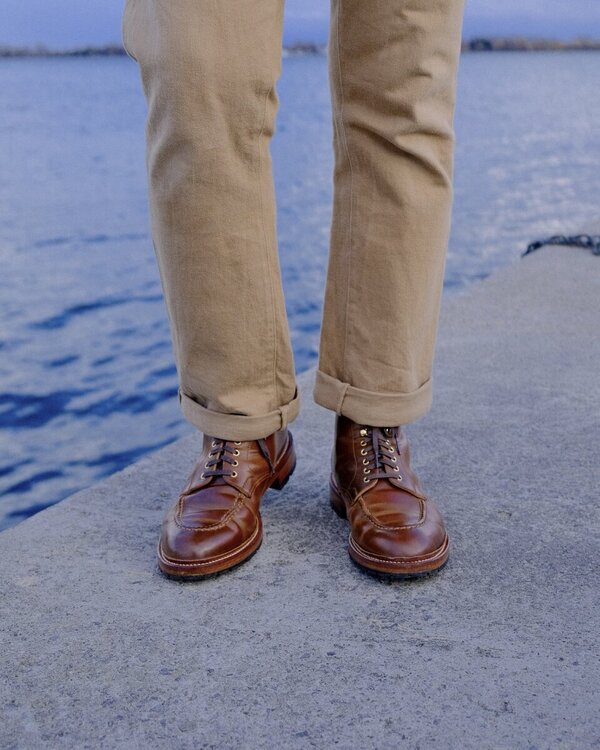
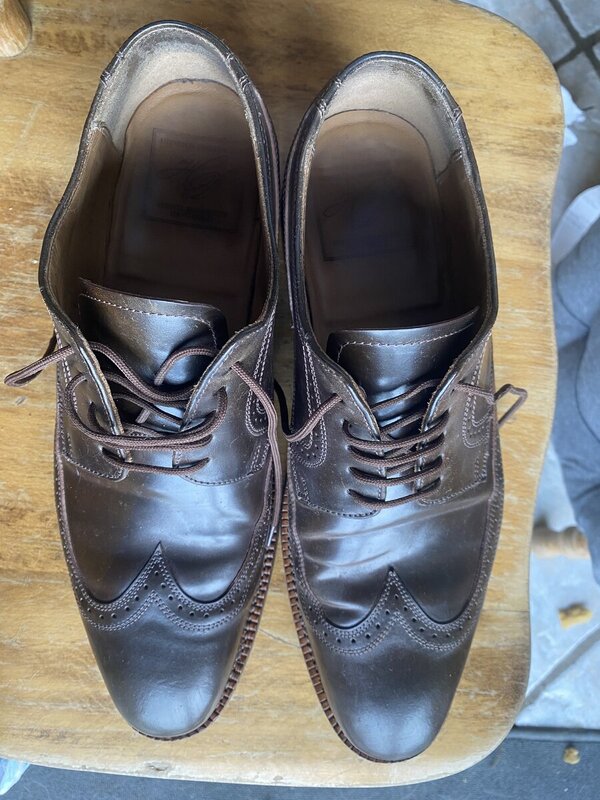
Pic from 1 foot up and looking good.

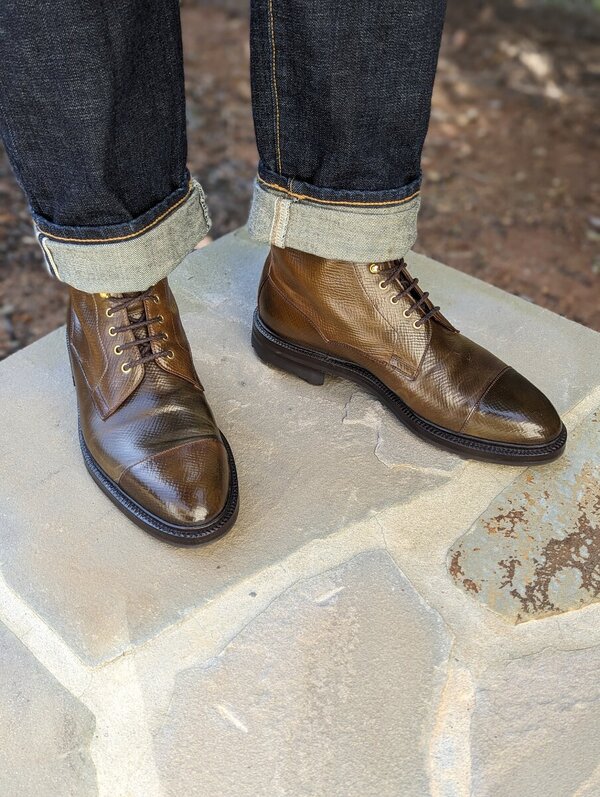
I think I am very happy with the results.
A really huge difference from what they looked like when new and then old like a totally different shoe.
Jumping right on the project I had ordered British Tan and Burgundy. I decided to try the British Tan first as it was close to original. Out of the gate I thought it would be to light but with the orange interior this was the darkest tan I was willing to go as I did not want anything close to brown. When it first goes on it’s quite dark, but it quickly dries, and I was left at about the color they were when new. The color was even, and it evened out the whole shoe, unfortunately it was very clear that it was not going to cover or hide those black spots.
Having less than an hour of daylight left and it’s getting colder I decided what I had was a good even light base. I pulled out the Burgundy and throw the dice off I went dyeing away. This was going on very dark and as it was drying, I was not seeing the black spots. I waited 15 min and put on another application and things were looking good. I let it dry 2 hours then conditioned the shell, applied cordovan cream, and brushed.
Overall, I am very happy with my results.
Tips this dye is crazy liquid like so much more than water. Goes everywhere you let it go and even where you don’t want it to go. Even though I did a super tape job it was not good enough some dye made it to the welt. This was my first attempt, so I am learning, and I made a few mistakes. Next time I would put a layer of tape over the first layer making sure not to have any seams near other seams. I did some doctoring up if you look closely you can see it but from 1 foot it’s hard to notice and at 5 feet up no one is going to notice.
My original intention was to go closer to the original color but that was not covering the spots, so I think this is a happy compromise. Maybe a little odd with the red Dainite soles but they have dulled down since new. One note on anyone considering orange or light interiors as you can see my black socks stain the orange.
Remember the original pics these shoes were looking so bad they could only be worn for Junkers.
Anyway, what do you guys think?
Some pics from the day they were new, them tired and old, in repair, dyed, done.
New
Getting old and something got spilled on them causing black spots tried everything to clean no luck.
Cleaned with acetone and ready.
After the Burgundy dye was applied in garage.
2 hours later in basement.
After conditioning with cream, then cordovan cream, and brushing.
No spots.
This area was the worst and it now looks great.
Also now both toe areas look the same color.
Pic from 1 foot up and looking good.
I think I am very happy with the results.
A really huge difference from what they looked like when new and then old like a totally different shoe.
 Although, compared to how they started, it’s quite a fall from glory..lol.
") They look superb.
They look superb.