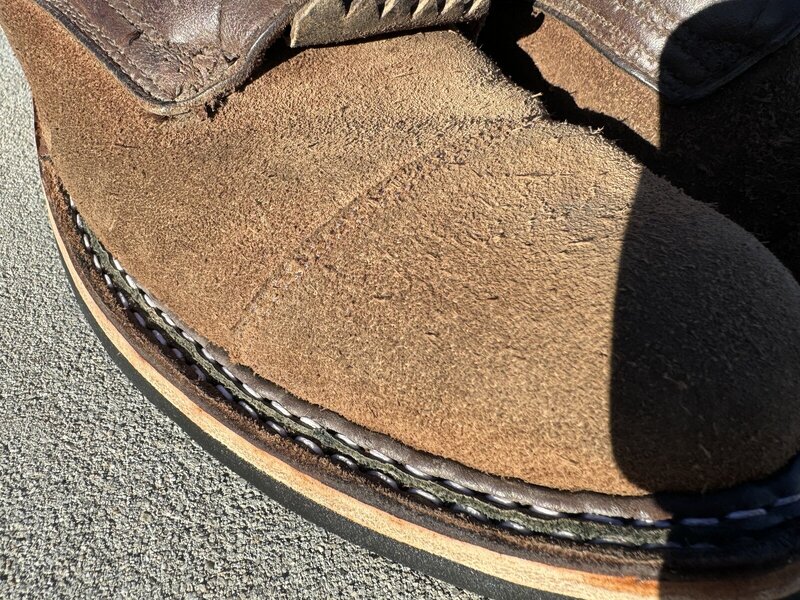
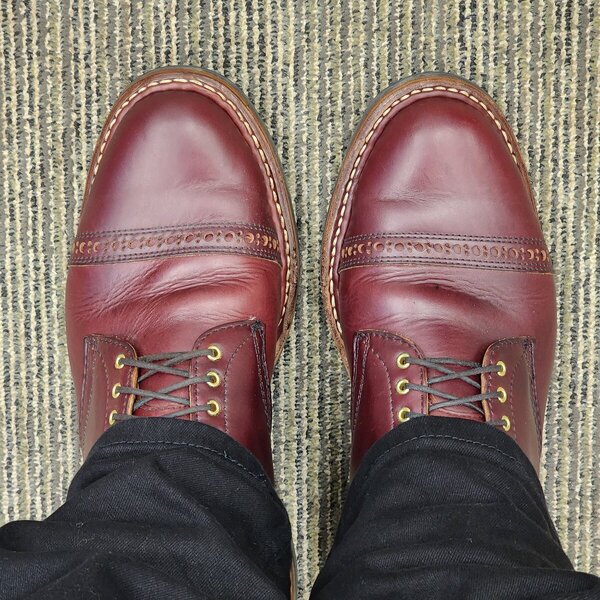
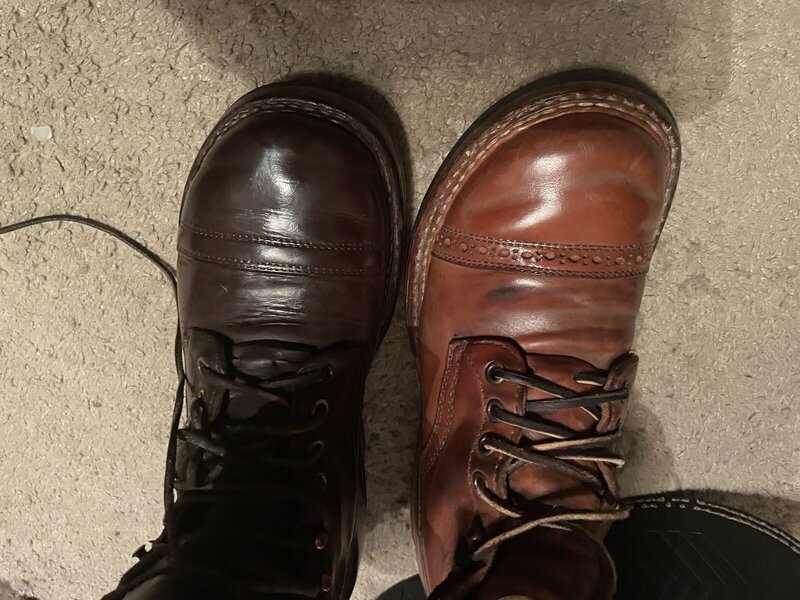
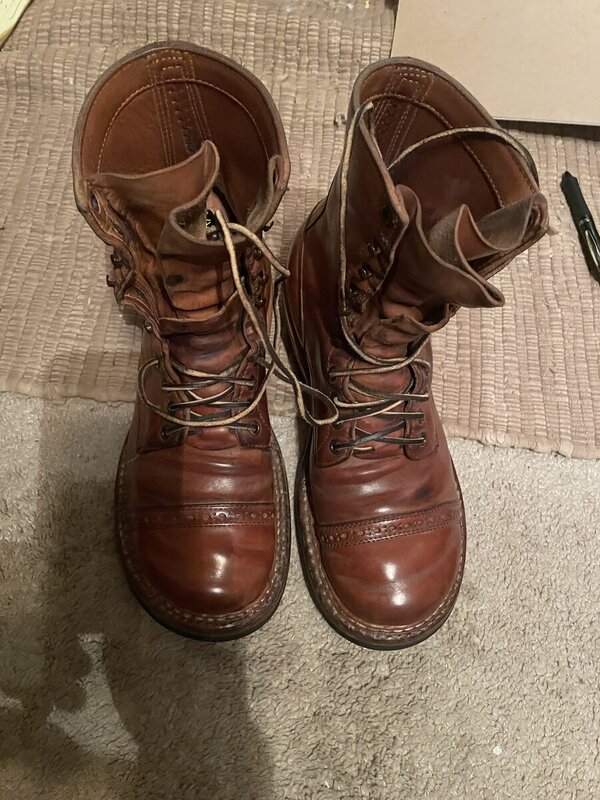
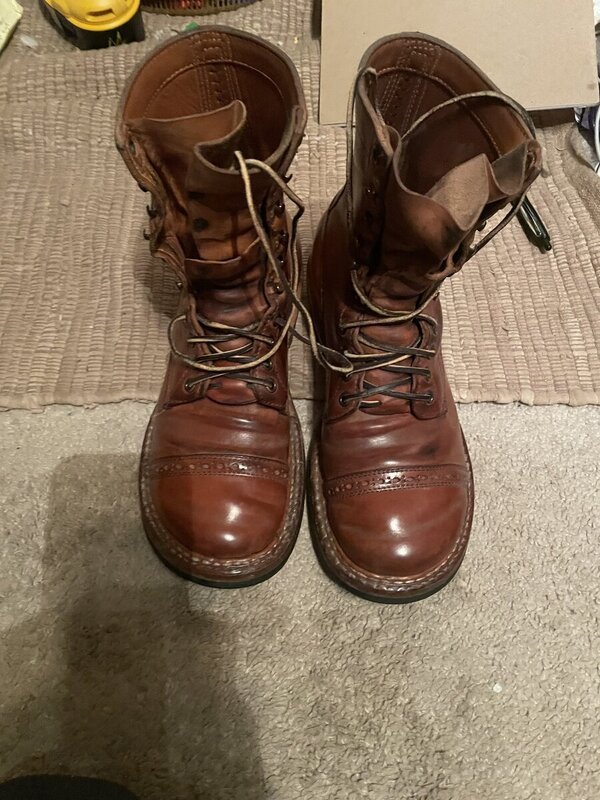
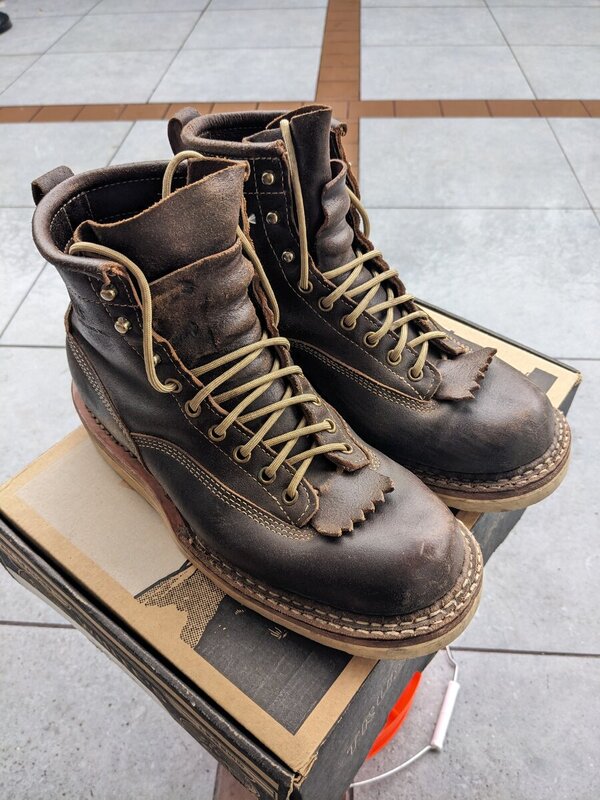
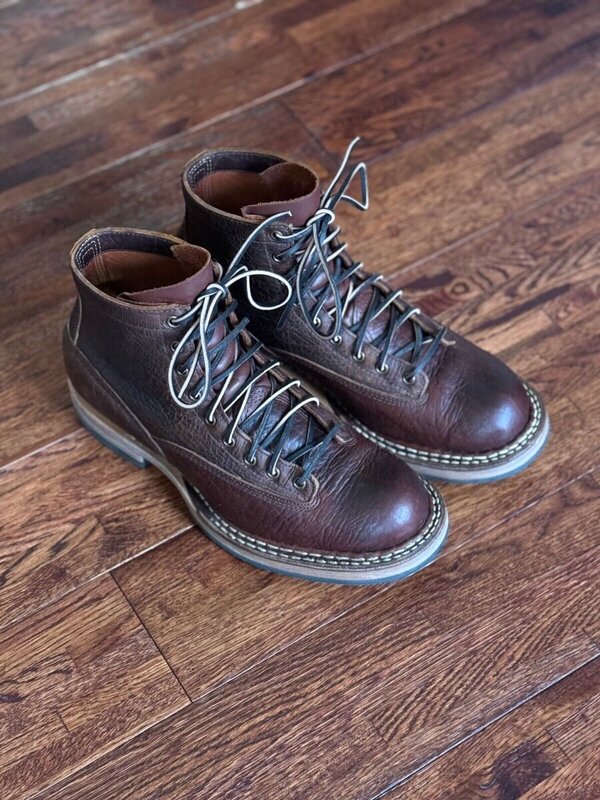
Thanks! The first time around, I applied 2 coats before wearing them. We got some snow last week and just wearing them back and forth from my car to work, the house, and taking the dog out, almost all of it came off. I theorized maybe because I applied it over Whites edge dressing. This time I cleaned them, sanded them, and applied 3 coats. Then left them sit for almost 2 days. Seems to be doing much better now.@klank74 - look'n good, sir. I've been doing 2 coats of resolene & better, longer lasting results. Letting the first coat dry properly helps.
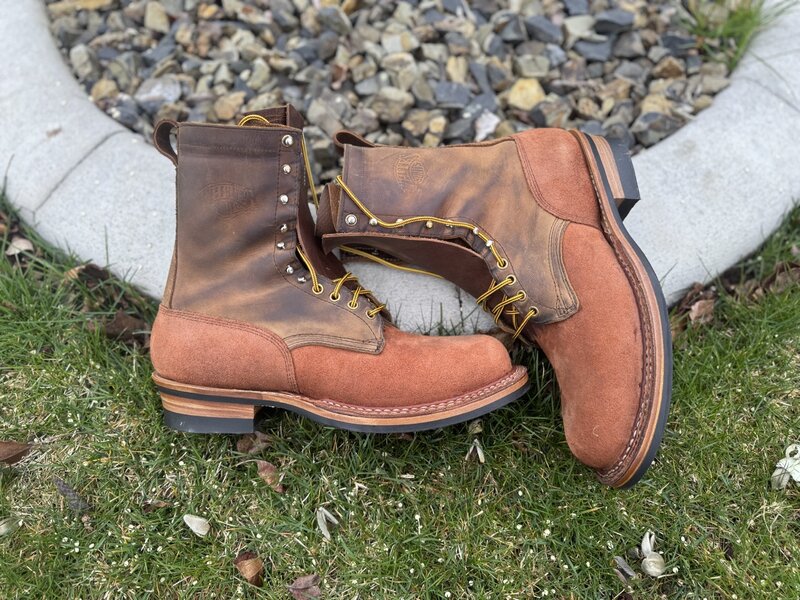
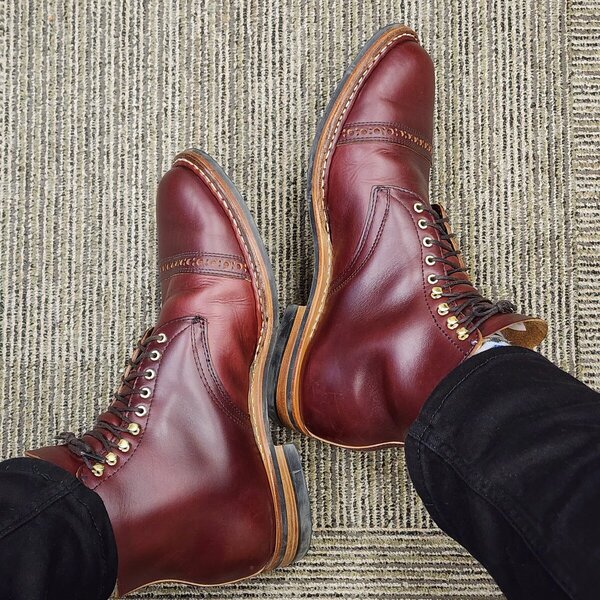
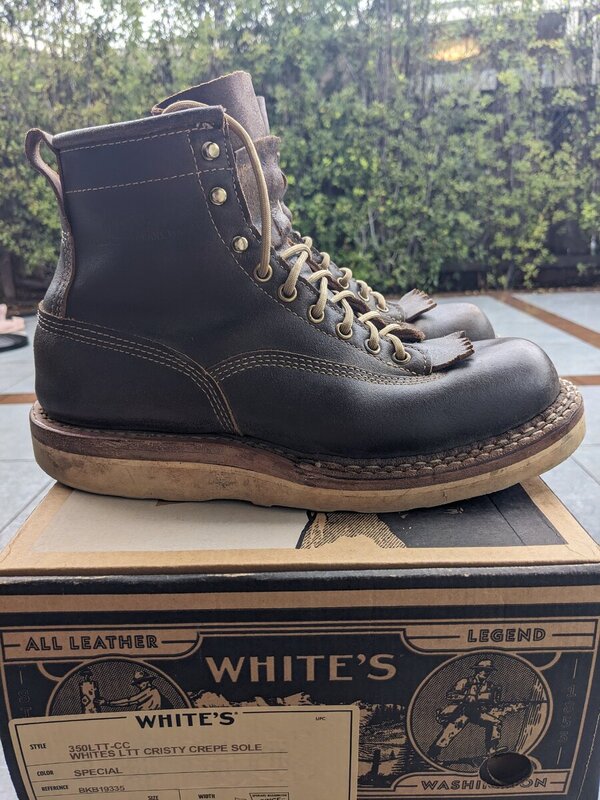
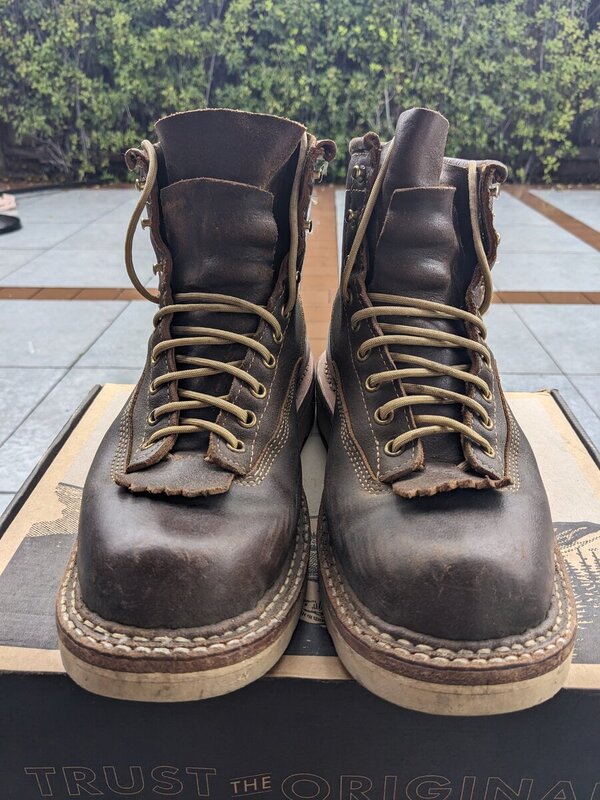
Can you elaborate on your lacing method for the false tongues? Keeping them from drooping towards the toe & even between the upper laces is pet peeve of mine. I have a particular style thats been working good but some kilties are more stubborn than others.
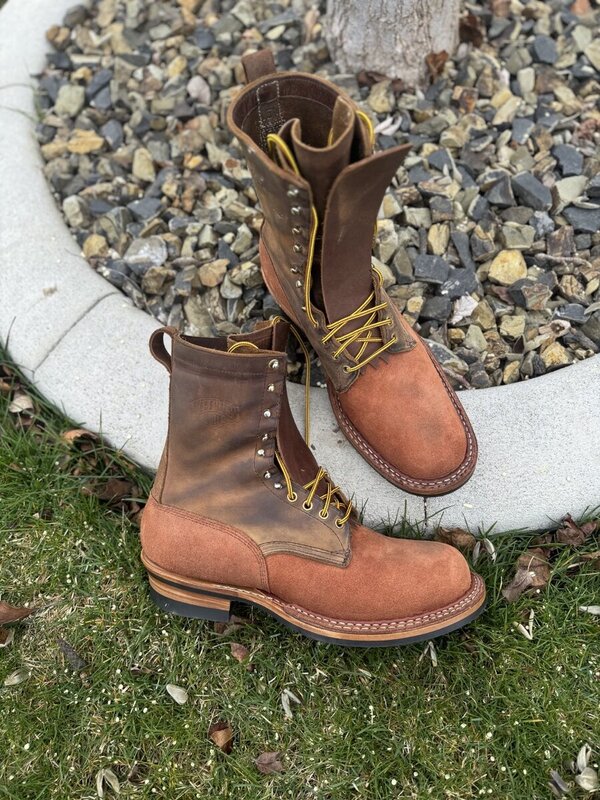
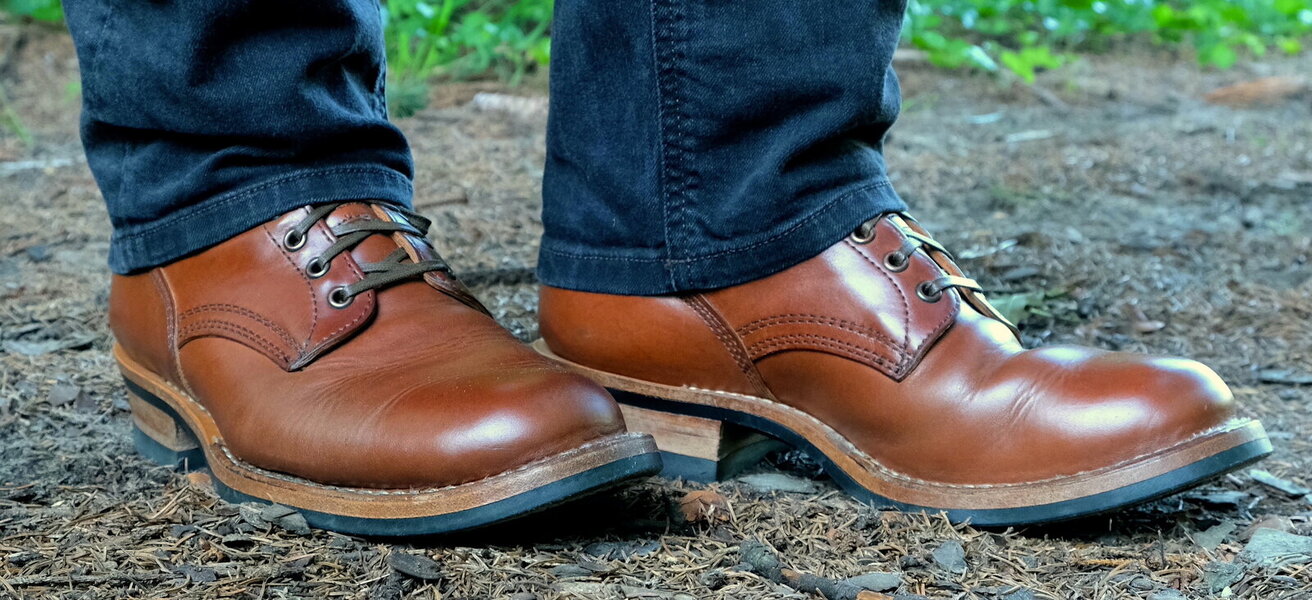
i picked it up from someone in the iron heart forum. My first boots with kilties, and my first day with them in, but so far, it seems to be working great. I’ll take a picture when I get home later and post it. I’ll just butcher it if I try to explain it? what technique do you use?

")