Demeter
Senior Member
- Joined
- Feb 7, 2005
- Messages
- 228
- Reaction score
- 5
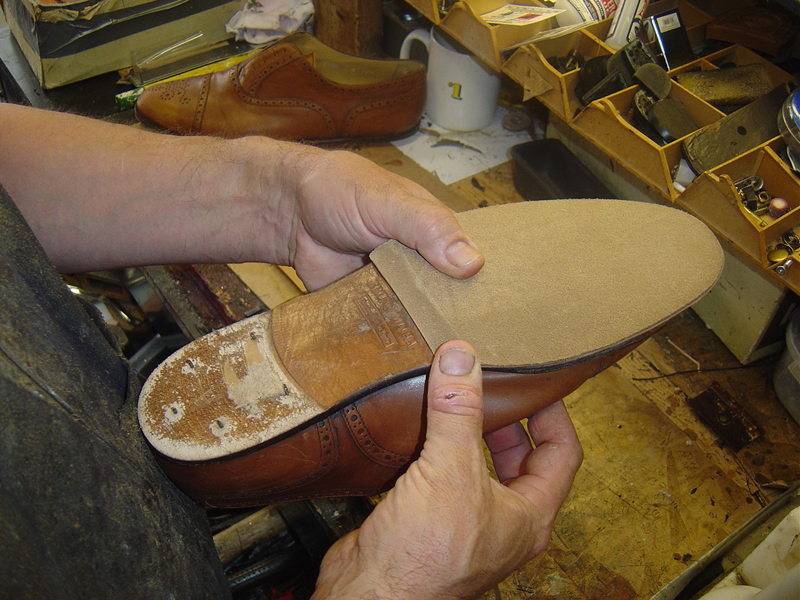
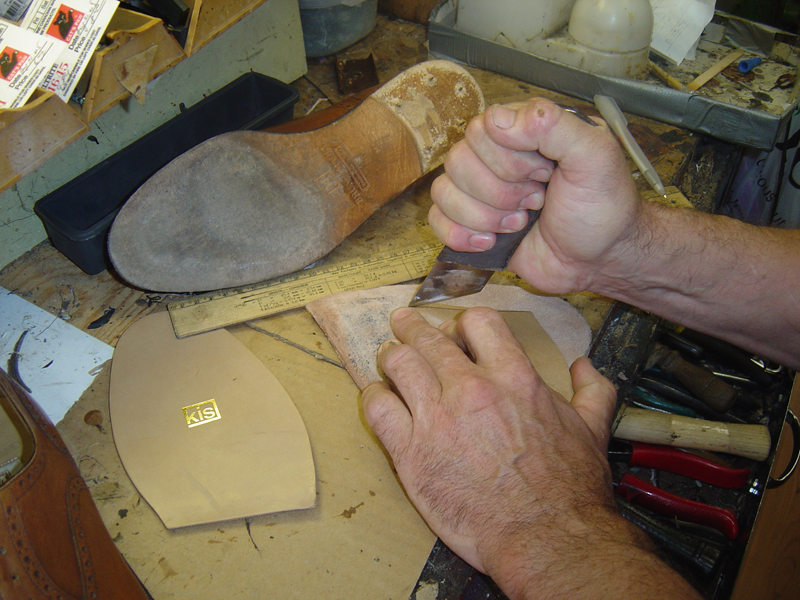
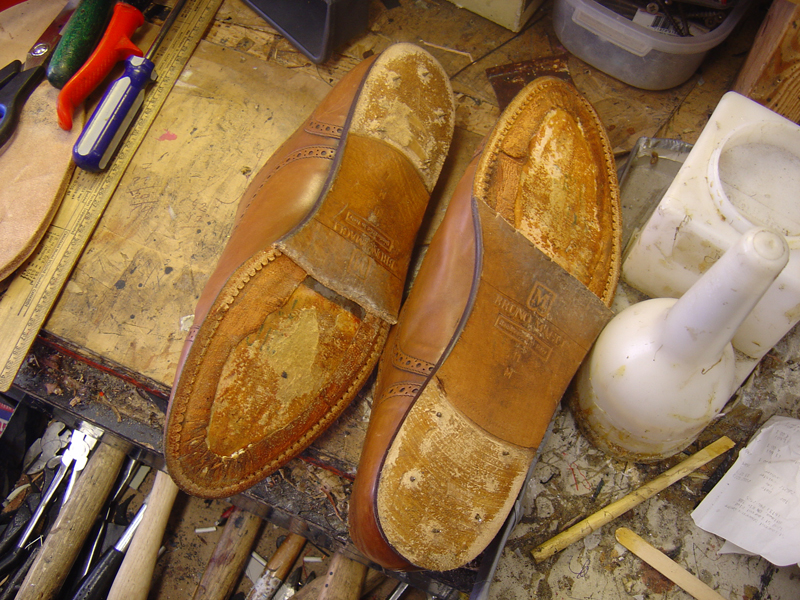
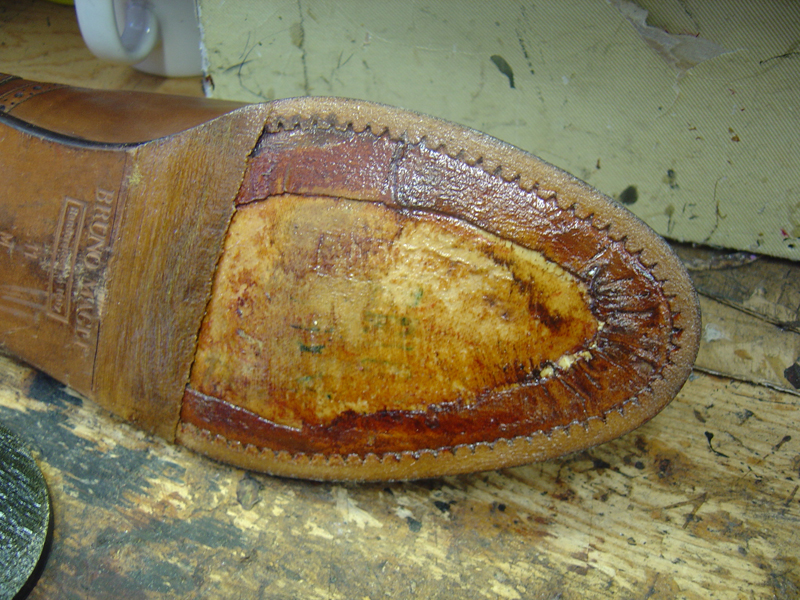
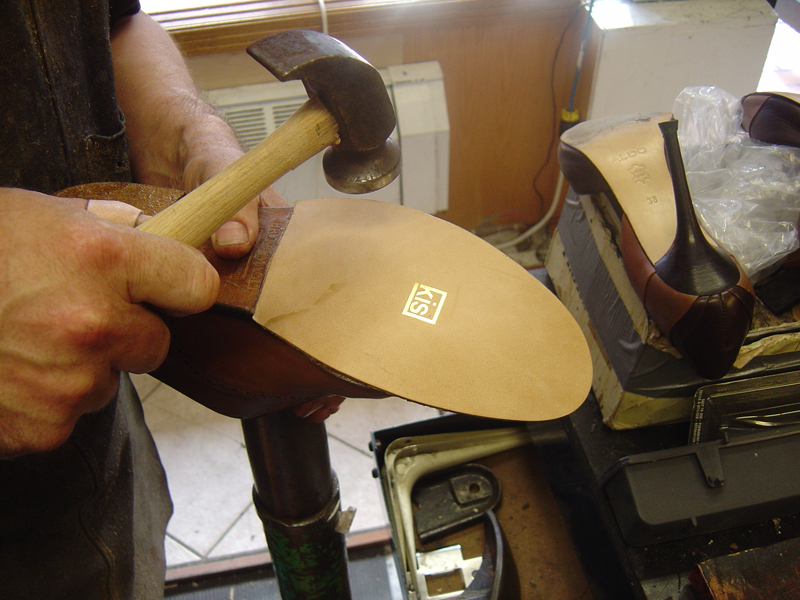
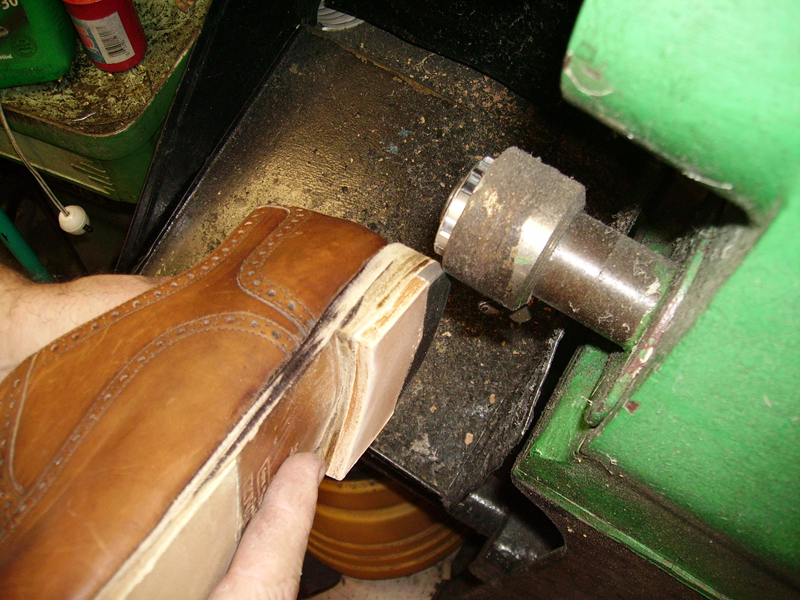
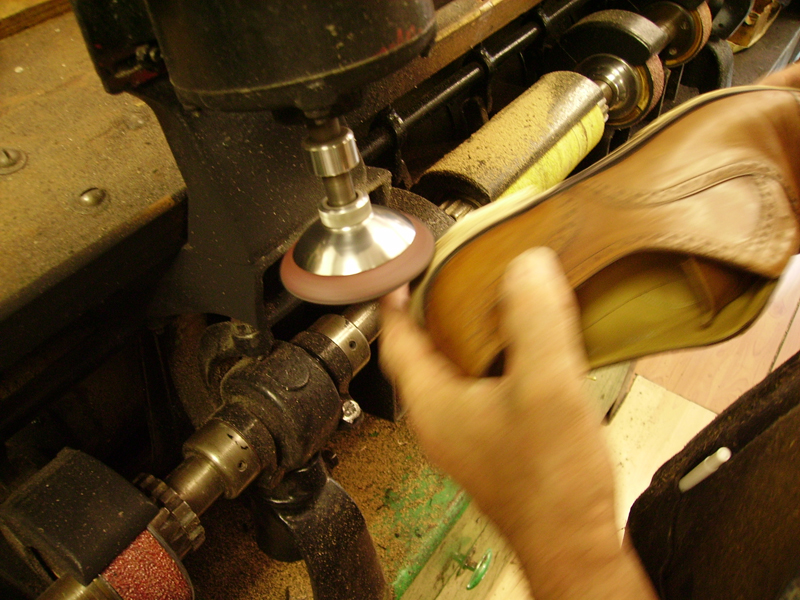
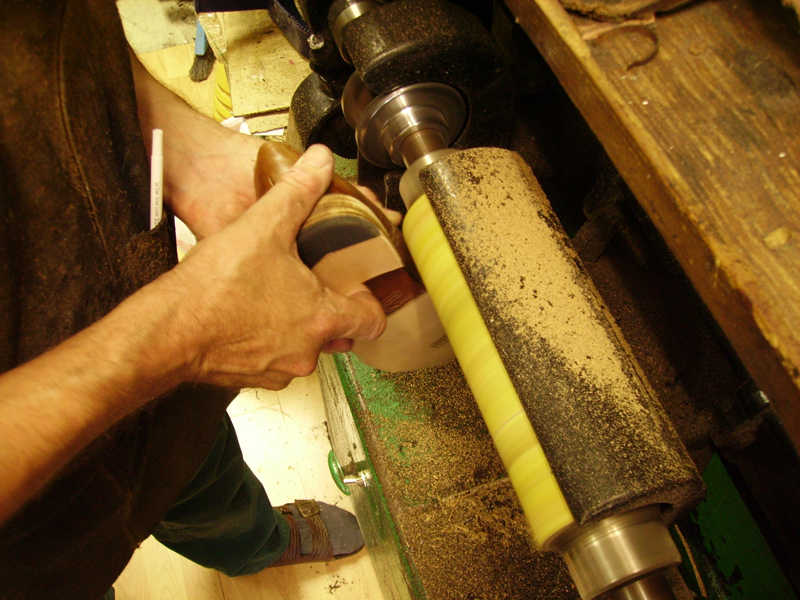
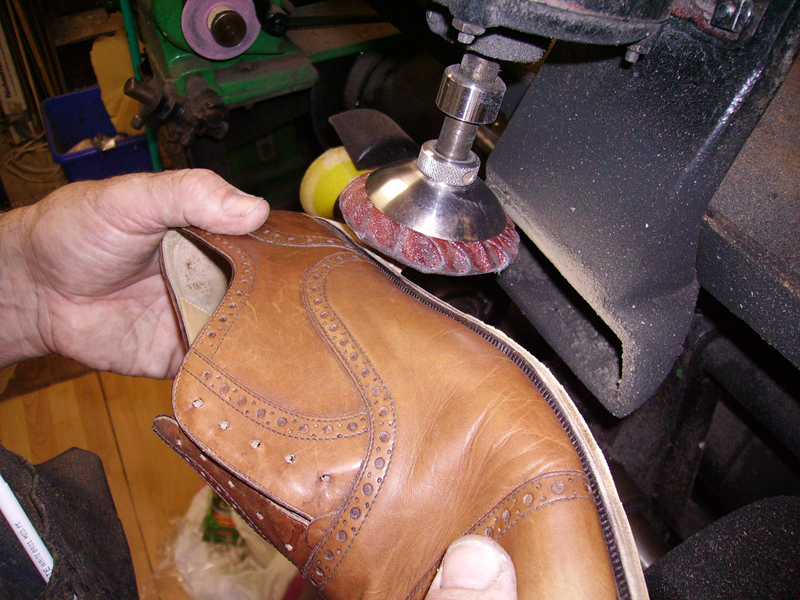
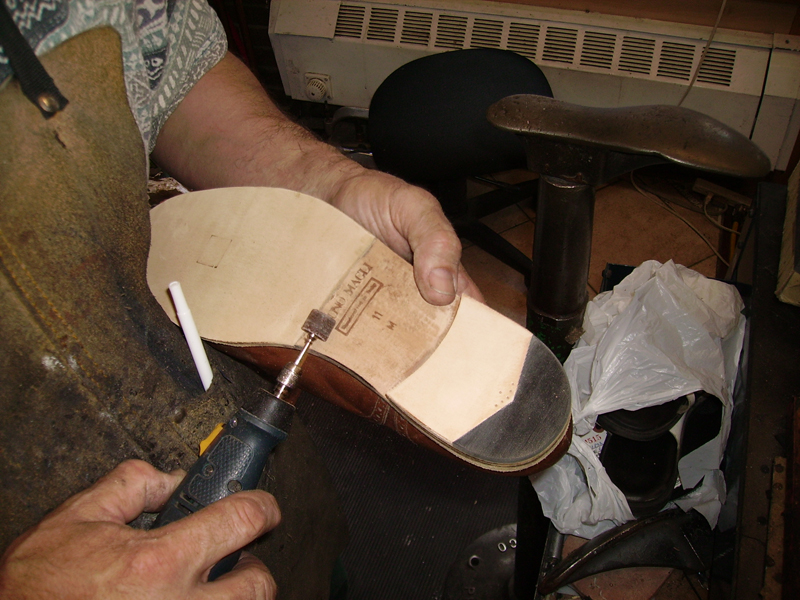
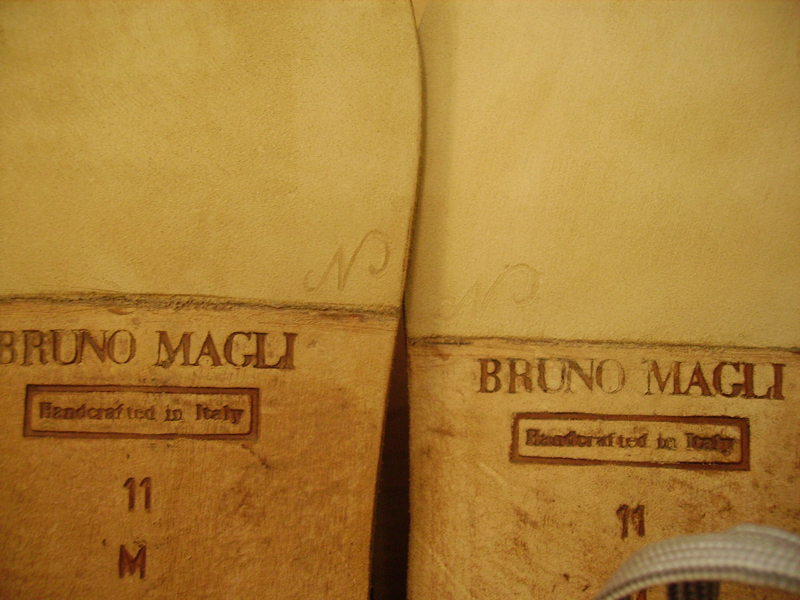
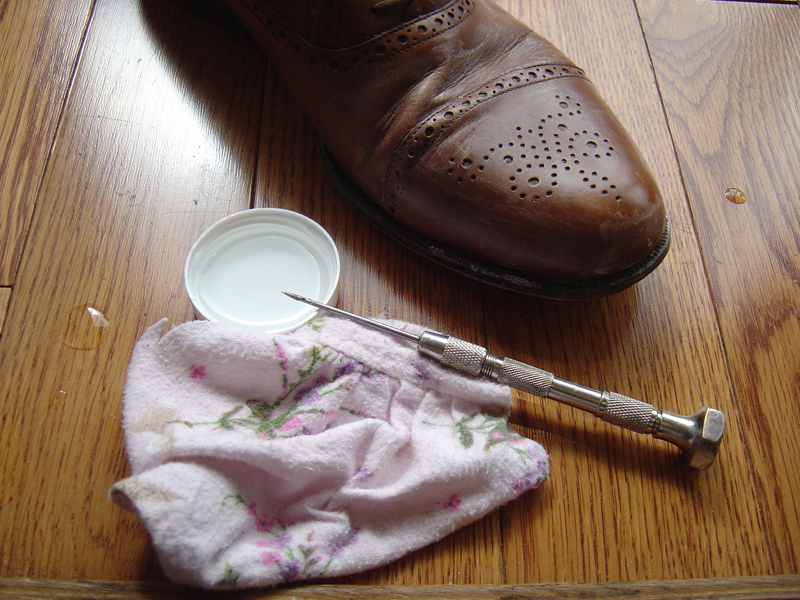
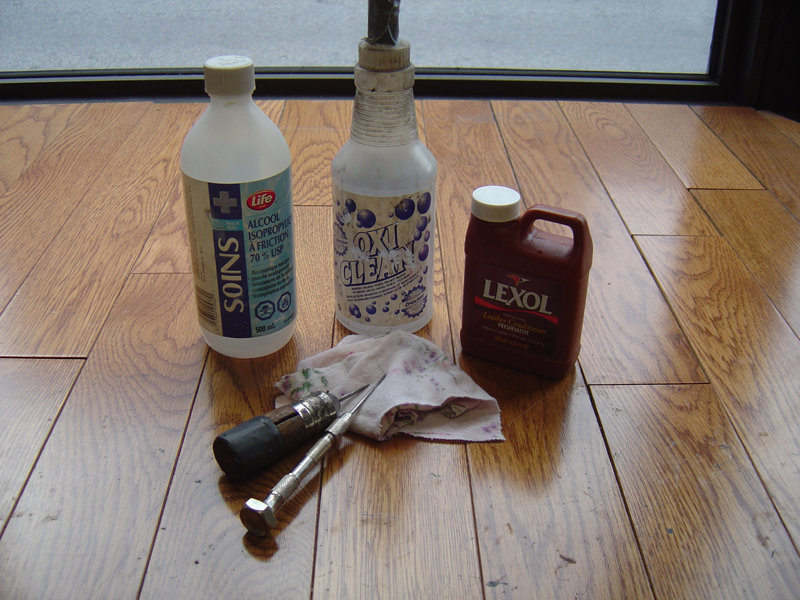
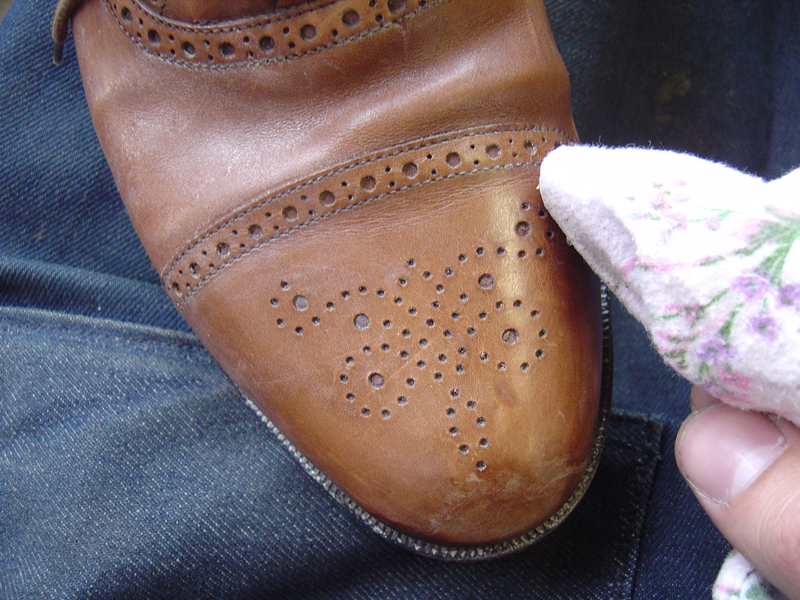
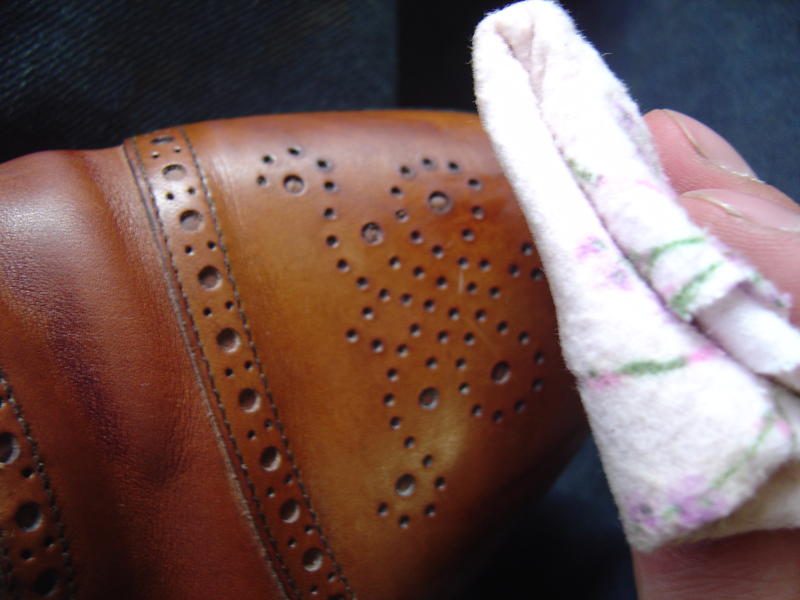
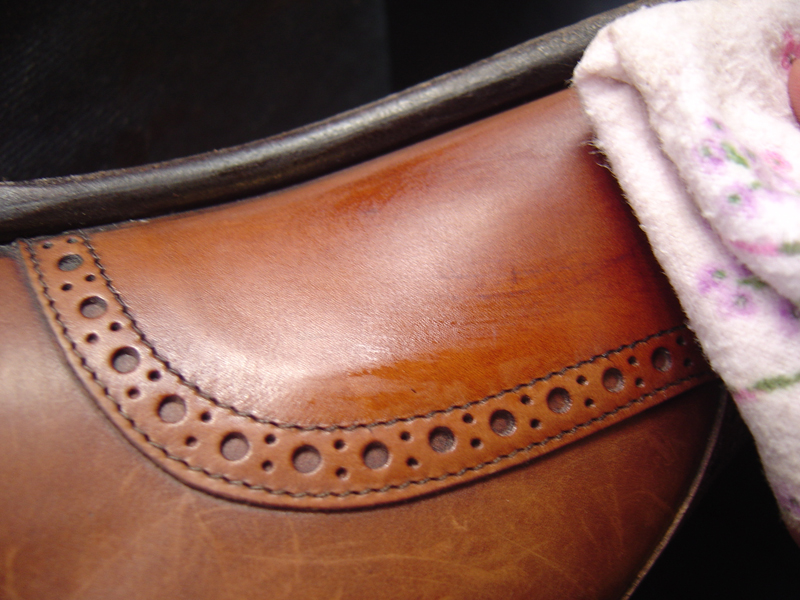
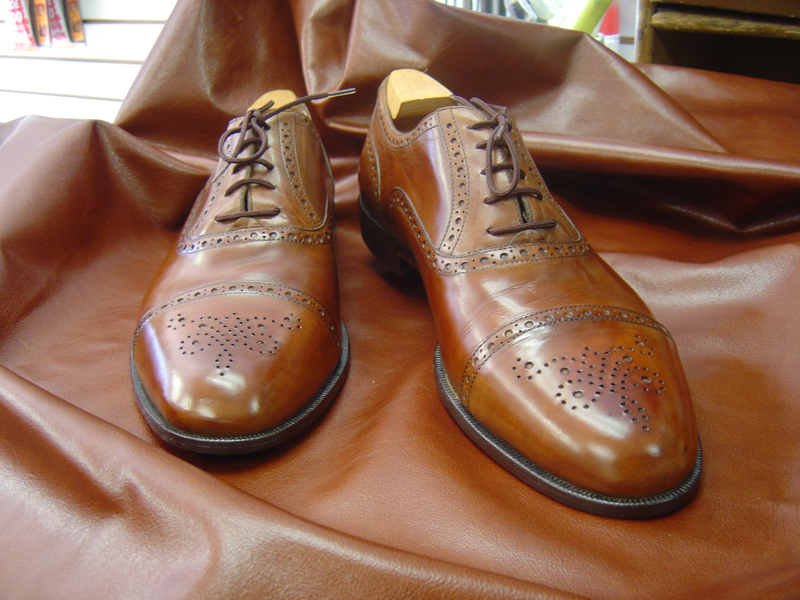
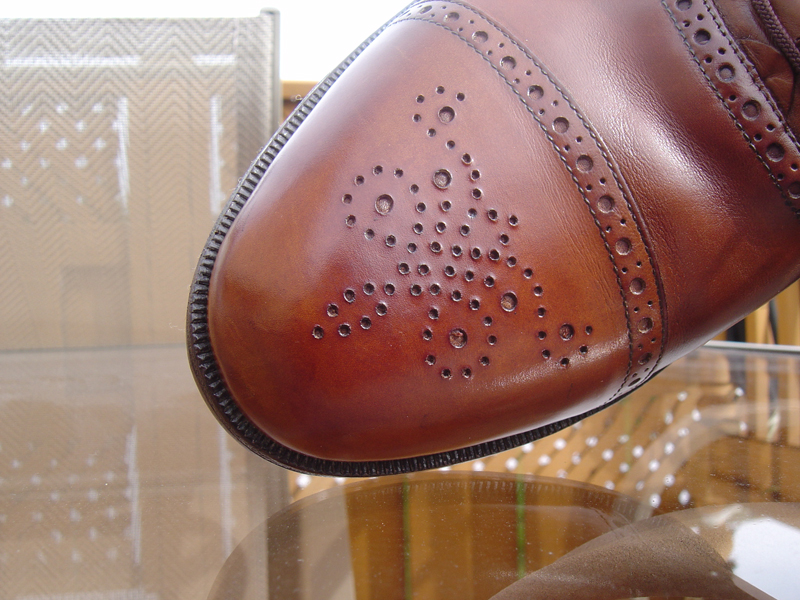
By popular request, here is the post as it appeared in December shortly before the hard drive crash. "A Tale of Two Shoes" I managed to find these at a thrift store in town and thought they would be a perfect candidate to do something like this about. Usually when a pair of testonis, Lobbs, or anything else comes in there isn't much time for me to bother the master cobbler with holding the shoes still while I set the aperture on my camera to take a photo. In any case, a reheel, half-resole, and a general cleanup was done, along with a very minor antiquing. I'll try not to be too long-winded in my descriptions of what's going on in the pictures, but just enough to answer any questions that might pop up. Part 1 - The heel and sole
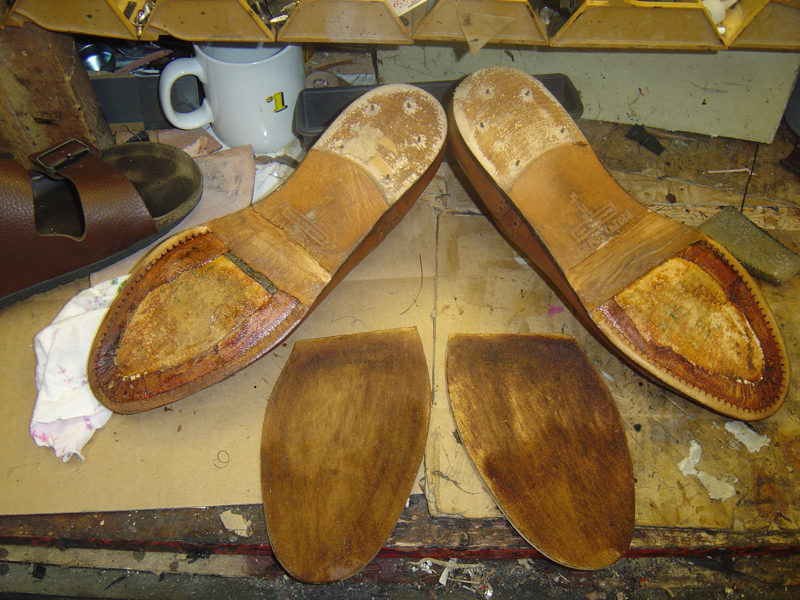
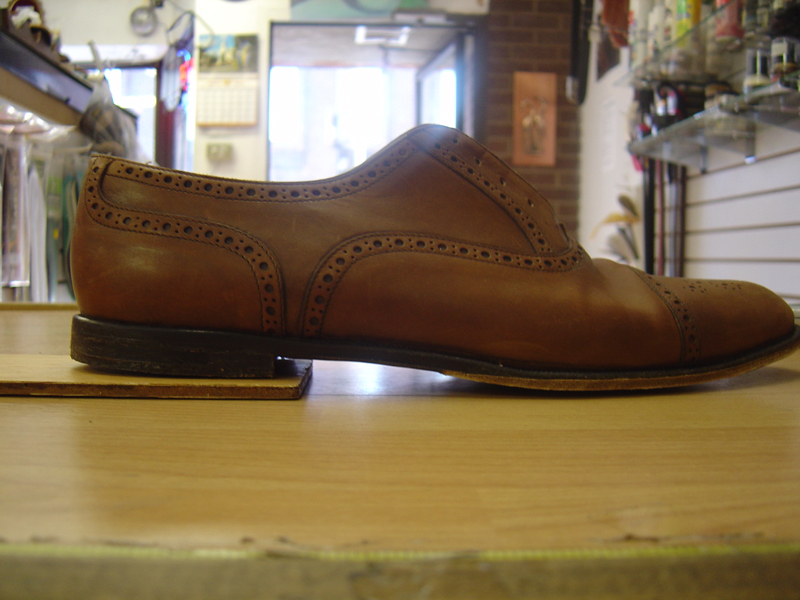
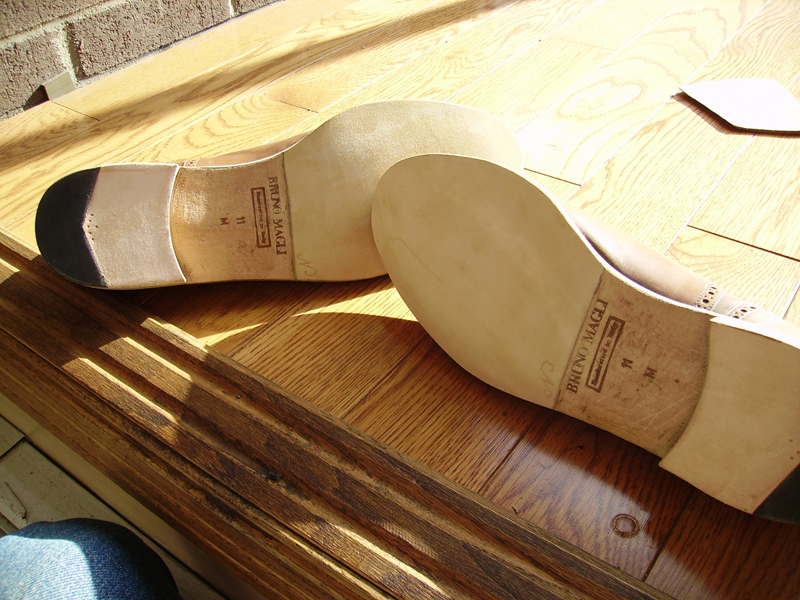
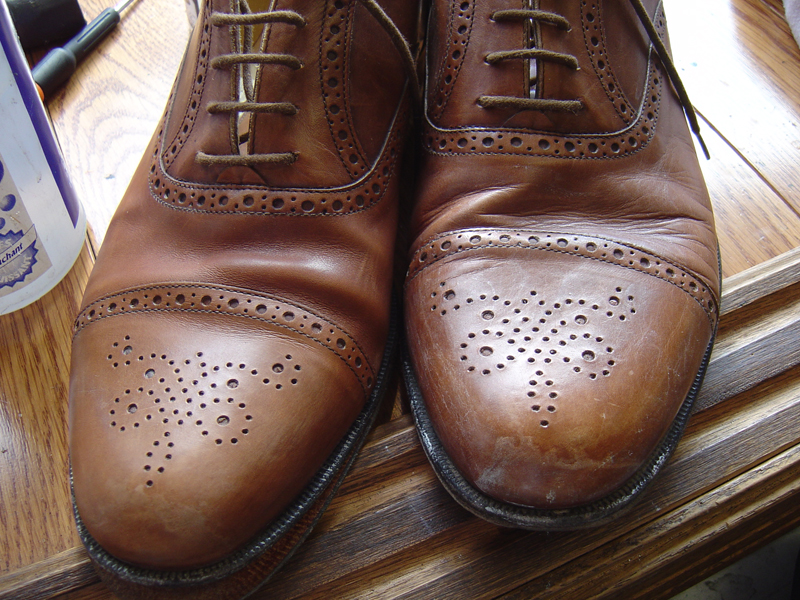
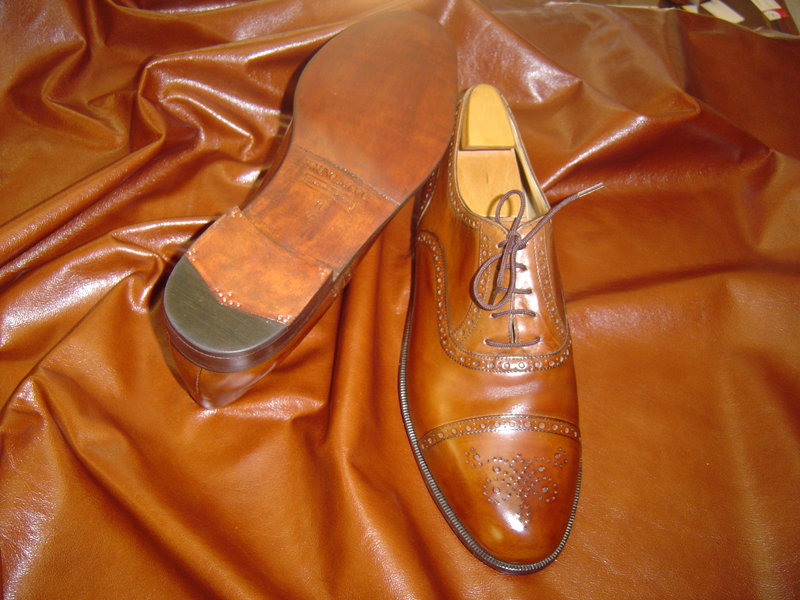
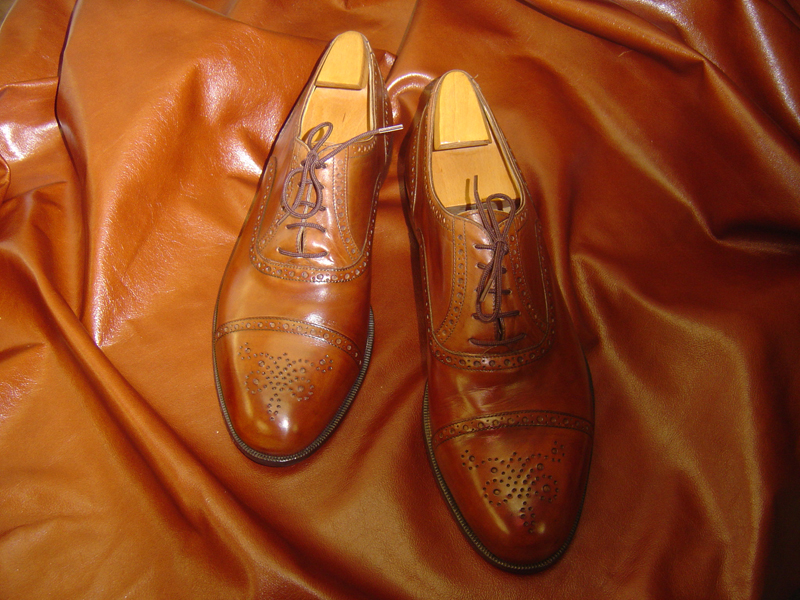
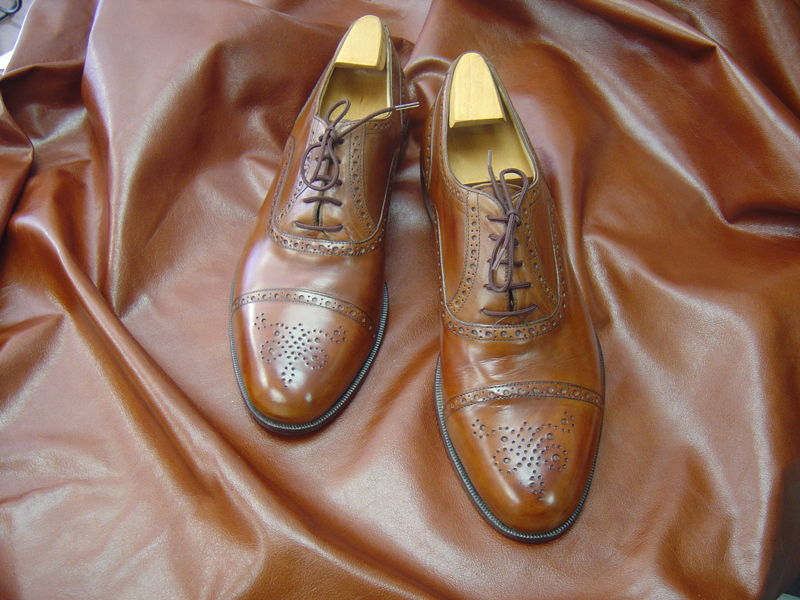
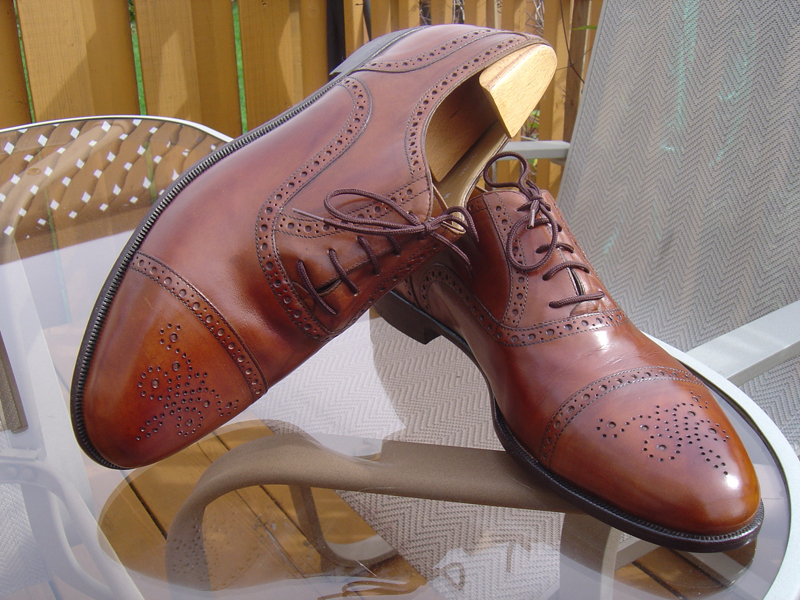
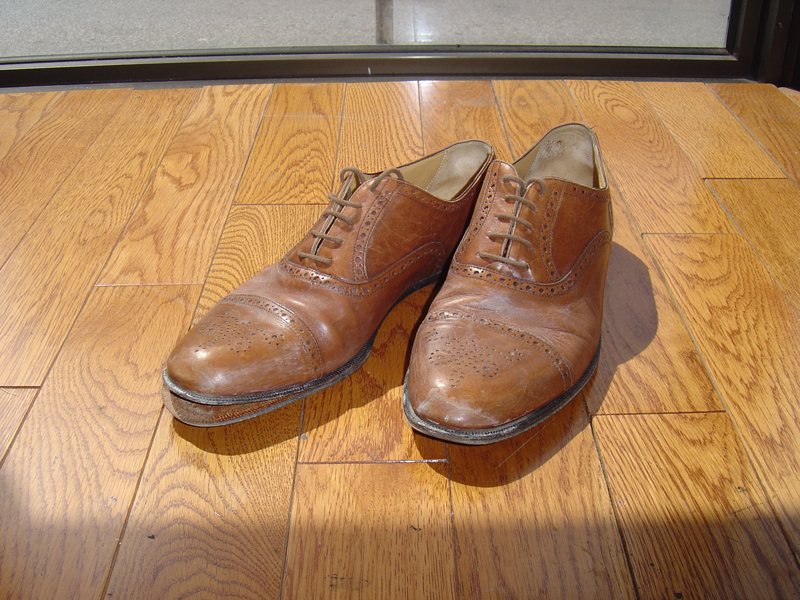 They came in...
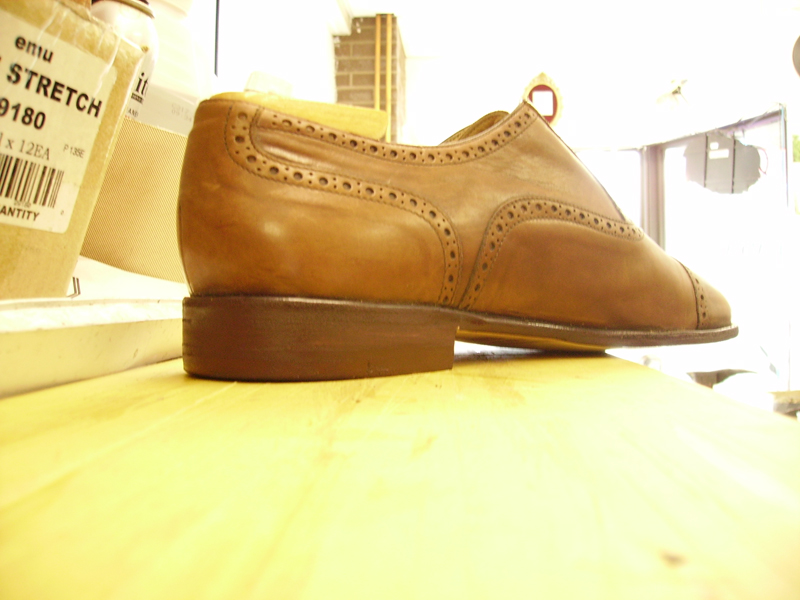
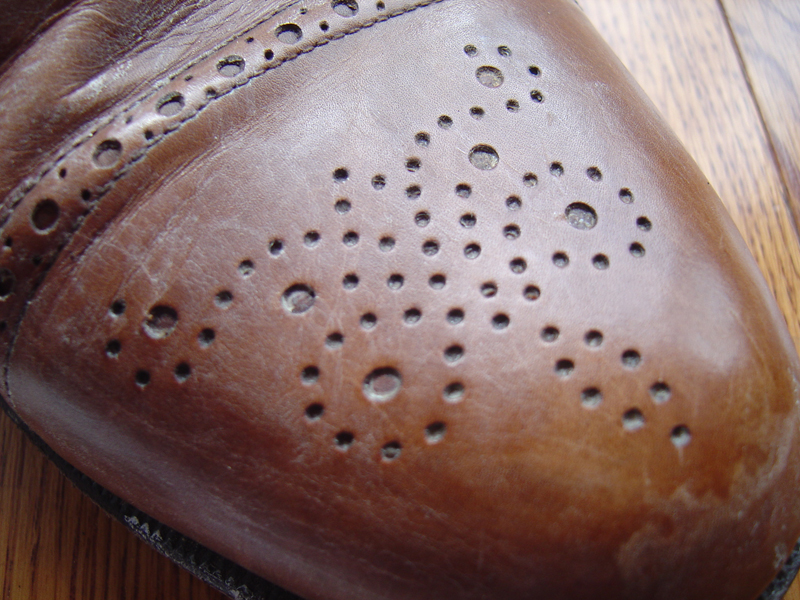
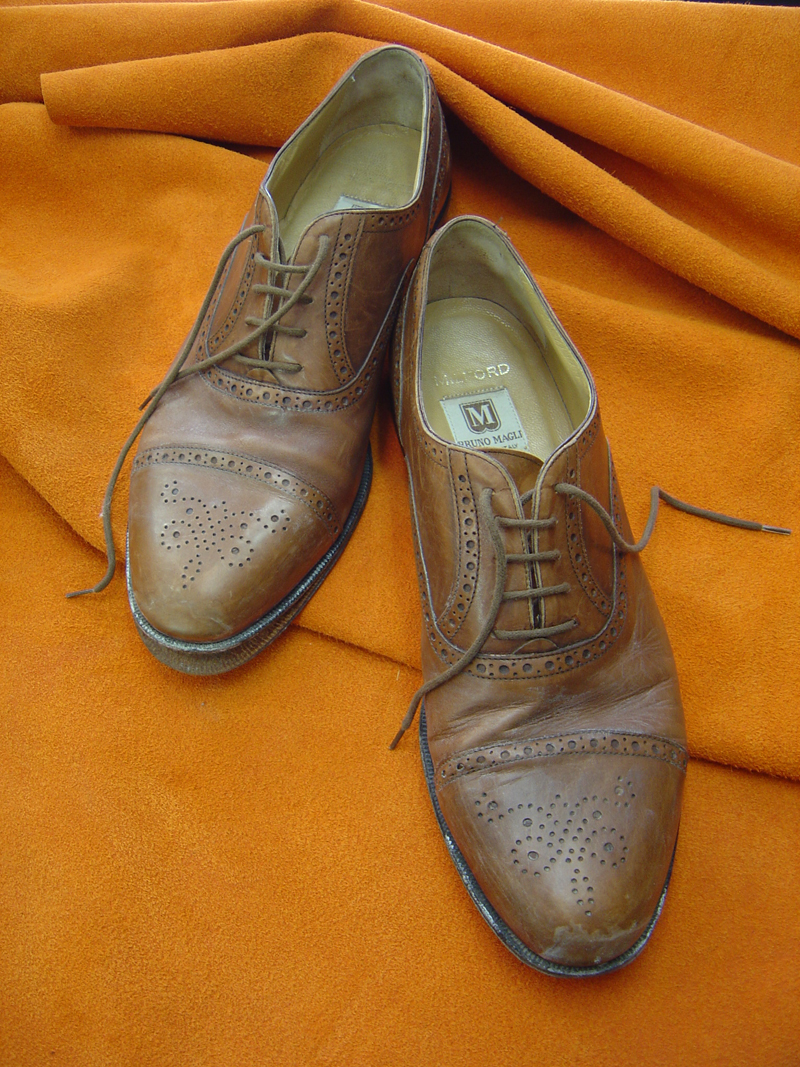 looking like this.
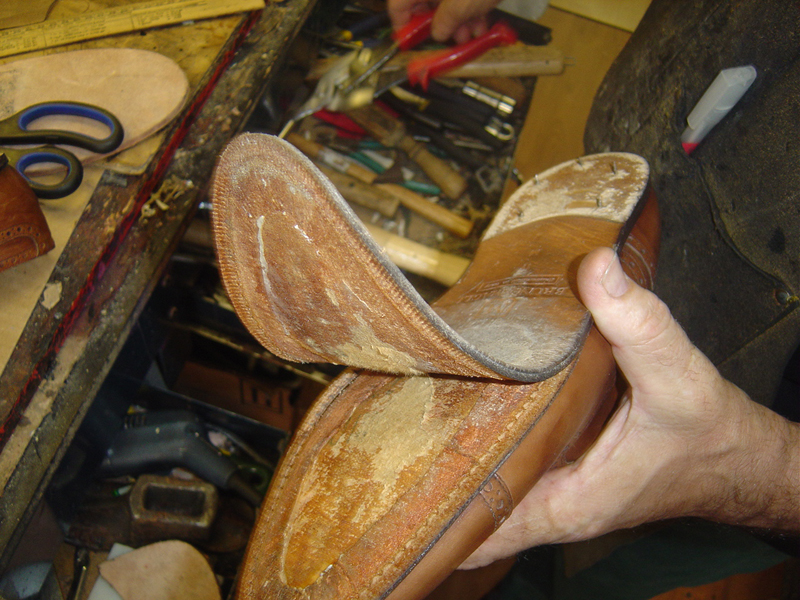
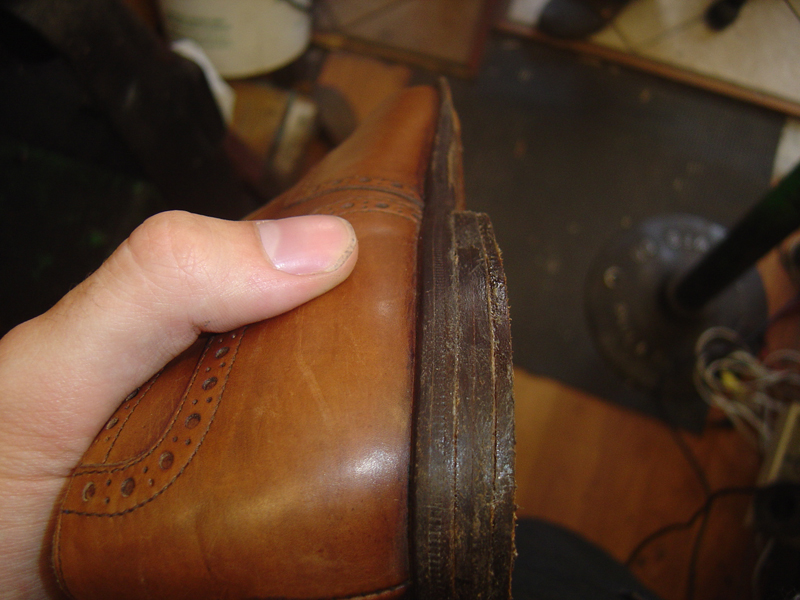
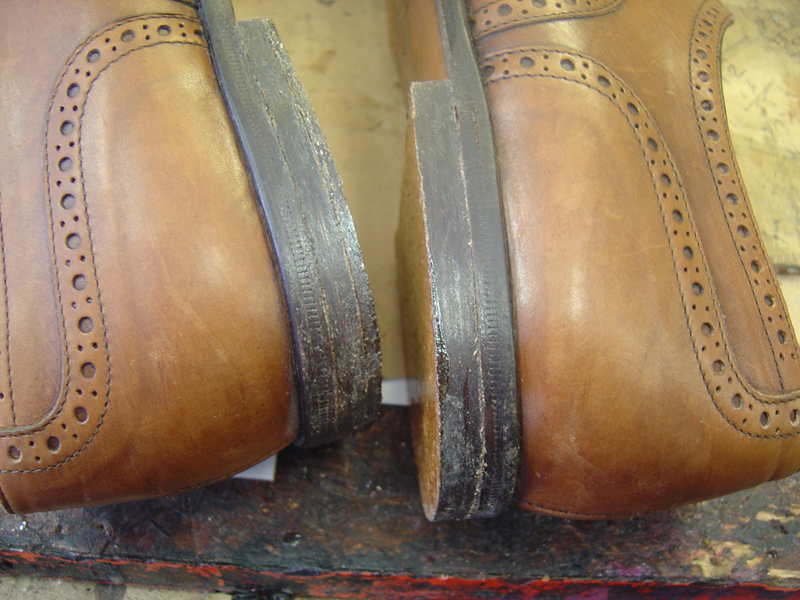
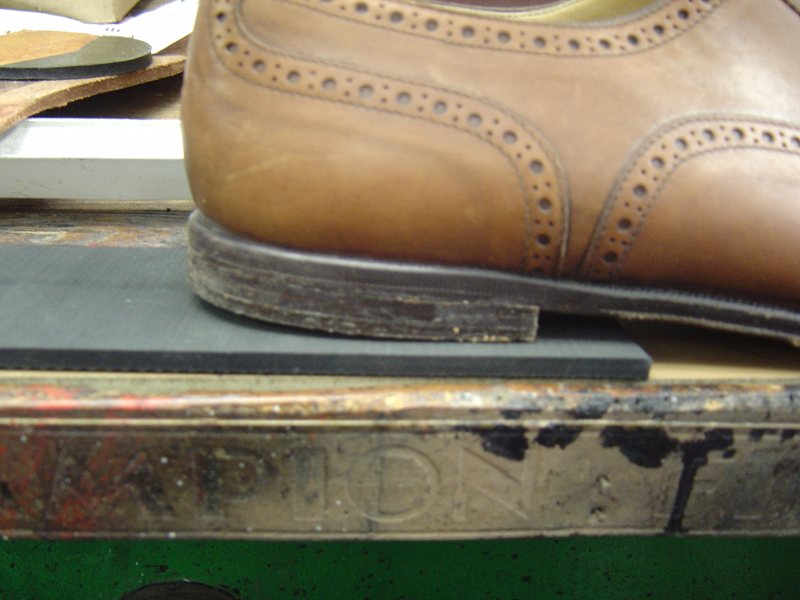
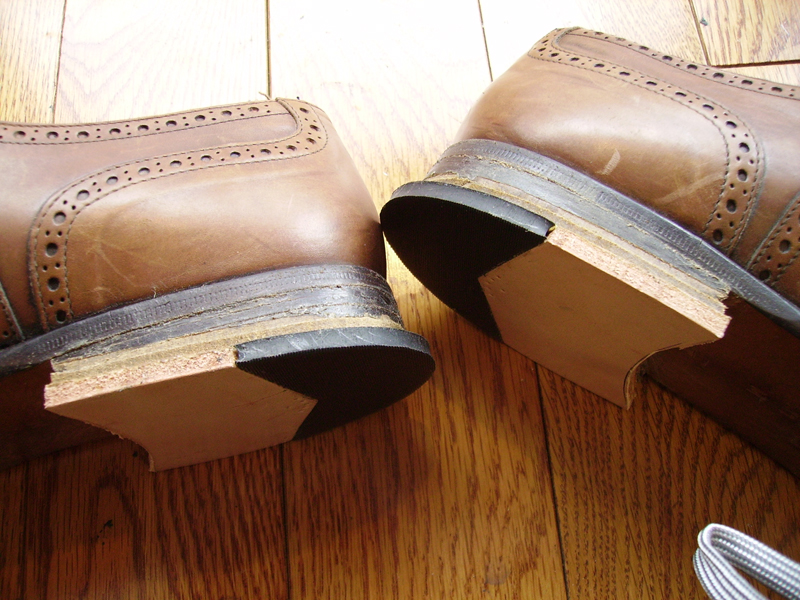
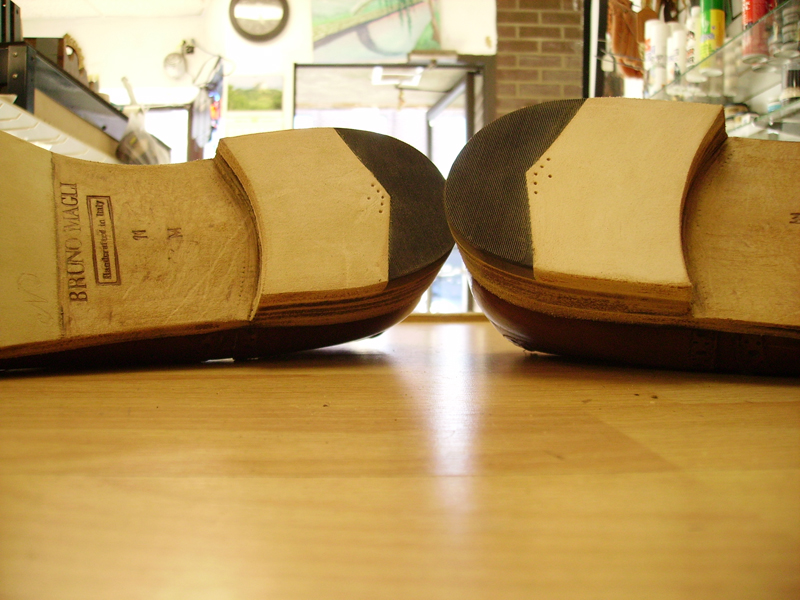
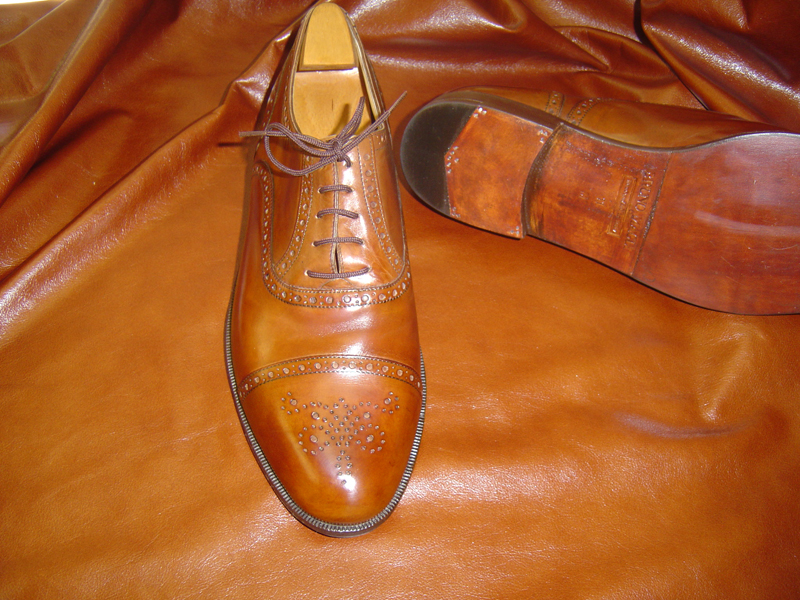
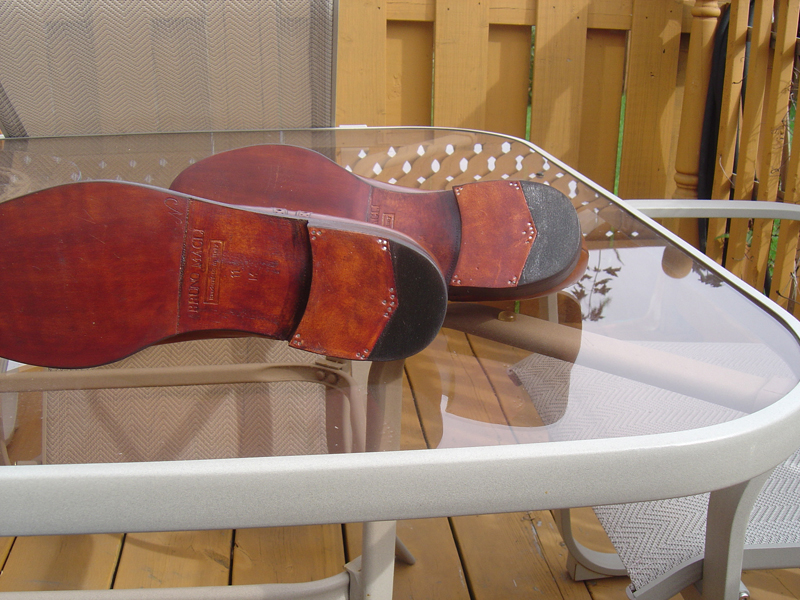
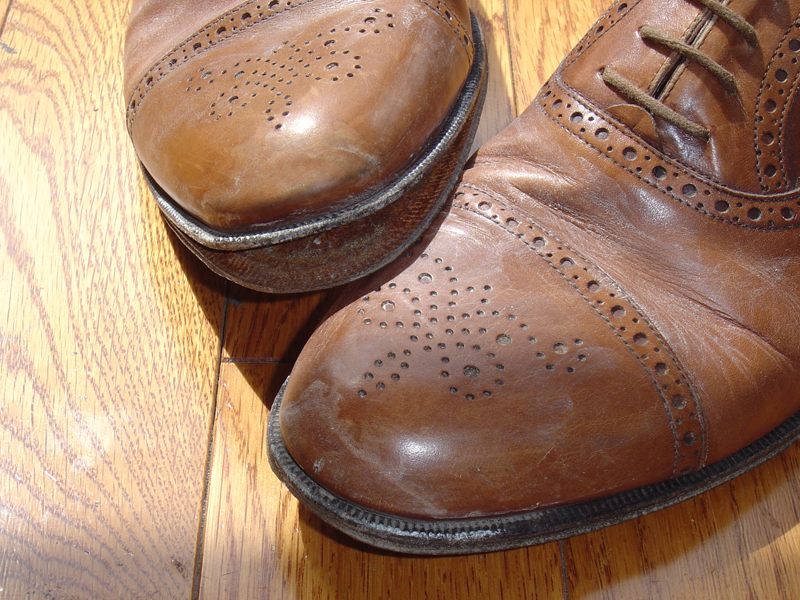 A closeup of the heels.
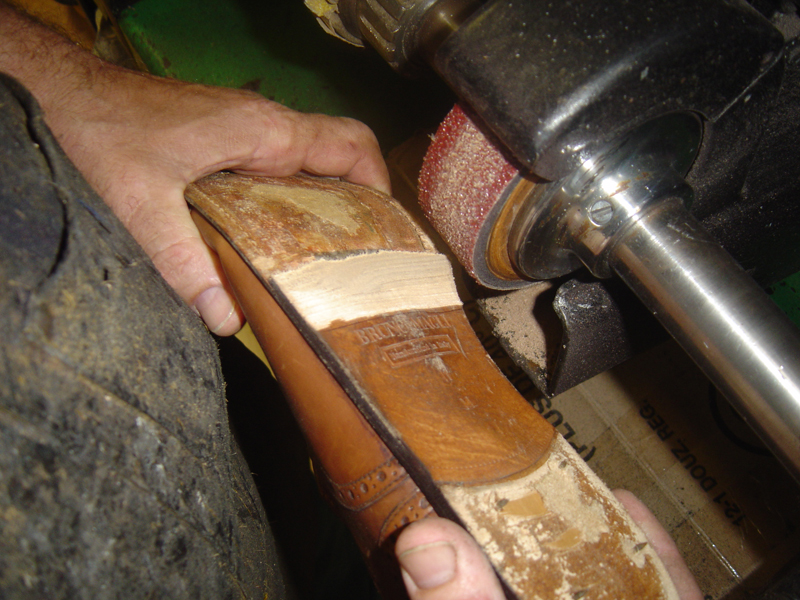
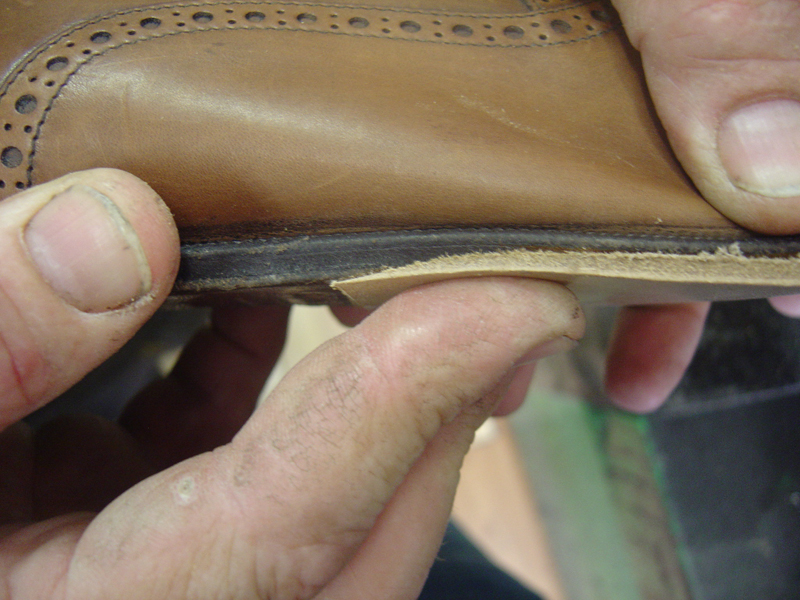
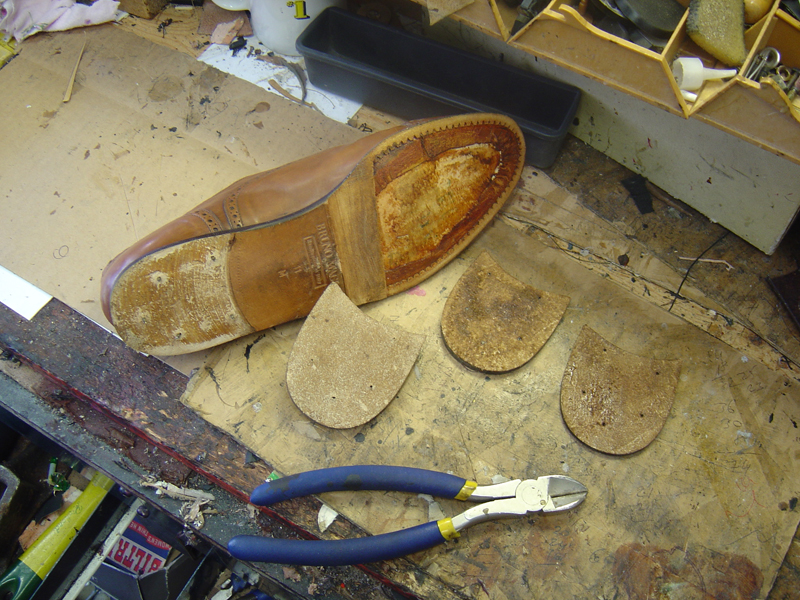
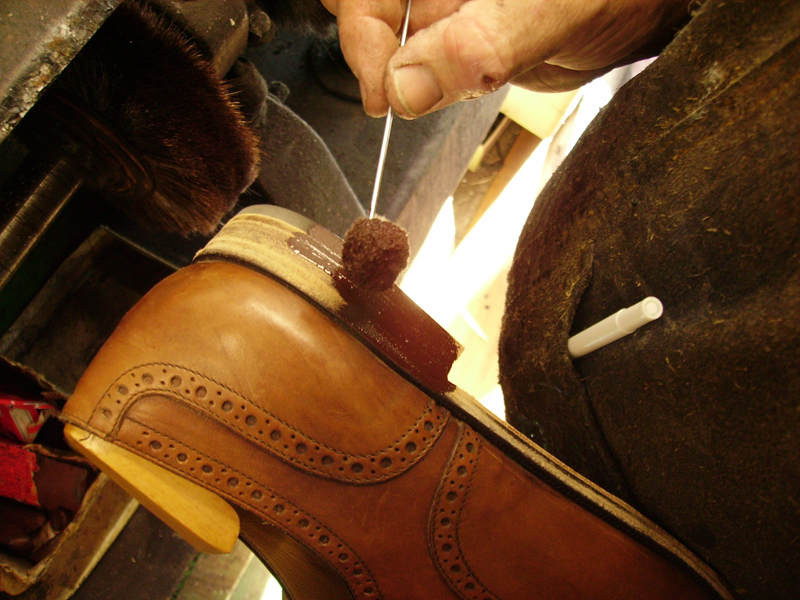
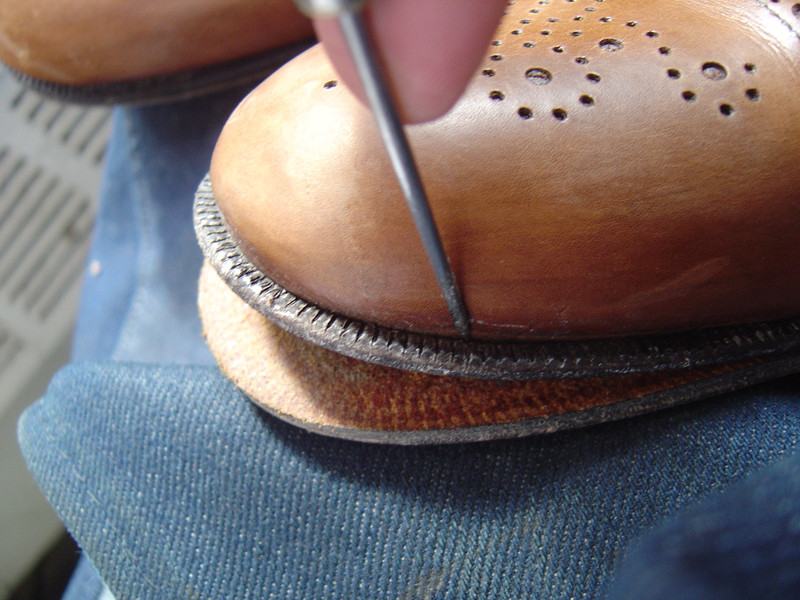
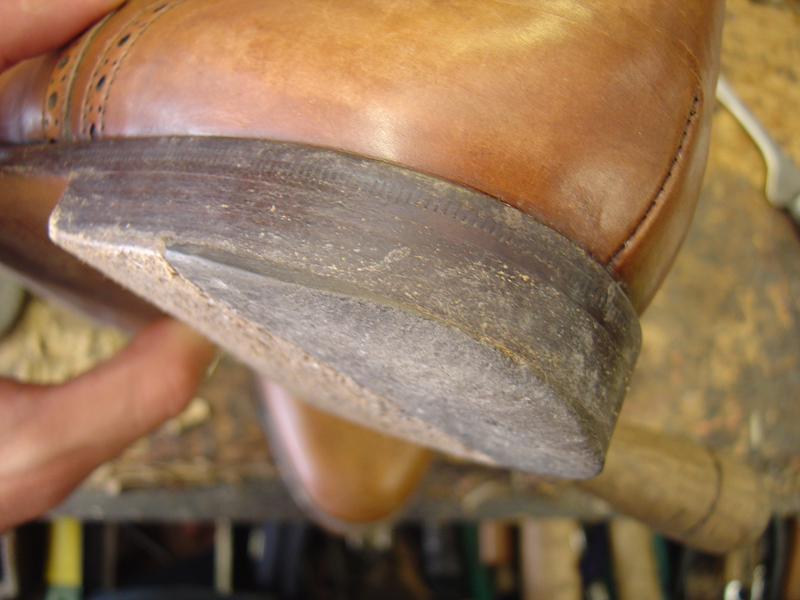 Caught just in time. At this point the heel really needs to be changed.
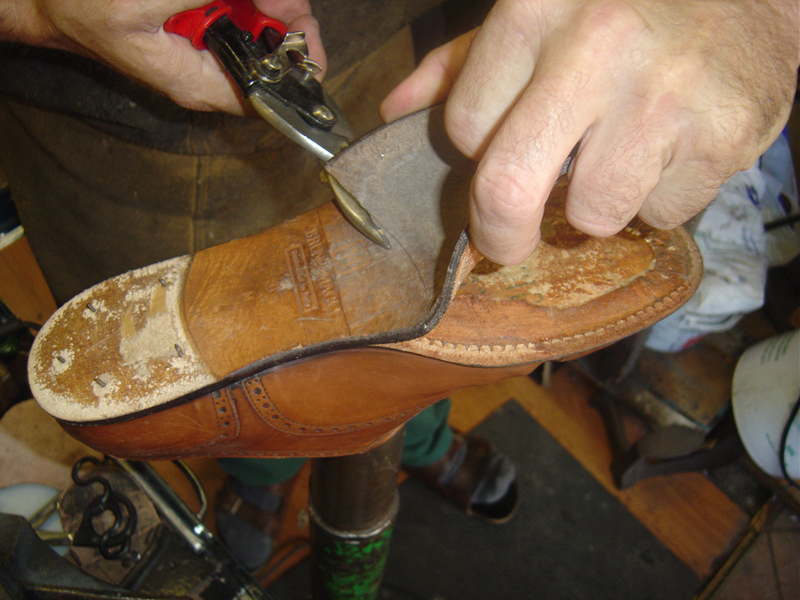
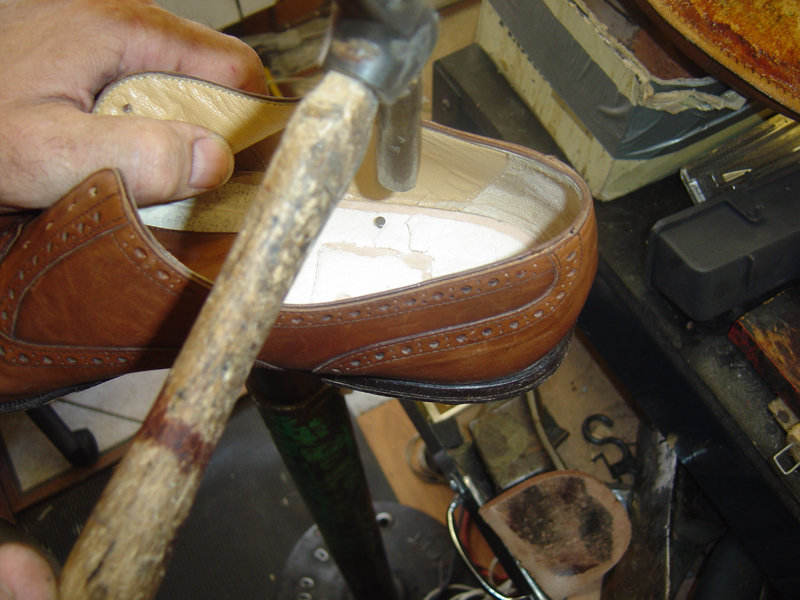
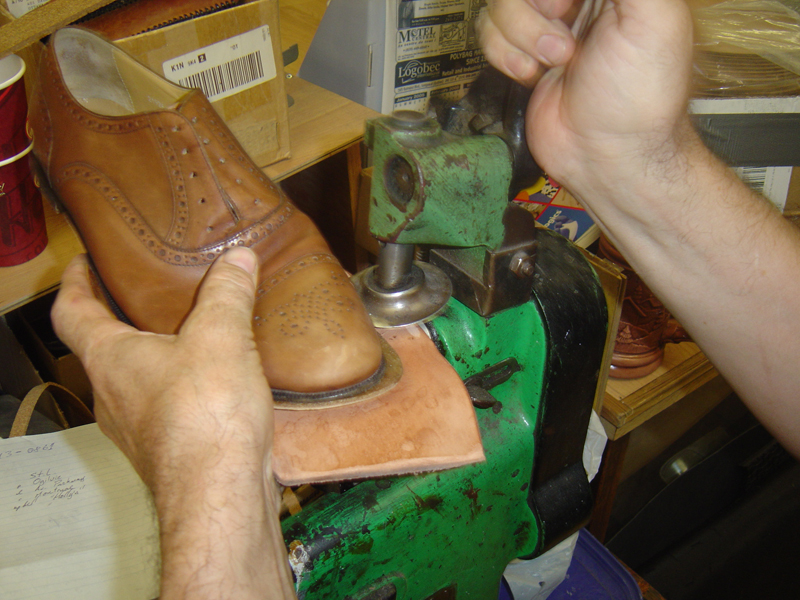
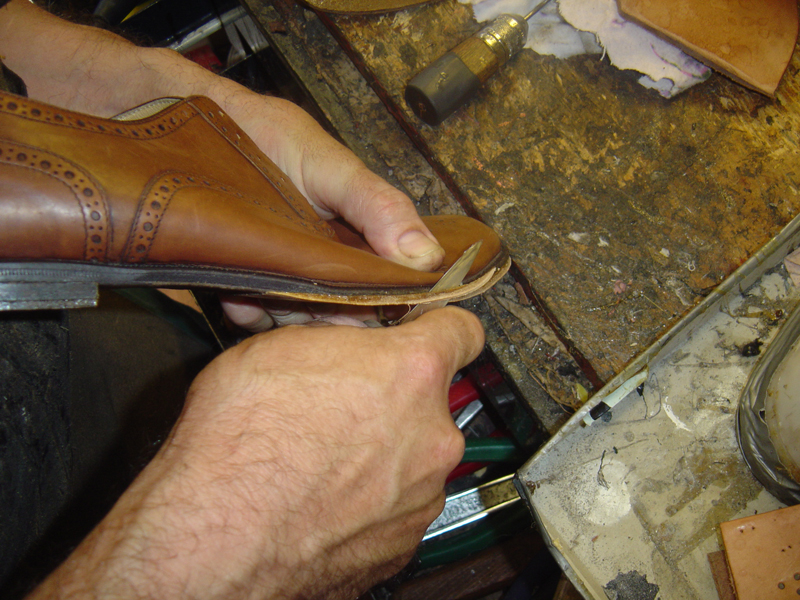
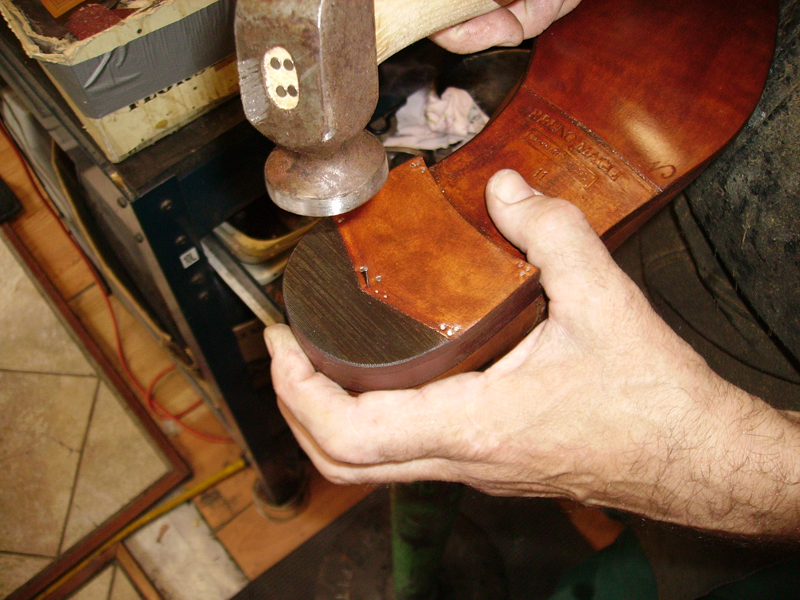
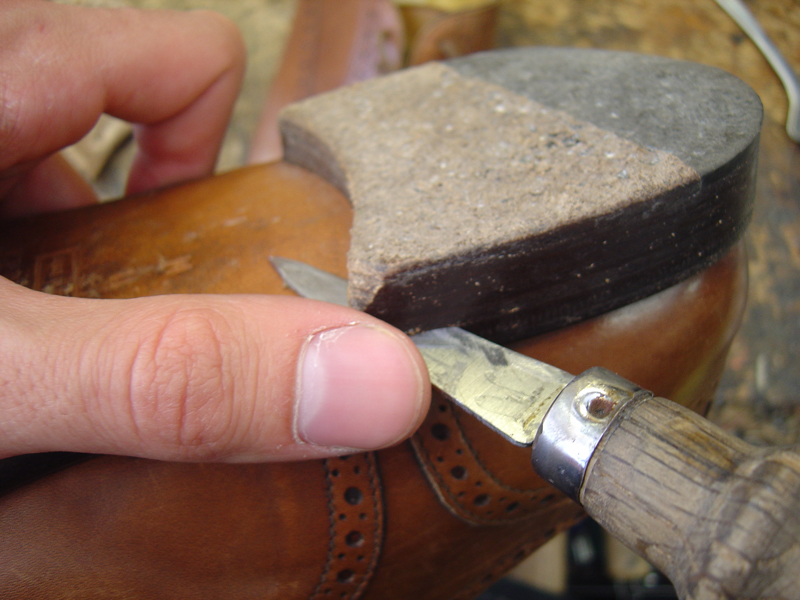 Starting to get the heel off. Maglis are annoying because of the way the heels are nailed in from the inside. Makes it quite hard to take the heel off without damaging it.
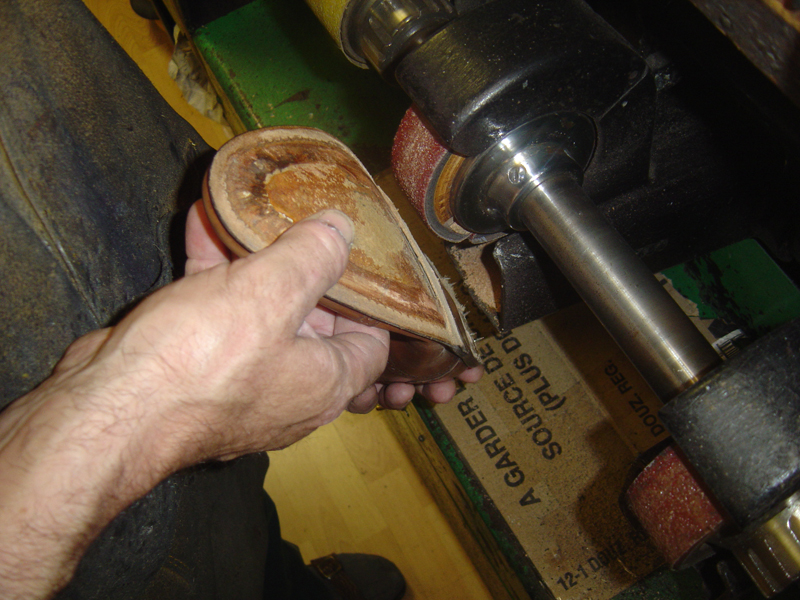
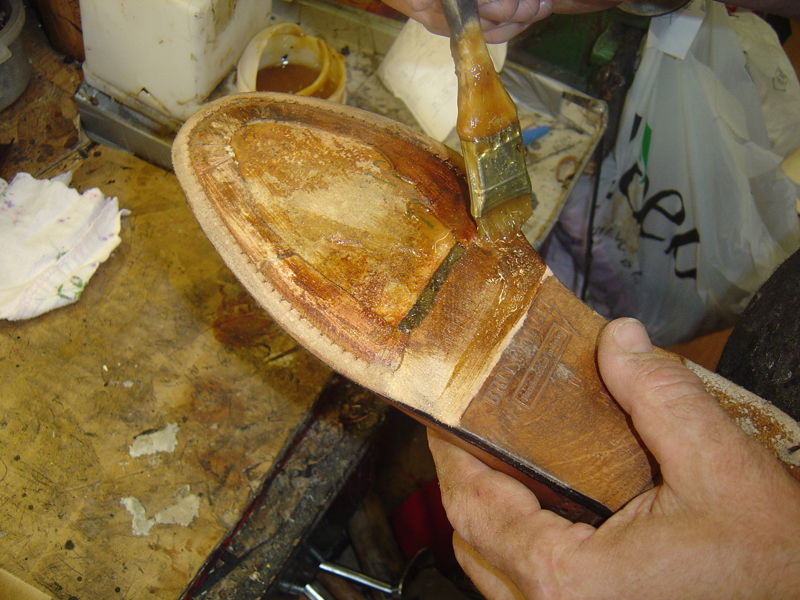
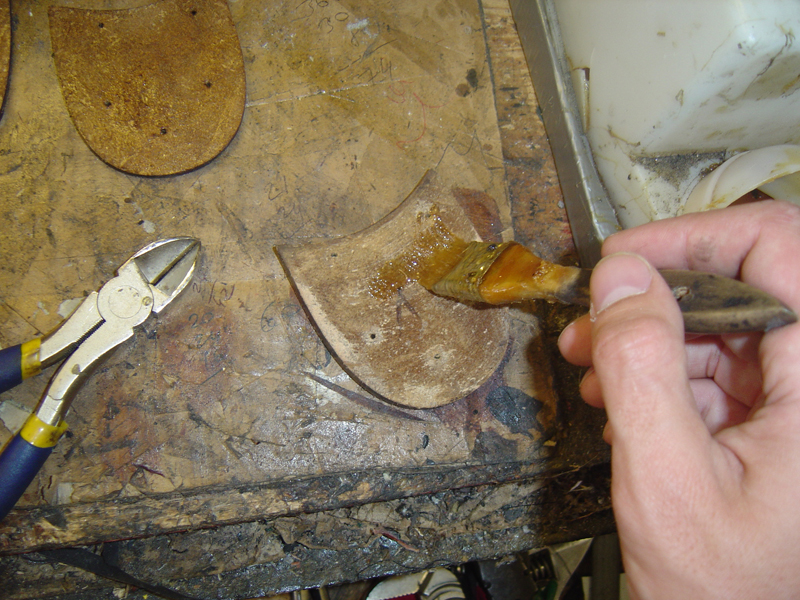
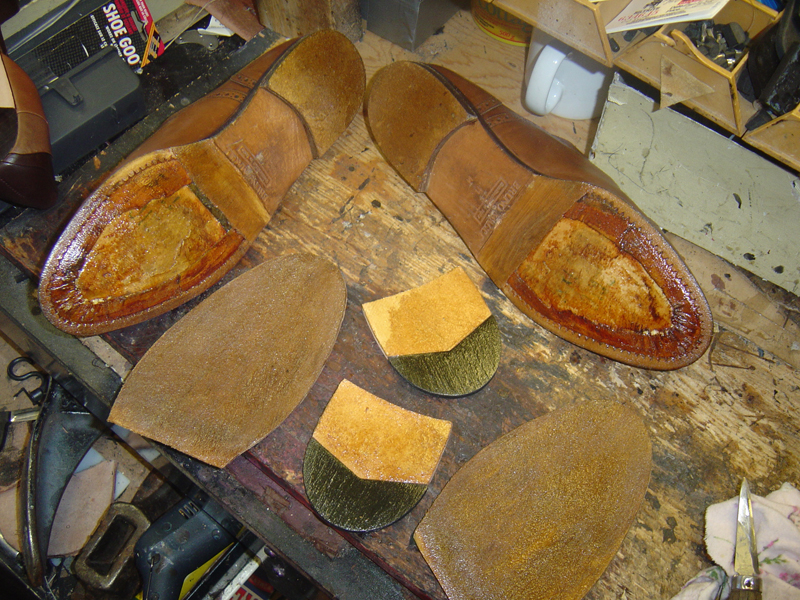
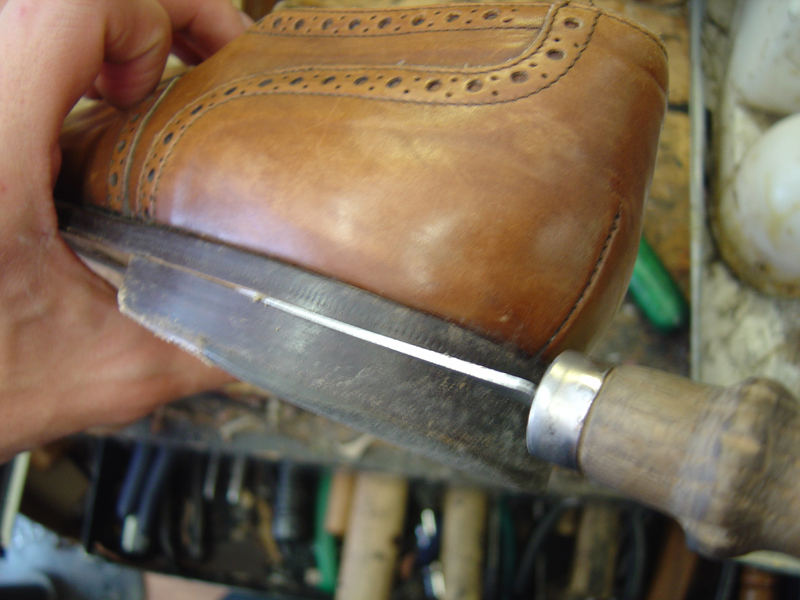 More surgery.
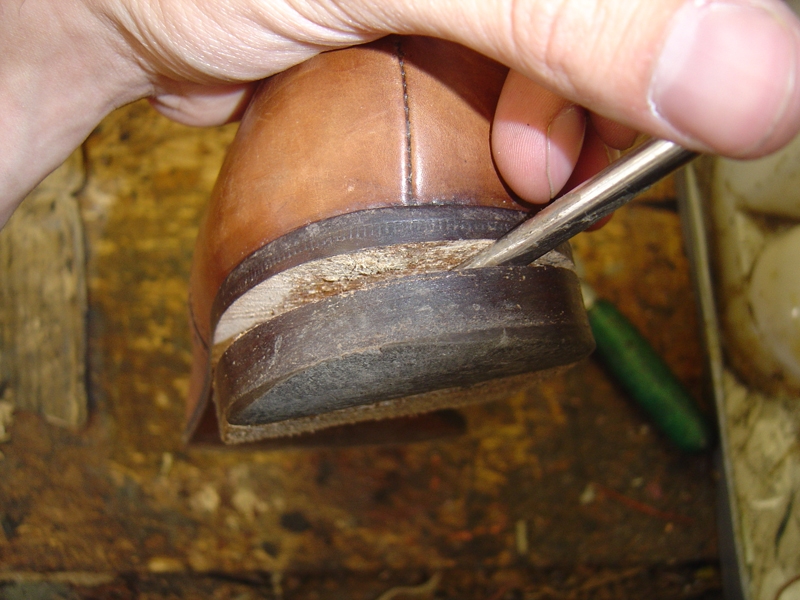
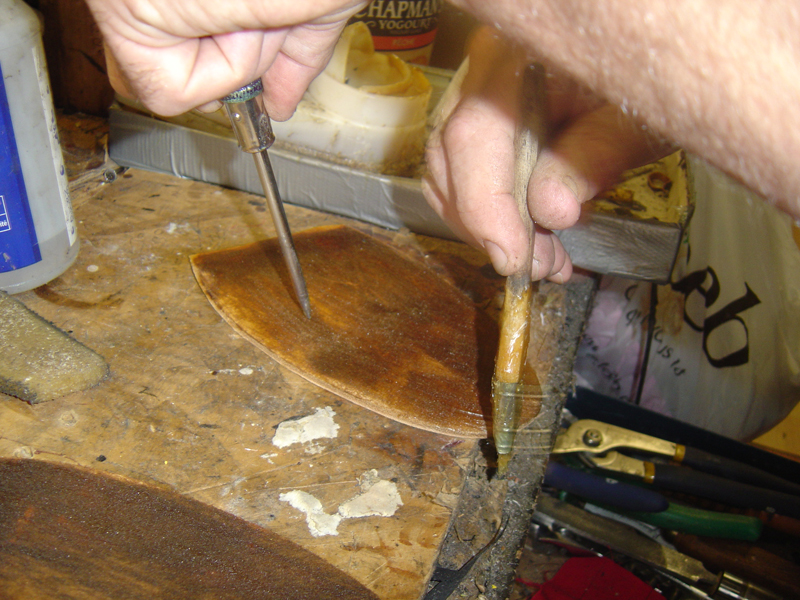
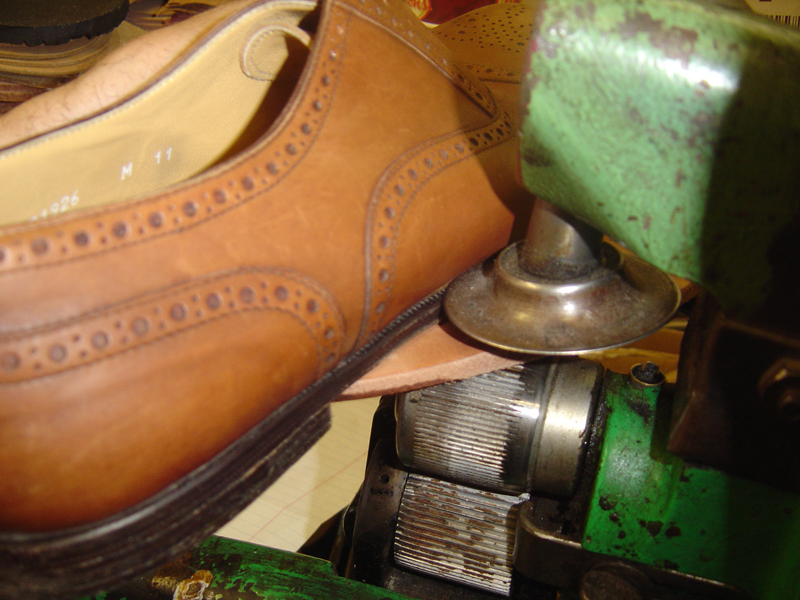
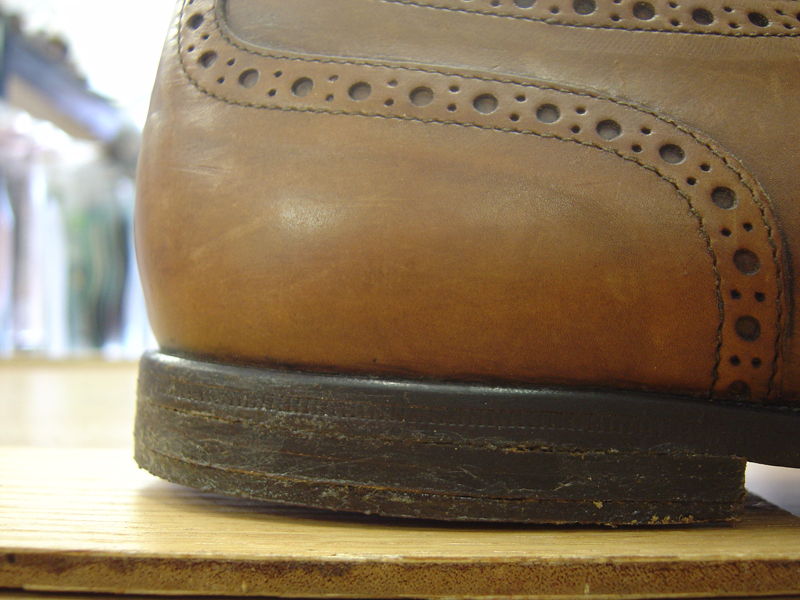
 You can see the nails from this angle.
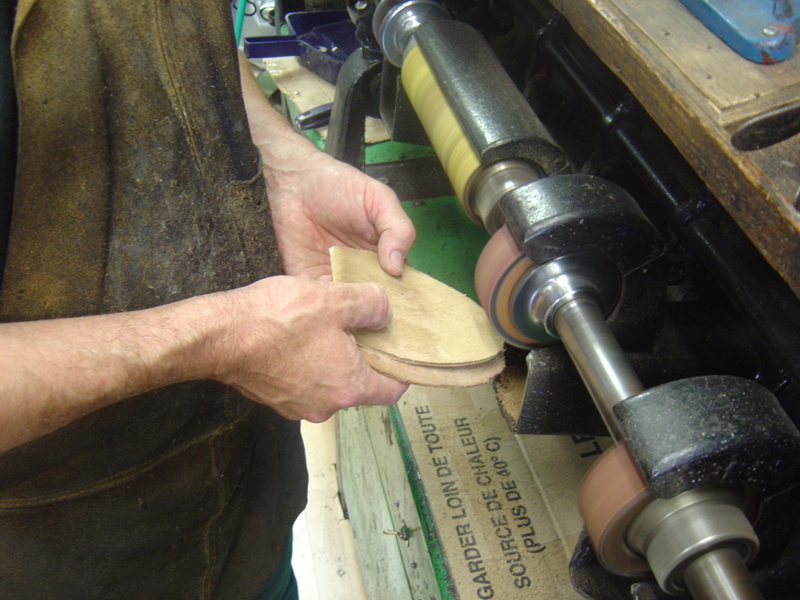
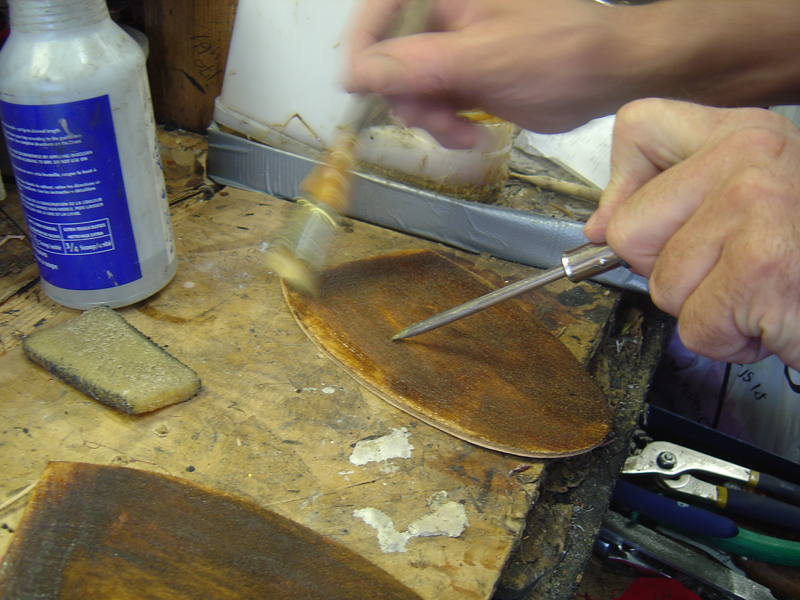
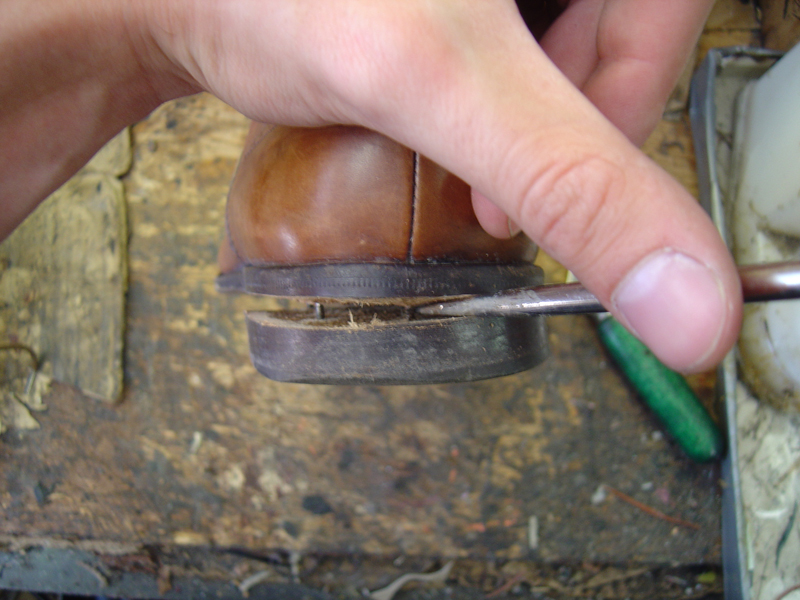
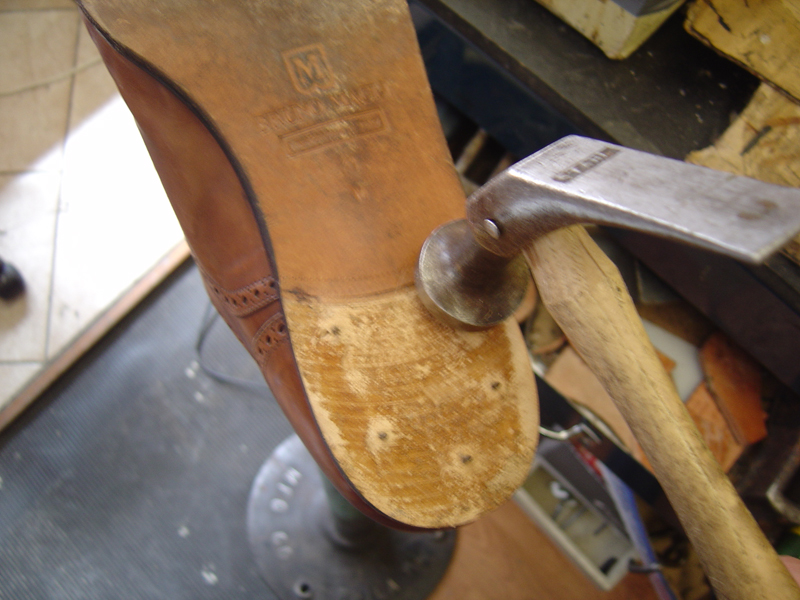 Getting the nails out. Gently.