TheNeedMachine
Distinguished Member
- Joined
- May 31, 2012
- Messages
- 5,339
- Reaction score
- 7,926
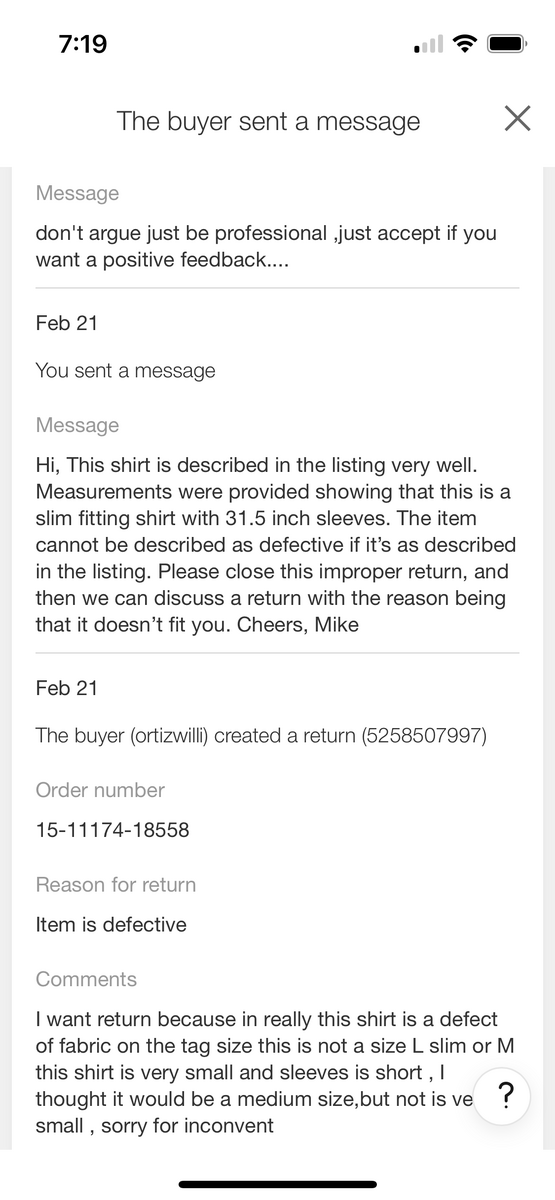
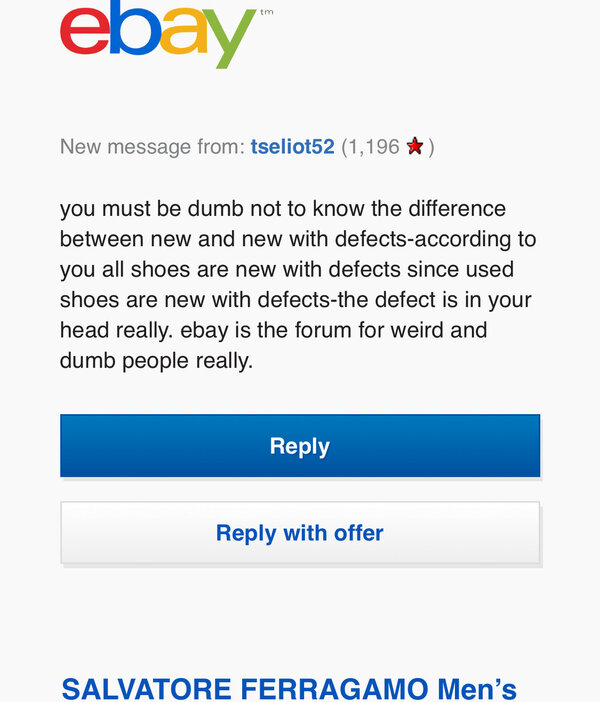
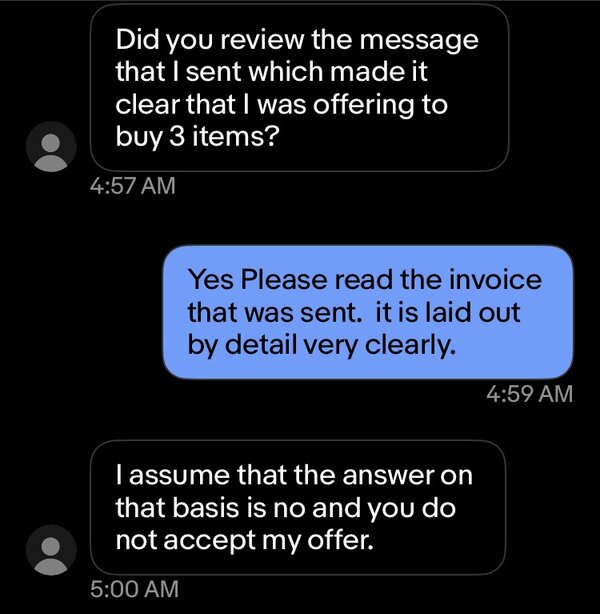
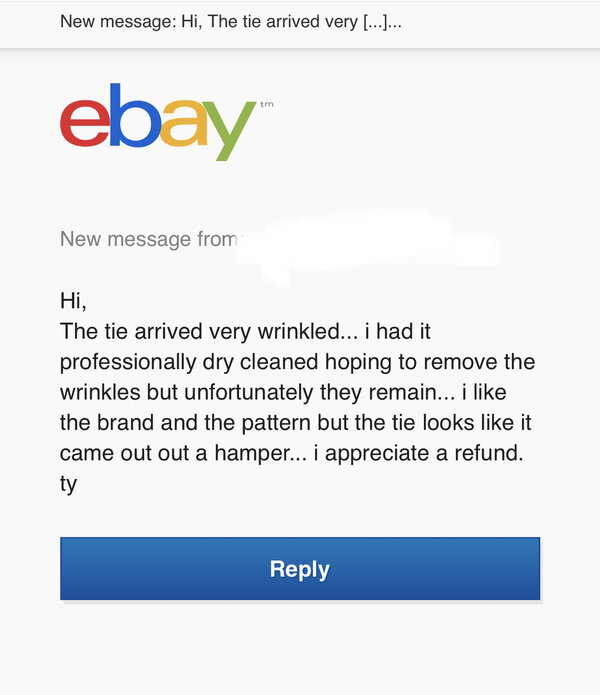
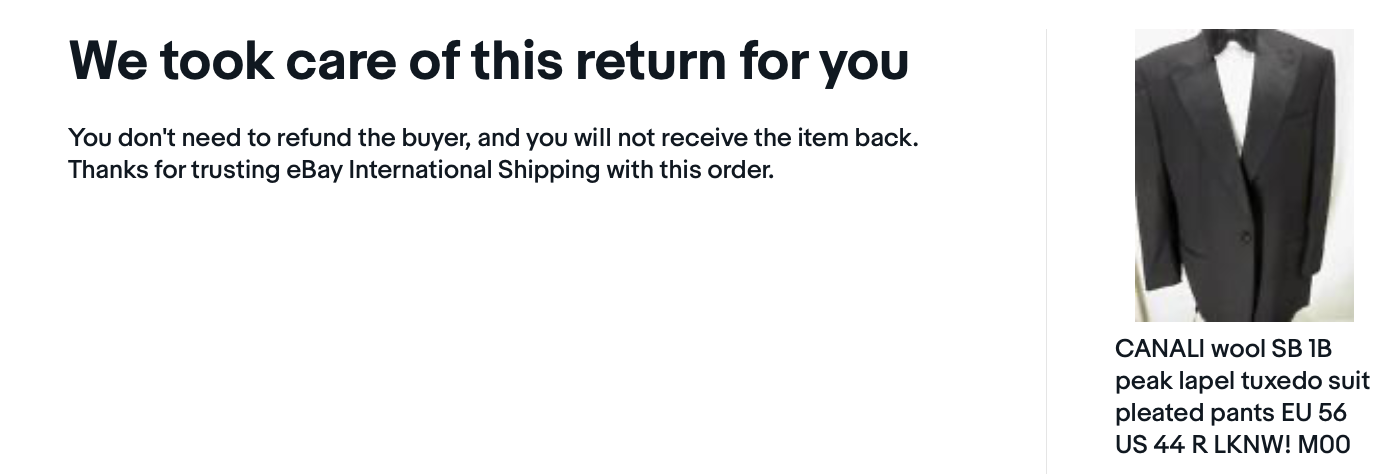
Read this positive feedback a few times, trying to figure out if the comment was positive, neutral or negative. Decided it was positive, and matches what I'm shooting for overall, which is "costs more, worth it because you will get what you pay for and nothing short of that."