• Hi, I am the owner and main administrator of Styleforum. If you find the forum useful and fun, please help support it by buying through the posted links on the forum. Our main, very popular sales thread, where the latest and best sales are listed, are posted HERE

    Purchases made through some of our links earns a commission for the forum and allows us to do the work of maintaining and improving it. Finally, thanks for being a part of this community. We realize that there are many choices today on the internet, and we have all of you to thank for making Styleforum the foremost destination for discussions of menswear.
  • This site contains affiliate links for which Styleforum may be compensated.
  • STYLE. COMMUNITY. GREAT CLOTHING.

    Bored of counting likes on social networks? At Styleforum, you’ll find rousing discussions that go beyond strings of emojis.

    Click Here to join Styleforum's thousands of style enthusiasts today!

    Styleforum is supported in part by commission earning affiliate links sitewide. Please support us by using them. You may learn more here.
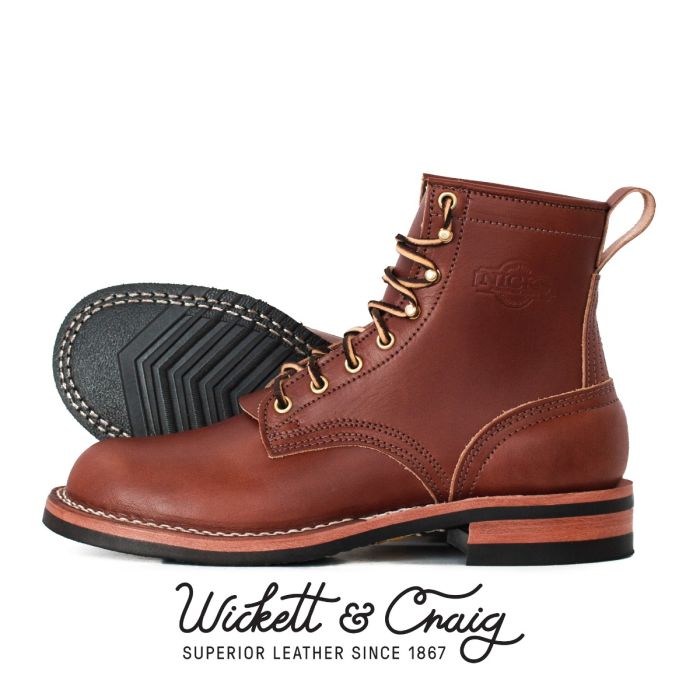
Making my own pants: A pictorial

Michael Ay329

Distinguished Member
Joined
Oct 13, 2007
Messages
1,585
Reaction score
54
More....more

Thanks for having the courage not only to try it...but post it here
smile.gif
 

jefferyd

Distinguished Member
Affiliate Vendor
Dubiously Honored
Joined
Aug 25, 2008
Messages
1,633
Reaction score
877
Originally Posted by emptym
I'm sure this is very helpful. Would you do us the favor of explaining how?

I think lessons in pattern drafting and manipulation go way beyond the scope of this thread and this forum.
 

HORNS

Stylish Dinosaur
Joined
Apr 24, 2008
Messages
18,381
Reaction score
8,992

bringusingoodale

Distinguished Member
Joined
Jun 25, 2010
Messages
1,410
Reaction score
44
Wow. I am going to tip my tailor next time around.... This seems like difficult work.
 

mljones99

Senior Member
Joined
Aug 13, 2007
Messages
243
Reaction score
0
Thanks for posting your work. Definitely something I wish I could do.
 

Icehawk

Senior Member
Joined
Nov 12, 2009
Messages
627
Reaction score
2
Originally Posted by inlandisland
Thanks - will try. Again, I love your blog. I am just going to implicitly trust that your edits to my draft will make it better.

worship.gif


What will the changes in the pattern do? Or, what is their purpose/what are they fixing?


Very cool btw!
 

IrateCustomer

Distinguished Member
Joined
Mar 3, 2011
Messages
1,887
Reaction score
904
This thread is BBQ sauce awesome. Great fit for a first go as well. Those pants look solid, and I think you picked a great color to boot! Inspiring stuff!
 

inlandisland

Senior Member
Joined
Jan 14, 2010
Messages
557
Reaction score
439
Originally Posted by softy
Great job. Such patience.
One of the belt loops appears to be further away than the other.


Yes, it is - I fudged the waistband significantly due to inexperience.

Originally Posted by pvrhye
How much prior sewing experience did you have before you tried this?

I've been doing alterations on my own pants, shirts and a couple of jackets for the past year or so.

Originally Posted by 1969
Have you checked out David Coffin's book on trousers? I have the one on shirtmaking and it's helpful.

No, but I've seen some of his videos online... I will check out the book.

Originally Posted by Icehawk
What will the changes in the pattern do? Or, what is their purpose/what are they fixing?


Quite a lot I think, but I don't have enough experience or technical knowledge to answer -- What Jeffery said is probably true - "I think lessons in pattern drafting and manipulation go way beyond the scope of this thread and this forum." You would have to start at the beginning and do some research on the topic.
 

jefferyd

Distinguished Member
Affiliate Vendor
Dubiously Honored
Joined
Aug 25, 2008
Messages
1,633
Reaction score
877
Originally Posted by emptym
I'm sure this is very helpful. Would you do us the favor of explaining how?
Originally Posted by jefferyd
I think lessons in pattern drafting and manipulation go way beyond the scope of this thread and this forum.

Originally Posted by Icehawk
What will the changes in the pattern do? Or, what is their purpose/what are they fixing?

Fine. Sigh.


The waist should slope slightly downward from back to front- here it juts upward at A and is tight around the crotch. Dropping the front waist and reducing the waist at center front as shown will correct this. This, and the scooping at a will help with the moose knuckle.

The seat is very tight at B and the side seam shoots back at C. This is a multi-point correction.

The waist dips at D and there is excess and pulling at E. All of these things are related.


The seat seam must be scooped out to more accurately match the shape of the seat at E, and the inseam should be straightened as this curve is too extreme for any cloth, cotton in particular. More curve = more ironwork necessary. Since the seat has been reduced at E it will have to be increased somewhere. Pivoting forward at B will add the necessary width, and by carrying this line up, will help correct the side seam issue. D is raised a bit to correct the dipping waistline and pivoted forward when the seat is scooped out. What has been lost at points A, D and C on the front (which has been reduced to help the side seam issue) is added at C on the back. Since the back thigh has been increased, we will remove a bit off the front at a
 

dieworkwear

Mahatma Jawndi
Dubiously Honored
Joined
Apr 10, 2011
Messages
27,320
Reaction score
69,987
Originally Posted by jefferyd
Fine. Sigh.


The waist should slope slightly downward from back to front- here it juts upward at A and is tight around the crotch. Dropping the front waist and reducing the waist at center front as shown will correct this. This, and the scooping at a will help with the moose knuckle.

The seat is very tight at B and the side seam shoots back at C. This is a multi-point correction.

The waist dips at D and there is excess and pulling at E. All of these things are related.


The seat seam must be scooped out to more accurately match the shape of the seat at E, and the inseam should be straightened as this curve is too extreme for any cloth, cotton in particular. More curve = more ironwork necessary. Since the seat has been reduced at E it will have to be increased somewhere. Pivoting forward at B will add the necessary width, and by carrying this line up, will help correct the side seam issue. D is raised a bit to correct the dipping waistline and pivoted forward when the seat is scooped out. What has been lost at points A, D and C on the front (which has been reduced to help the side seam issue) is added at C on the back. Since the back thigh has been increased, we will remove a bit off the front at a


Really, really educational, Jeffery. As always, I feel like your posts are as illuminating for non-tailors as they are for tailors. I always walk away from your posts feeling like I have a better eye for details. Thanks again.
 

Featured Sponsor

How important is full vs half canvas to you for heavier sport jackets?

  • Definitely full canvas only

    Votes: 85 37.4%
  • Half canvas is fine

    Votes: 87 38.3%
  • Really don't care

    Votes: 24 10.6%
  • Depends on fabric

    Votes: 35 15.4%
  • Depends on price

    Votes: 36 15.9%

Forum statistics

Threads
506,456
Messages
10,589,493
Members
224,247
Latest member
Maxmyer55
Top